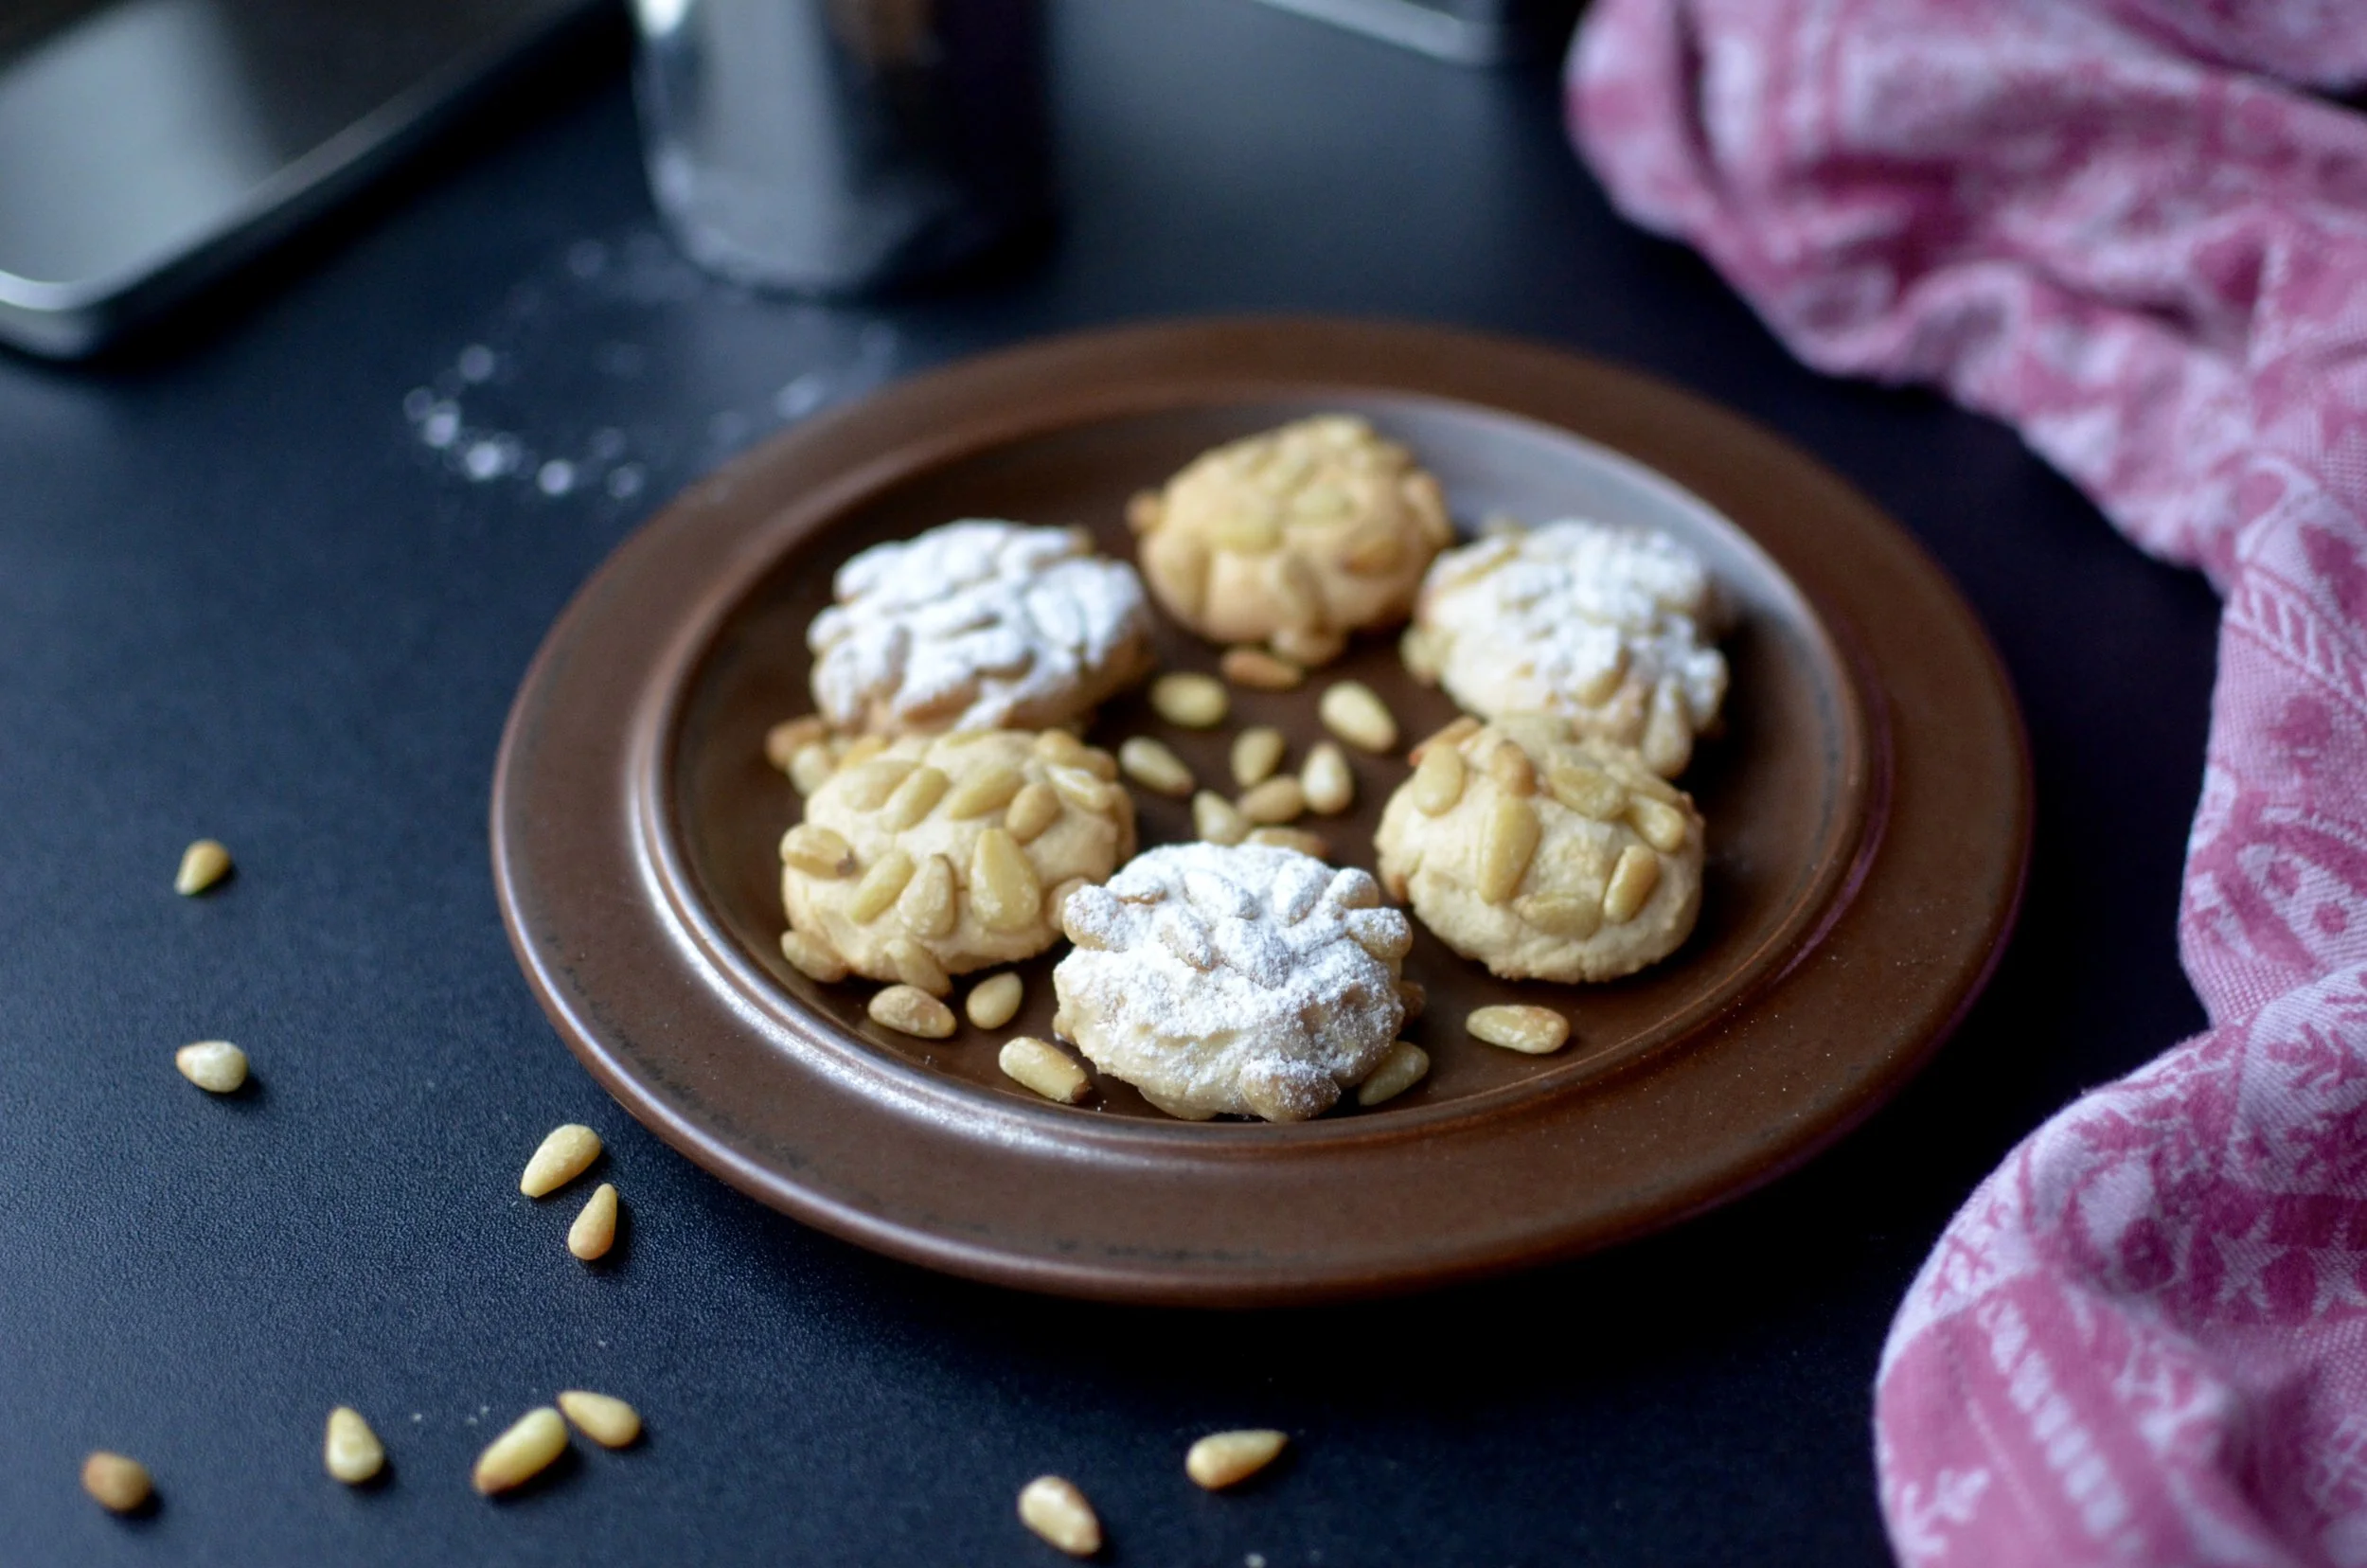
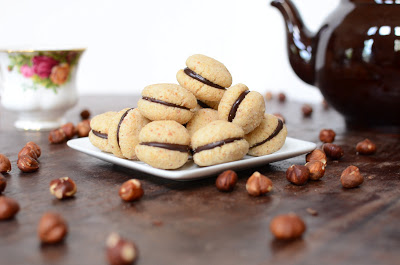
Nocciola Baci (Hazelnut Kisses)
Patricia @ ButterYum

Get a load of these itty-bitty cookies - aren't they the cutest cookies ever? These little "hazelnut kisses" aren't just cute, they're delectable too - they taste like crispy little bites of Nutella. I've been looking forward to making them ever since I first saw them on David Lebovitz's blog. The recipe was shared by Terresa Murphy from the blog La Cucina Di Teressa who says it was reated at the Zanotti Bakery in Tortona, Italy more than 100 years ago. Oh, and did I mention these cookies are gluten-free? That's because they're made with rice flour instead of regular flour. Rice flour is available in health food stores, or you can grind your own like I did (although Teressa says you can substitute regular flour, no problem).

As far as the recipe goes, I veered from the instructions a little. First, instead of mixing the ingredients by hand, I used my stand mixer fitted with a BeaterBlade attachment; and second, instead of peeling the hazelnuts in a towel after roasting them in the oven (a method which is very messy and doesn't eliminate all the skins), I used Alice Medrich's method of boiling them in a water and baking soda solution before roasting them (no mess and every bit of skin was easily removed).
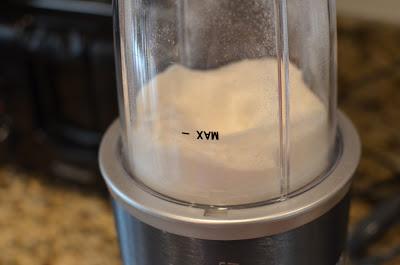
It was easy to make my own rice flour - all I did was blitz uncooked white rice using the grinding blade in my nutribullet. A spice grinder/coffee grinder would work as well.

Rice flour ready to go. Okay, time to prepare the hazelnuts.

First, have a bowl of ice water ready next to your stove top.

You'll also need a kitchen timer and baking soda.

Bring 2 cups of water to a boil and add 3 tablespoons of baking soda. It will bubble a little.
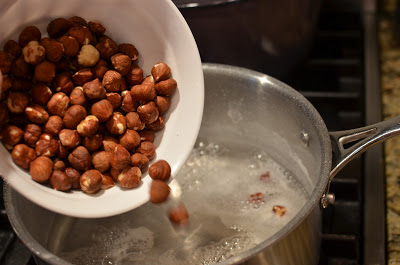
Add the hazelnuts - be sure the saucepan has plenty of room for the mixture to bubble up.
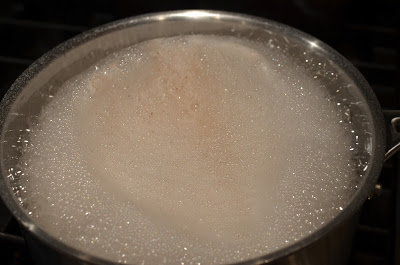
See.

Okay - set your timer for 3 minutes.

Keep a wooden spoon handy to give the bubbles a stir every so often. Doing this will keep them from spilling over the side of your pan.

Don't be alarmed when you notice the color of the water drastically changing. You might see a few loose skins float to the surface too.

Okay - after 3 minutes plunge a few hazelnuts into the ice water.
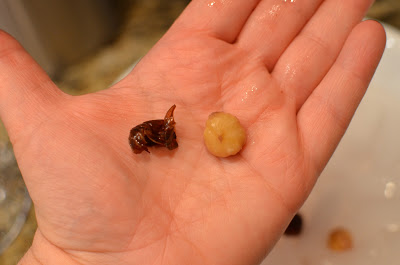
They're done when the skins slide off easily.

Mine are done so everybody out of the pool.
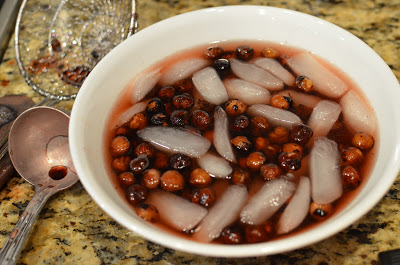
Into an ice bath to stop the cooking process.

Check out what's left behind - ick!

Thankfully that mess cleans up easily.

Strain and rinse the hazelnuts.
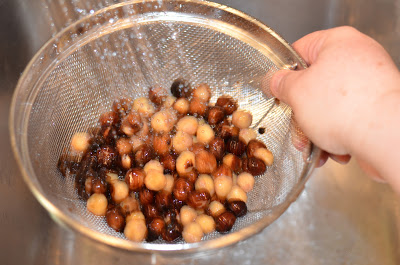
Many of the skins will come off all by themselves if you just shake the strainer under running water.

Place the skinned hazelnuts on a paper towel to dry.

Toast them in the oven or in a dry skillet to develop their flavor; allow them to cool completely before grinding.

To grind the nuts - pulse in a small food processor until they look like this.

Then make the cookie dough by blending the rice flour, ground nuts, sugar, salt, and butter. It's a sandy messy dough so I prefer to do this in my stand mixer. David and Teressa do it by hand.
Wrap the dough with plastic and chill well for 1-3 hours.

Use a digital scale to weigh out 5-gram nuggets of dough and roll them into marble-size balls (3/4-inch wide). THIS IS MUCH EASIER TO DO WHEN THE DOUGH IS VERY WELL CHILLED.

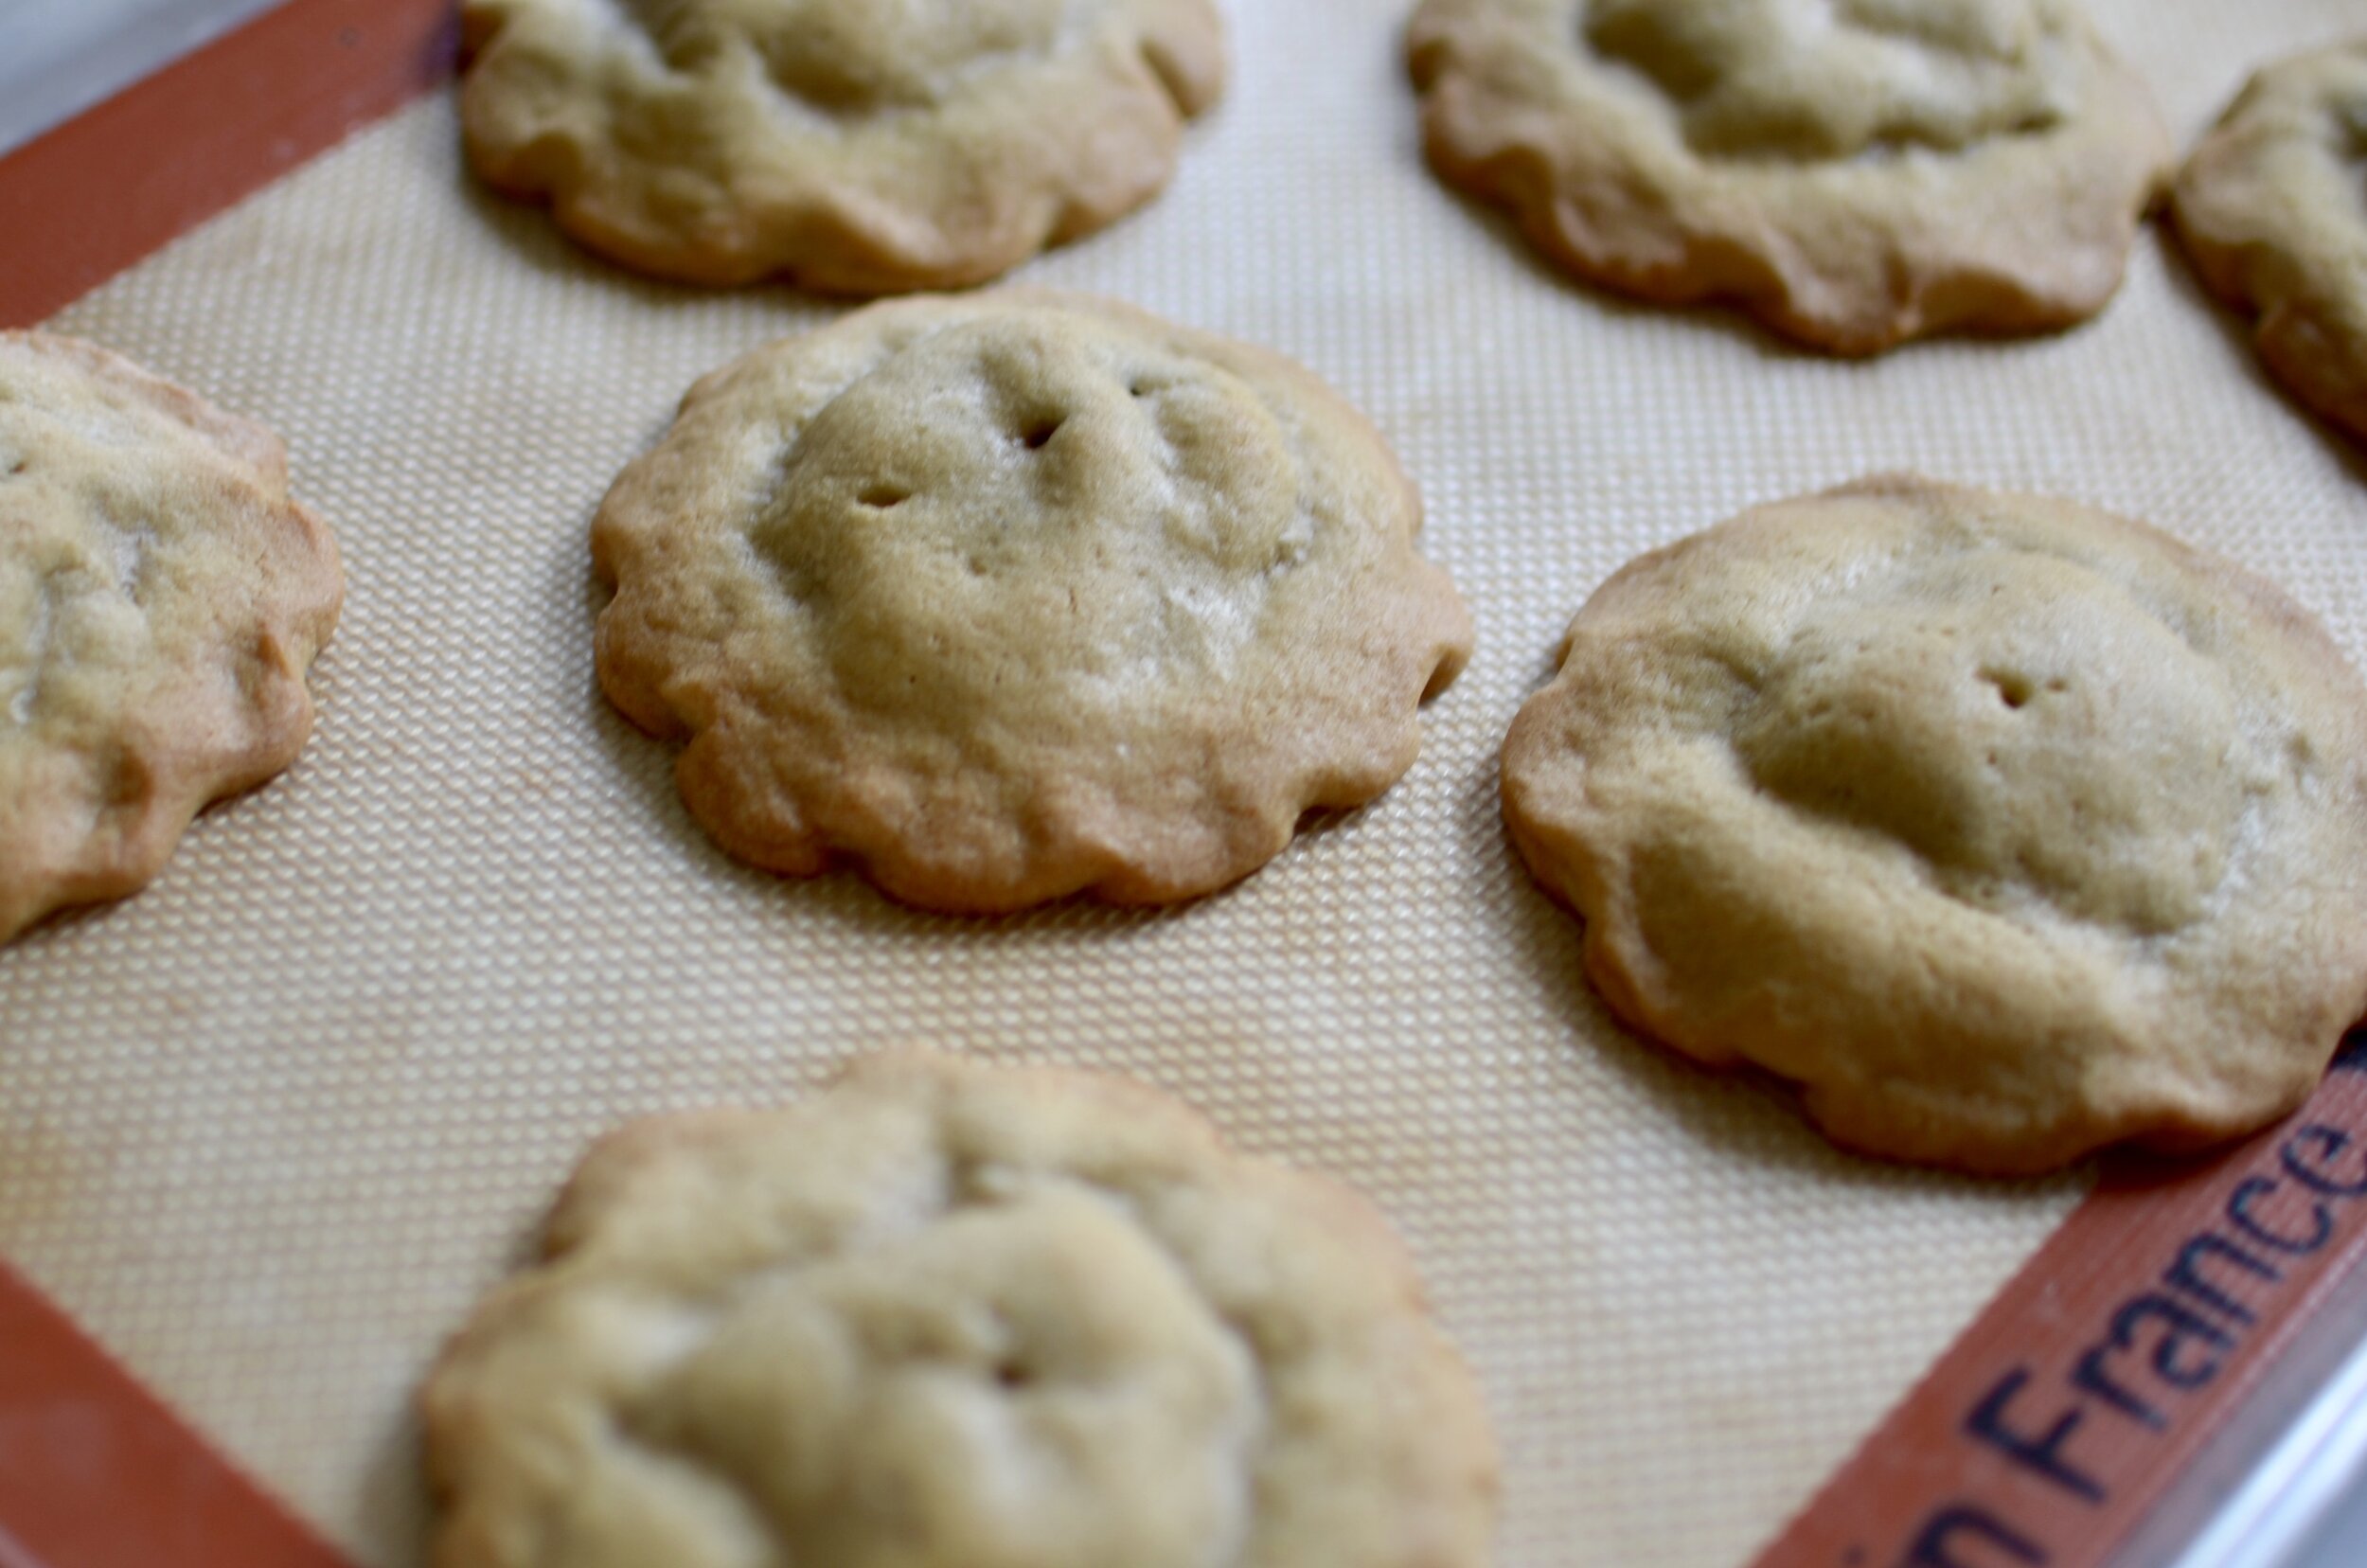
You can fit up to 40 dough balls on a sheet tray because they're so small. I find a silpat-lined half sheet pan is the best baking surface for these cookies.
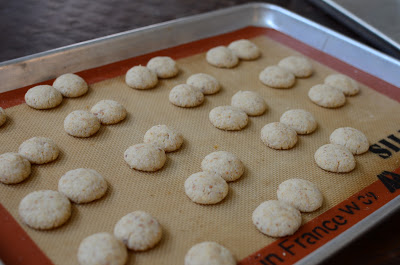
Let the baked cookies cool on the sheet tray - then pair them up according to their size so you're not scrambling to find the right size cookies to go together while warm chocolate is dripping down your arm.

Chop some very good quality chocolate and melt it. I melted mine slowly in the microwave, stirring every 5-10 seconds until the chocolate was silky smooth; then I poured it into a heavy-duty zip-top freezer bag and snipped a very, very small hole in one corner.
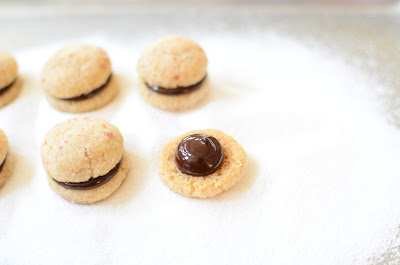
These cookies are round which means they tilt to one side rather than sit flat - especially after you sandwich them together. Not a problem once the chocolate has had a chance to set, but before that happens the chocolate flows in the direction of the tilt. I wanted my finished cookies to be neat looking so I nestled the bottom halves, nice and level, in a bed of sugar; then piped the chocolate and added the top halves. The chocolate will set in about 15 minutes or so. Brush any excess sugar off the bottom of the cookies and serve.
I hope I've inspired you to give these adorable cookies a try.
Items used to make this recipe:
(affiliate links)
stand mixer https://amzn.to/2Htm2JT
BeaterBlade attachement https://amzn.to/2HuUcwD
nutribullet https://amzn.to/3H4Jkko
professional half sheet pan https://amzn.to/2Y8hnlG
half sheet pan liners https://amzn.to/2OiUcAE
digital scale https://amzn.to/32DNqku
disposable pastry bags https://amzn.to/2Fe9KRT
hazelnuts https://amzn.to/2Hv6JjB
rice flour https://amzn.to/31TmEDK
Baci di Dama Cookies
makes about 45 itty-bitty cookies
Ingredients
1 1/4 cups (140g) hazelnuts, skinned
1 cup (140g) rice flour (or all-purpose flour)
3 !/2 ounces (100g) unsalted butter, room temperature and cut into cubes
1/2 cup granulated sugar (100g)
pinch of fine salt
2 ounces (55g) bittersweet or semisweet chocolate, chopped
Directions
In a food processor, pulse hazelnuts until finely ground (David says they should be the consistency of coarse polenta).
In the bowl of a stand mixer fitted with a BeaterBlade or paddle attachment, combine the nuts, rice flour, butter, sugar, and salt until no traces of butter remain; cover well with plastic and chill until firm (1-3 hours).
Preheat oven to 325F and line two half sheet pans with silicone silat liners.
Use a digital scale to weigh out 5-gram blobs of dough and roll into a 3/4-inch marble-size balls
Evenly space up to 40 balls of dough on each of the prepared pans; bake one pan at a time for 10-14 minuets or until the cookies are lightly browned.
Remove from oven and allow to cool completely on pan.
in a glass, heatproof bowl, gently melt chocolate in microwave in short 10-15 second bursts, stirring well after each burst; allow to cool for a few minutes before proceeding.
Transfer the melted chocolate to a disposable pastry bag and cut a very small hole in the bag (or use a heavy-duty zip-top freezer bag).
Pipe a chocolate chip-sized blog of melted chocolate on the flat side of one baci half and top with another to make a sandwich cookie (to keep bottoms level while adding melted chocolate, nest it in a bed of granulated sugar - this will keep the melted chocolate from drizzling out the side of the sandwich before it sets); allow chocolate to set up completely before moving.
adapted from David Lebovits and Terresa Murphy