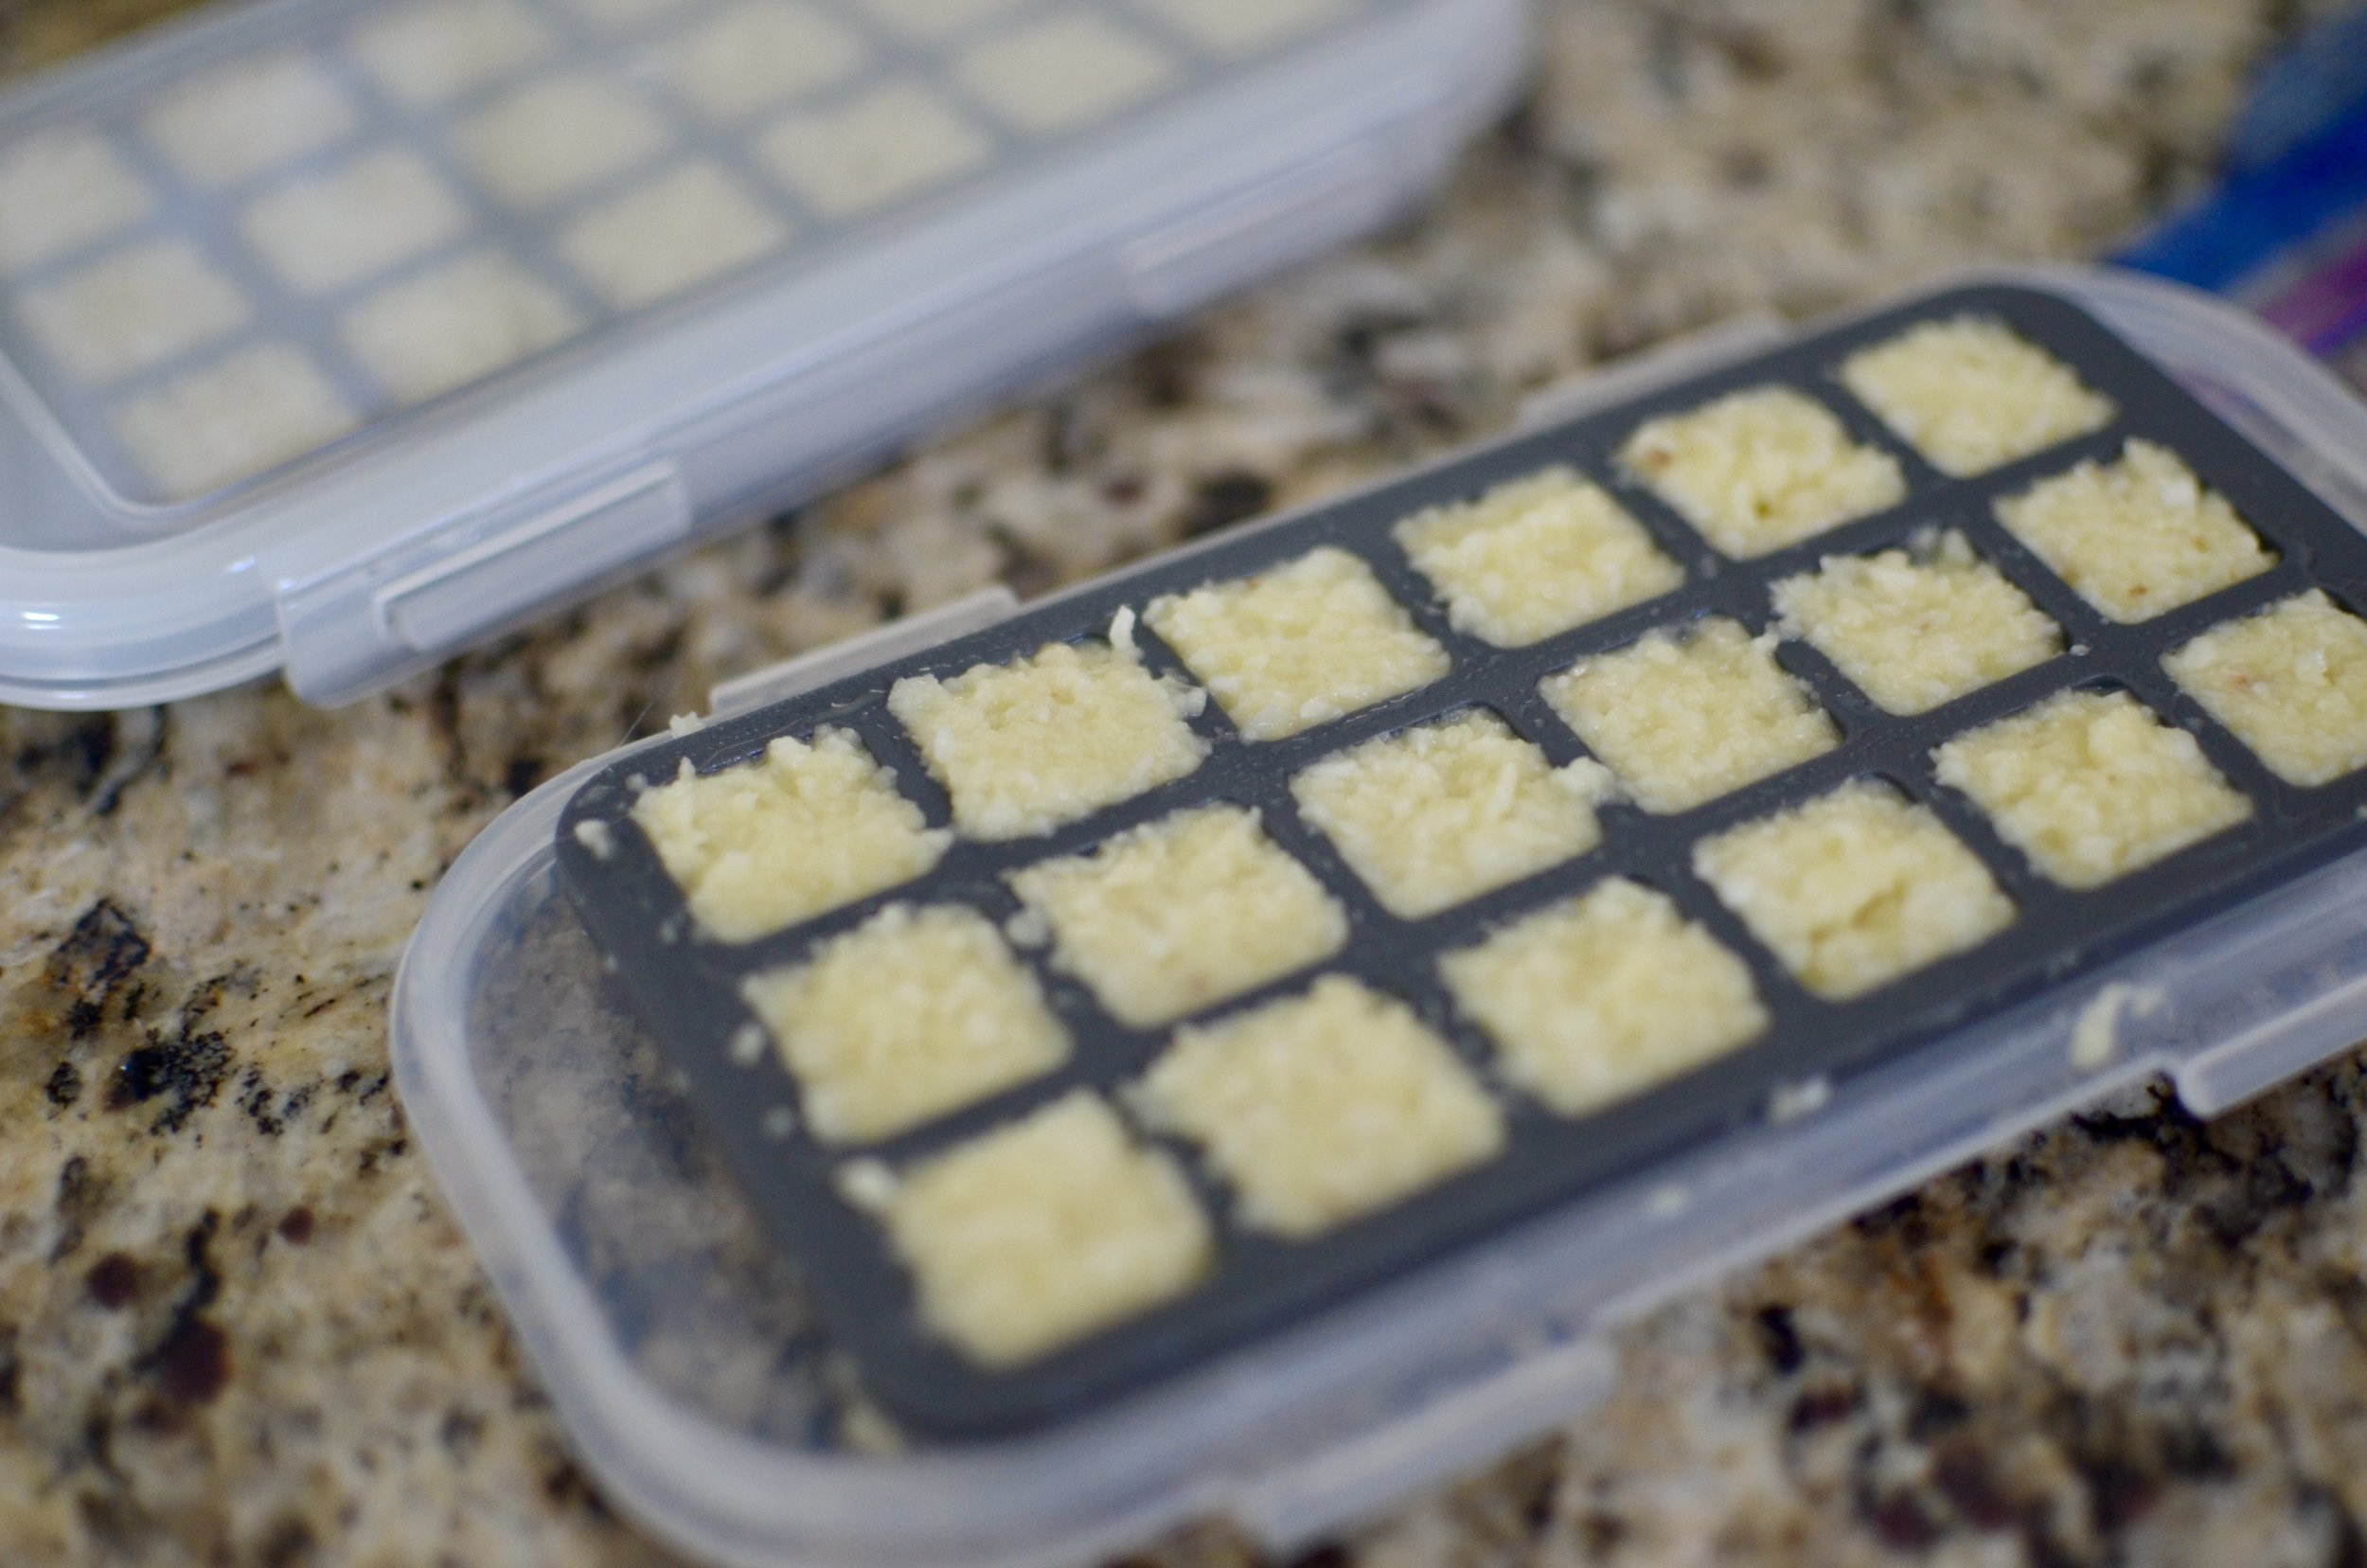
DIY Garlic Cubes
Patricia @ ButterYum
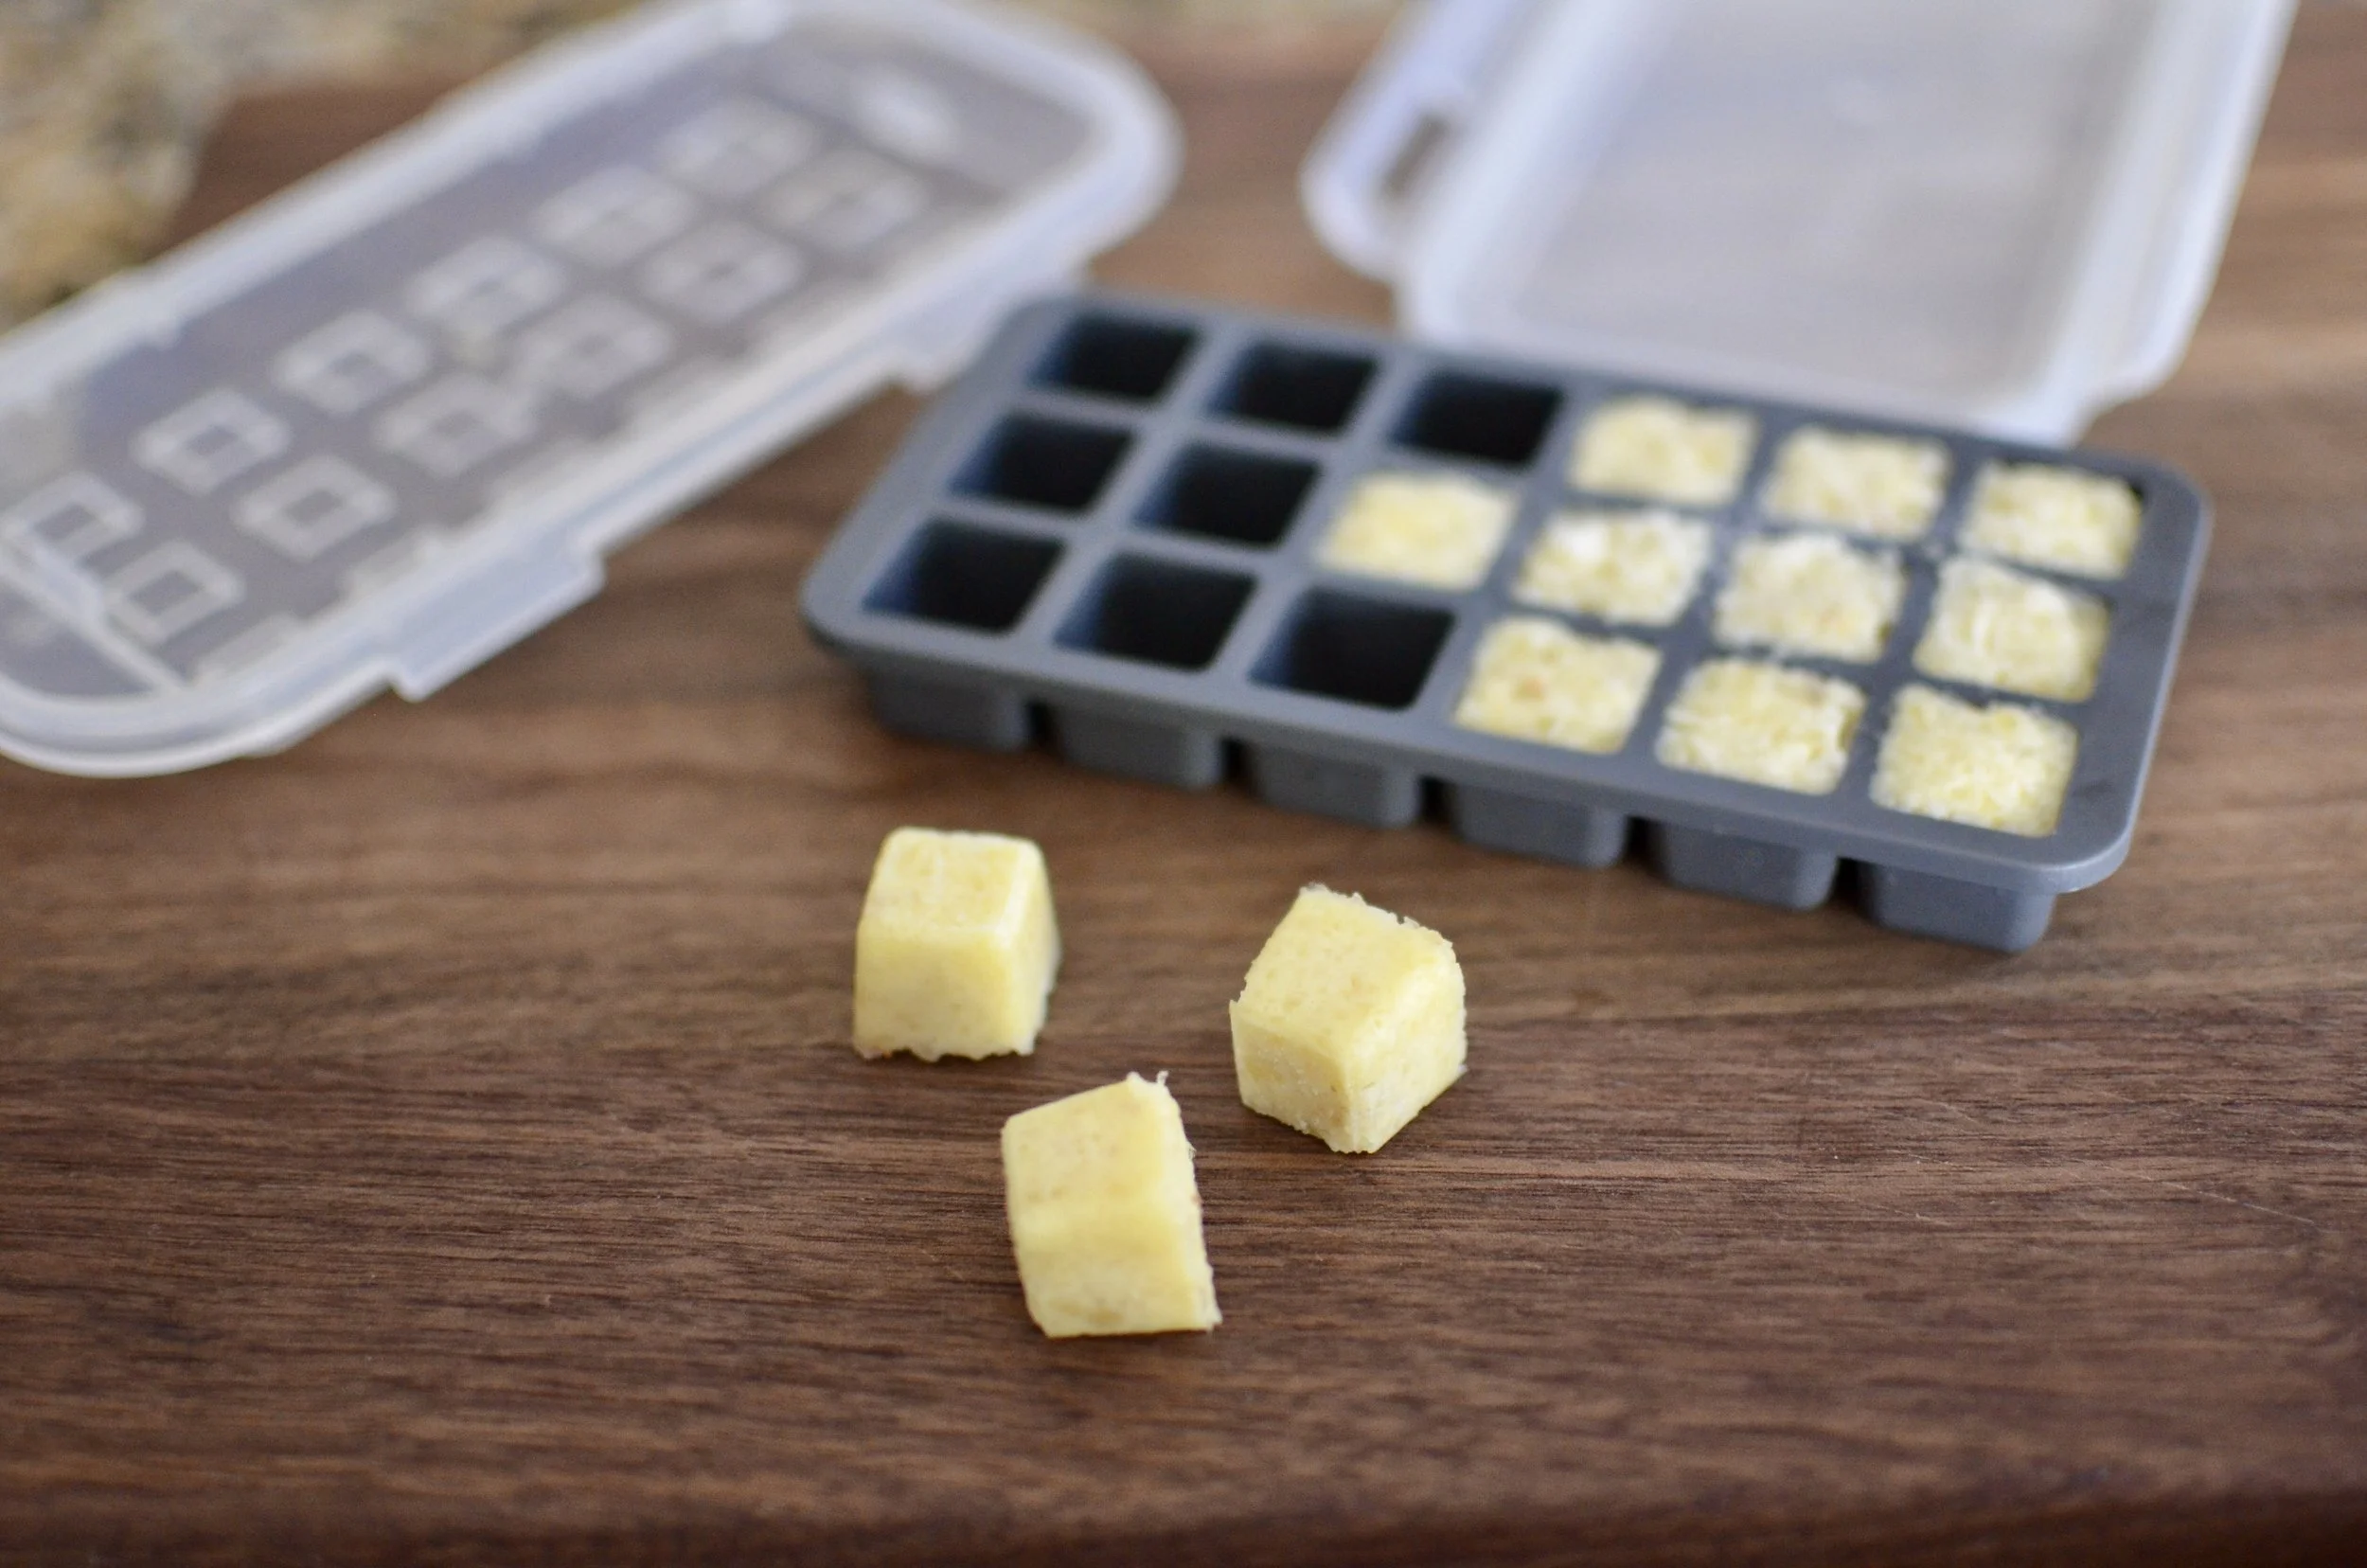
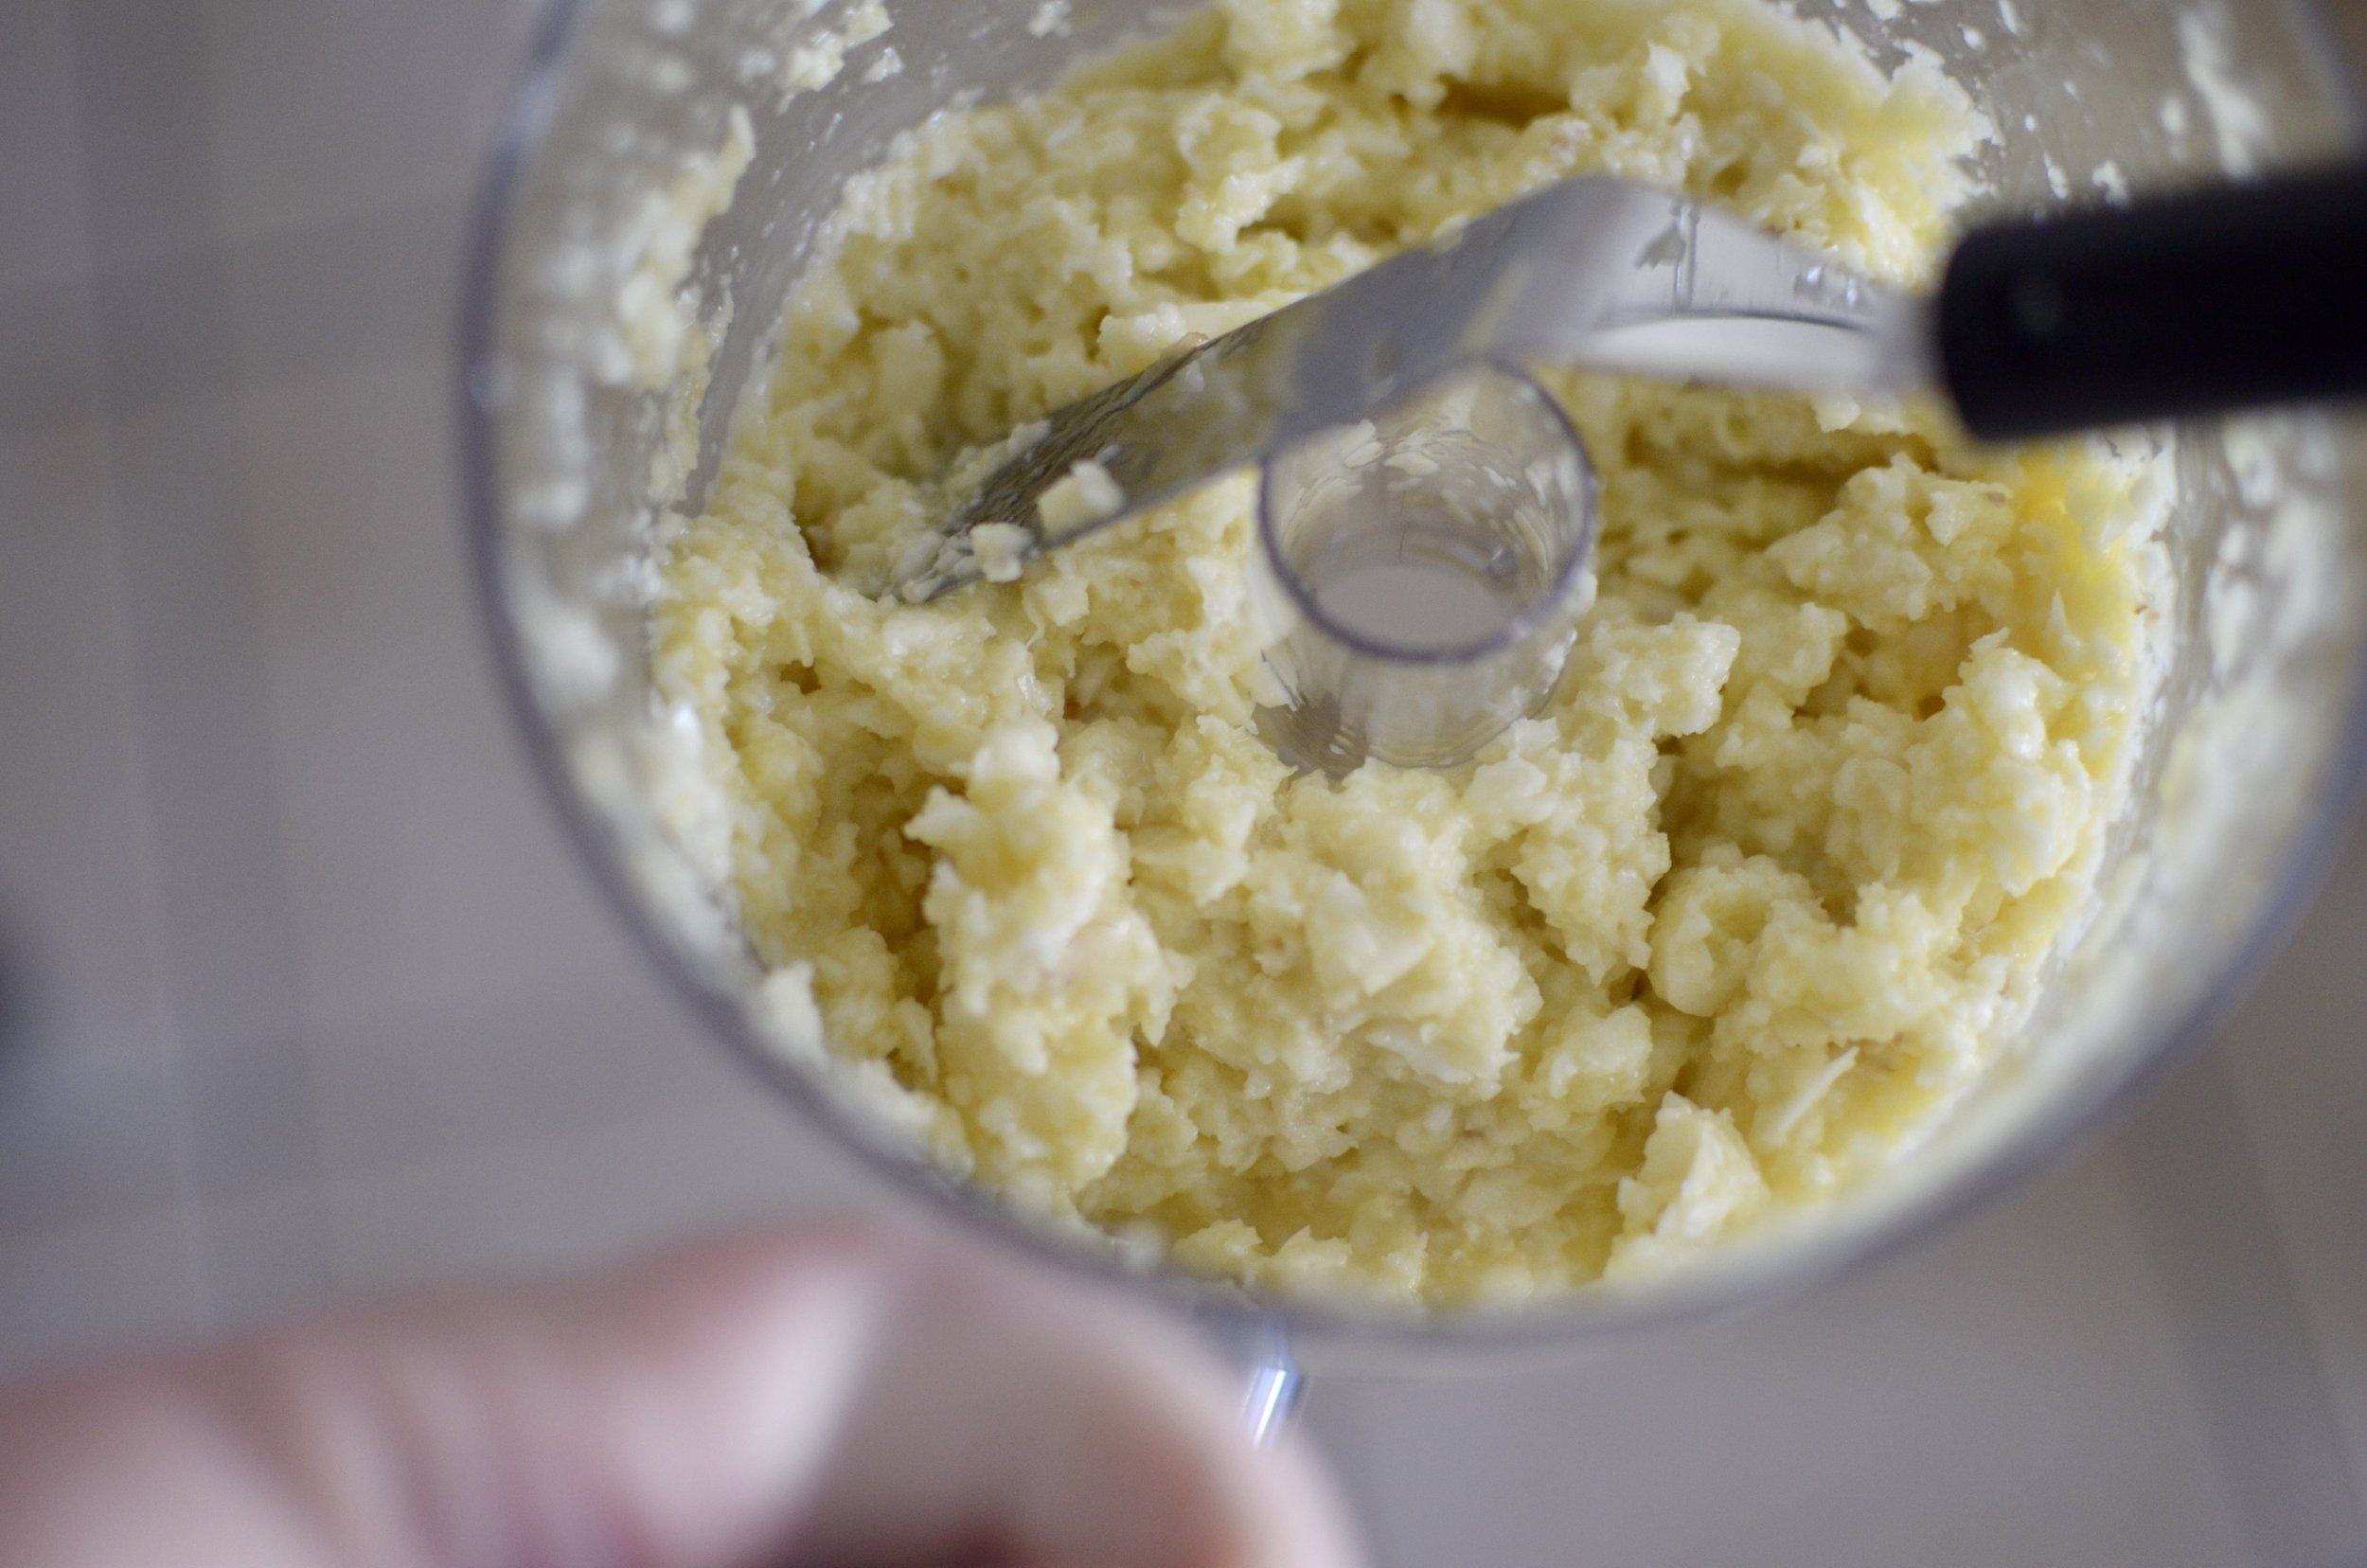
I’ve gotten to a point in my life where I kind of hate chopping garlic each and every time I cook. I used to love smashing and chopping cloves when I prepared meals, but now I find it a tedious task. I also detest jarred garlic as it lacks the wonderful flavor of fresh garlic. Thankfully, I found the perfect solution with these awesome garlic cube trays. To use them, place peeled garlic and a little olive oil in a mini food processor (see my update below) and pulse a number of times (scraping the bowl as needed) until the garlic is finely chopped. Fill the garlic cube trays, seal closed, and freeze. Anytime you need chopped garlic, just pop out as many cubes as you need. Easy peasy.
UPDATE: I no longer add olive oil to the processed garlic. It’s less messy without the oil and the frozen cubes pop right out of the a little tray with the help of a butter knife.
Notes
These garlic cube trays are completely sealed so there’s no chance the garlic will permeate the freezer.
If you purchase pre-peeled garlic cloves, a 6-ounce bag pulsed in a mini processor with about 3 tablespoons of olive oil is enough to fill two garlic keeper trays.
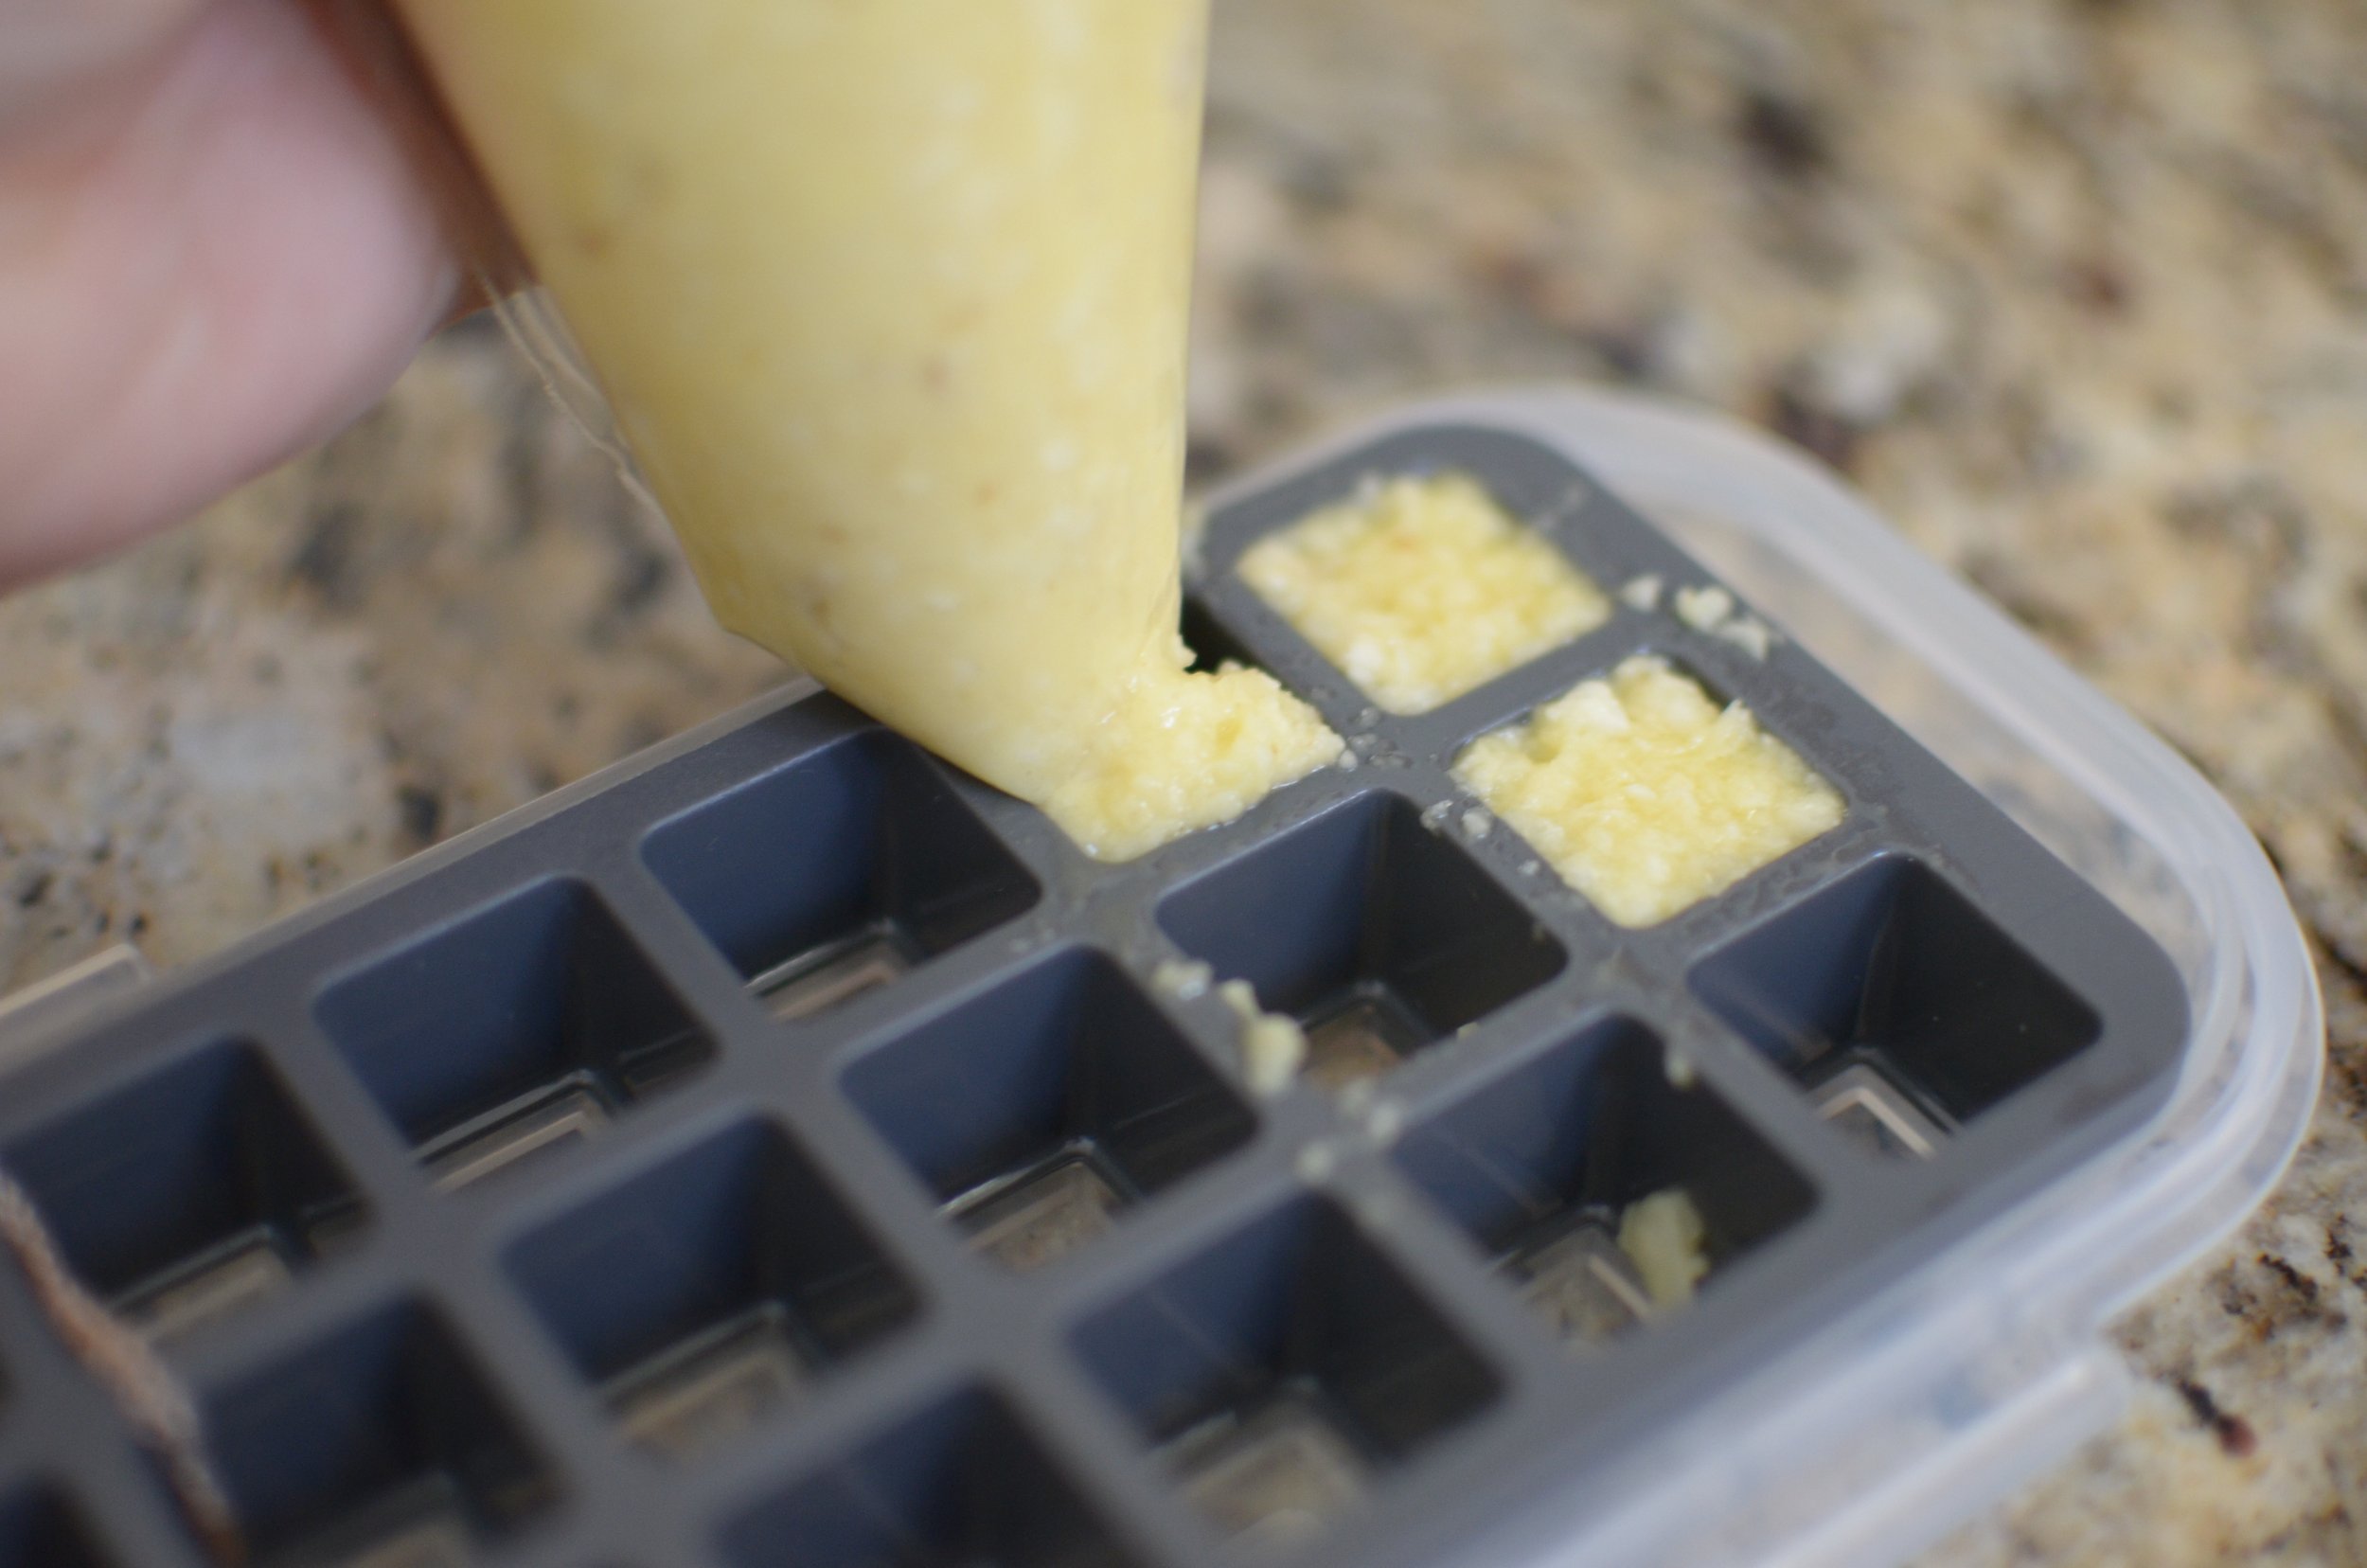
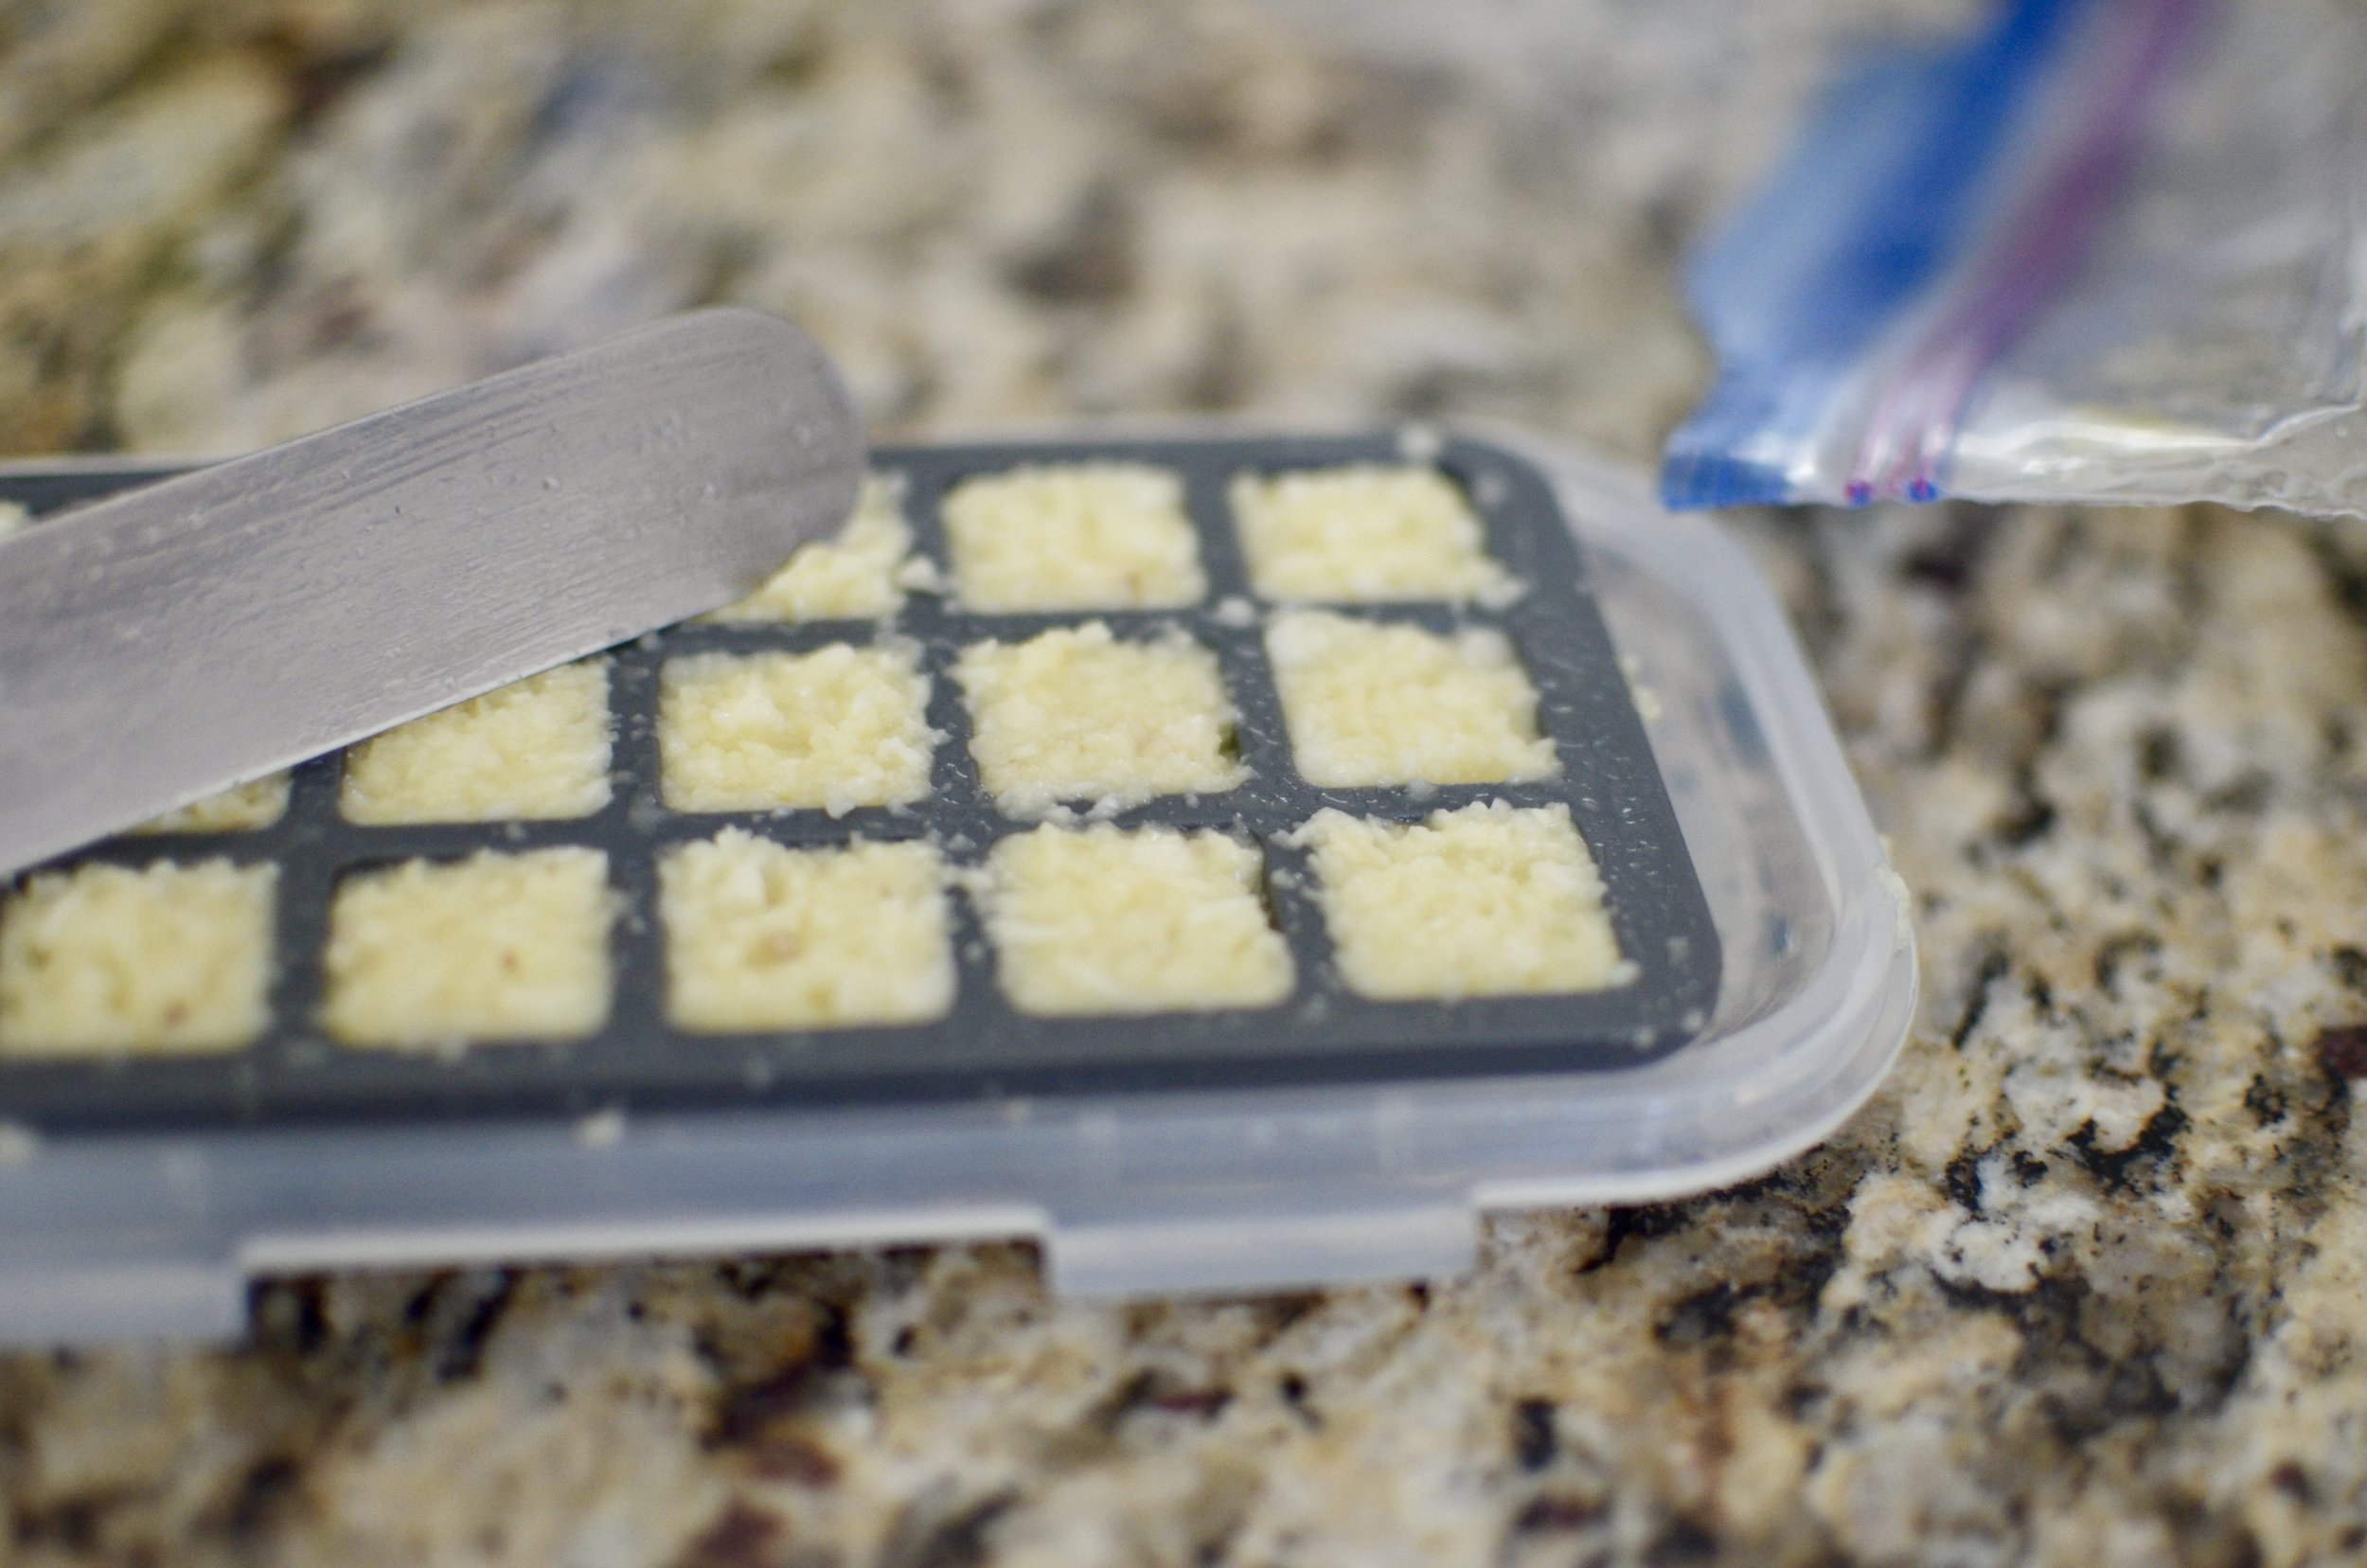
To fill the trays neatly, transfer the chopped garlic mixture to a disposable pastry bag or a sturdy zip-top bag, clip the corner, and squeeze to fill the cubes; then use an offset spatula to scrape away any excess.
