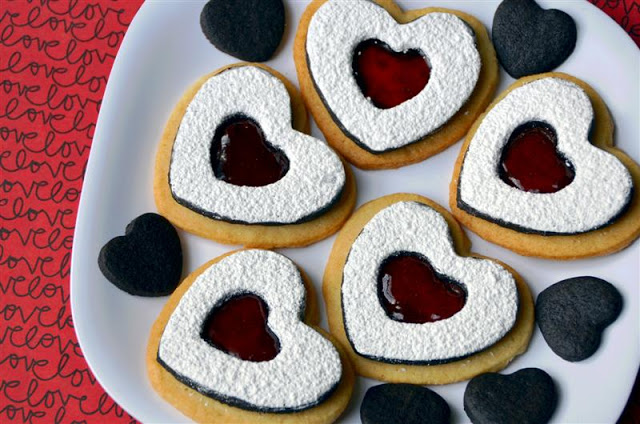
Russian Buttercream
Patricia @ ButterYum

There are a number of popular buttercreams in the world. Swiss, Italian, French, and American are all fairly well known, but Russian buttercream is just starting to become known in the baking world. How does is differ from the others?
Each kind of buttercream can be flavored in various ways, but basically Italian, Swiss, and French buttercreams are made with a variety of cooked sugar syrups. They also require the use of a thermometer to ensure their respective sugar syrups reach the proper temperature (with the exception of French Buttercream, which doesn’t always require a thermometer - although it’s highly recommended for those under 5, over 80, or immune-impaired).
American Buttercream is by far my least favorite - truth be known, I don’t even think it should be called buttercream, but it’s popular with many because it’s so fast and easy to prepare, and does not require the use of a thermometer - you just dump confectioner’s sugar and butter in a bowl and mix them together.
And finally, Russian Buttercream. Russian Buttercream is as easy to make as American (actually easier), but it has the same silky smooth texture and depth of flavor as Italian, Swiss, and French. Great, great stuff. I hope you’ll give it a try.
To recap, here are the various buttercreams and how they differ:
Italian: made by combining a hot sugar syrup with beaten egg whites and softened butter (my personal favorite). It has a silky smooth texture, delicate flavor, and is very stable at room temperature for extended periods of time. You must use a thermometer when making Italian Meringue Buttercream.
Swiss: made by heating sugar and egg whites together before whipping, cooling, and adding softened butter. It has a silky smooth texture, delicate flavor, and is fairly stable at room temperature, but not quite as stable as Italian Meringue Buttercream. You must use a thermometer when making Swiss Meringue Buttercream.
French: made by combining a hot sugar syrup with beaten egg yolks and softened butter. It has a silky smooth texture and delicate flavor, but it’s is a little softer than Italian or Swiss Buttercream and is not very stable at room temperature. Not all recipes for French buttercream call for the use of a thermometer, but it’s recommended when feeding those under 5, over 80, or the immune-impaired.
American: made with softened butter and confectioner’s sugar. It’s texture is extremely gritty and the flavor is extremely sweet. It’s gross and disgusting and I cannot recommend you make it… ever.
Russian: made basically with just two ingredients… sweetened condensed milk and butter. That’s it. There’s no need for a thermometer because sweetened condensed milk contains all the sugar you need and it’s already been cooked. The texture of Russian Buttercream is silky smooth. It’s pretty stable at room temperature too.

So today my Russian Buttercream is actually going to be a Russian-Mexican fusion because I’ll be using dulce de leche in place of traditional sweetened condensed milk.
For decades home cooks would make dulce de leche by simmering unopened cans of sweetened condensed milk for hours until the milk inside would caramelize. Most people did this successfully, but there were always stories of those who were not so successful. I don’t know about you, but the thought of a can of sticky, molten caramel exploding all over my kitchen kept me from ever trying. Thankfully, at some point, sweetened condensed milk manufacturers decided to assume the risk for us, and home cooks the world over rejoiced.
Ok, that might be a stretch, but yay!

Start with room temperature butter, about 70F.
A hand mixer works well when making a small batch of this buttercream, but you’ll want to use a stand mixer for larger batches.

Whip the butter for 2-3 minutes until it’s light and fluffy (the photo above is after about 1 minute).

Here we are after 3 full minutes - see how light the color of the butter is?
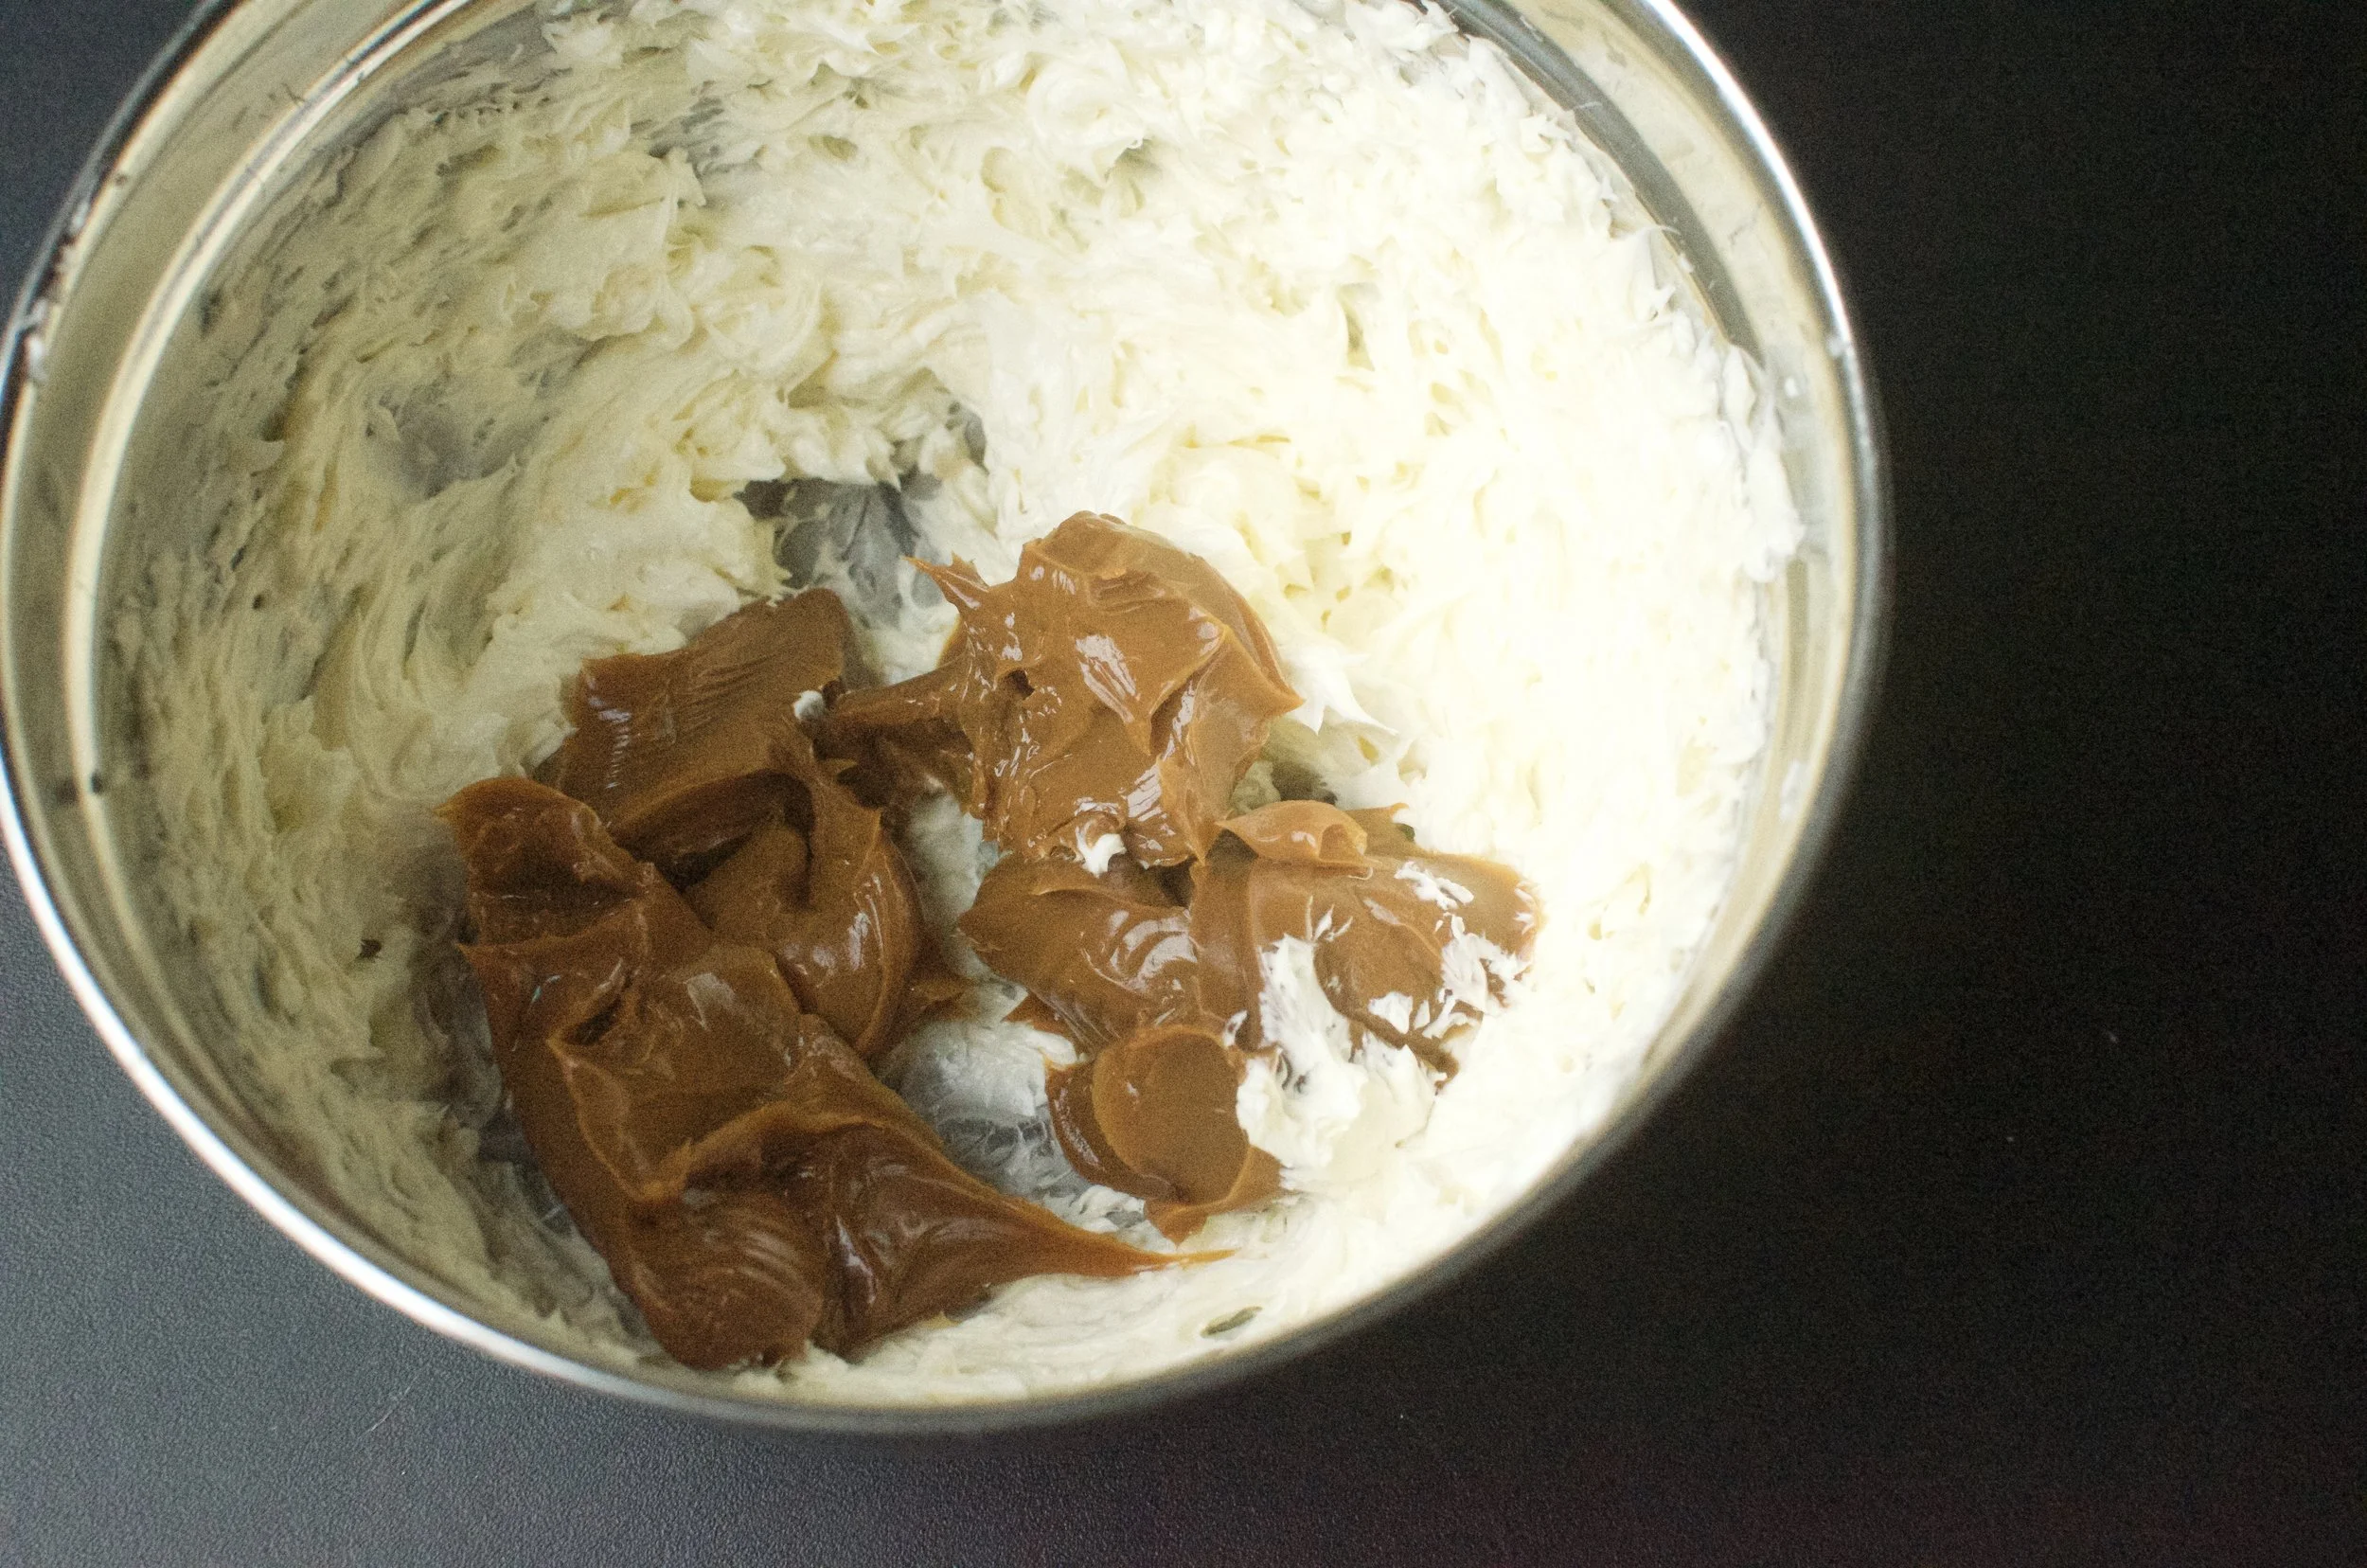
Time to add the dulce de leche.

Whip them together until light and fluffy, scraping the bowl as needed. You’ll want to taste it carefully and add some fine table salt to taste - just enough to highlight the butter and caramel flavors.
If you’re a fan of salted caramel, sprinkle the finished buttercream with flaked or coarse salt just before serving. Yum!

Well, that’s all there is to it. Super, super simple, don’t you think? Next up, I’ll be sharing a fun way to use this buttercream. Until then, have a great day.
Items used to make this recipe:
(affiliate links)
dulce de leche https://amzn.to/34J6vlR
hand mixer https://amzn.to/34vJl2D
vanilla variation (see notes below) https://amzn.to/48etNLv
Russian Buttercream w/Dulce de Leche
makes enough to frost 12 cupcakes
Ingredients
1/2 pound (226g) unsalted butter at room temperature (70F)
1/2 pound (226g) canned dulce de leche
fine table salt to taste
Directions
In a medium mixing bowl, beat room temperature butter using a hand mixer for 5 minutes, until light in color and very fluffy.
Add dulce de leche and continue beating with a hand mixer for 1 minute.
Taste the mixture carefully and add just enough salt to highlight the butter and caramel flavors; continue whipping for another minute or two, scraping the bowl if needed.
Notes
To make salted caramel variation, sprinkle flaked or coarse salt on top of buttercream when serving.
To make a vanilla version, use regular sweetened condensed milk instead of the dulce de leche variety, and add 1 teaspoon of pure vanilla extract.