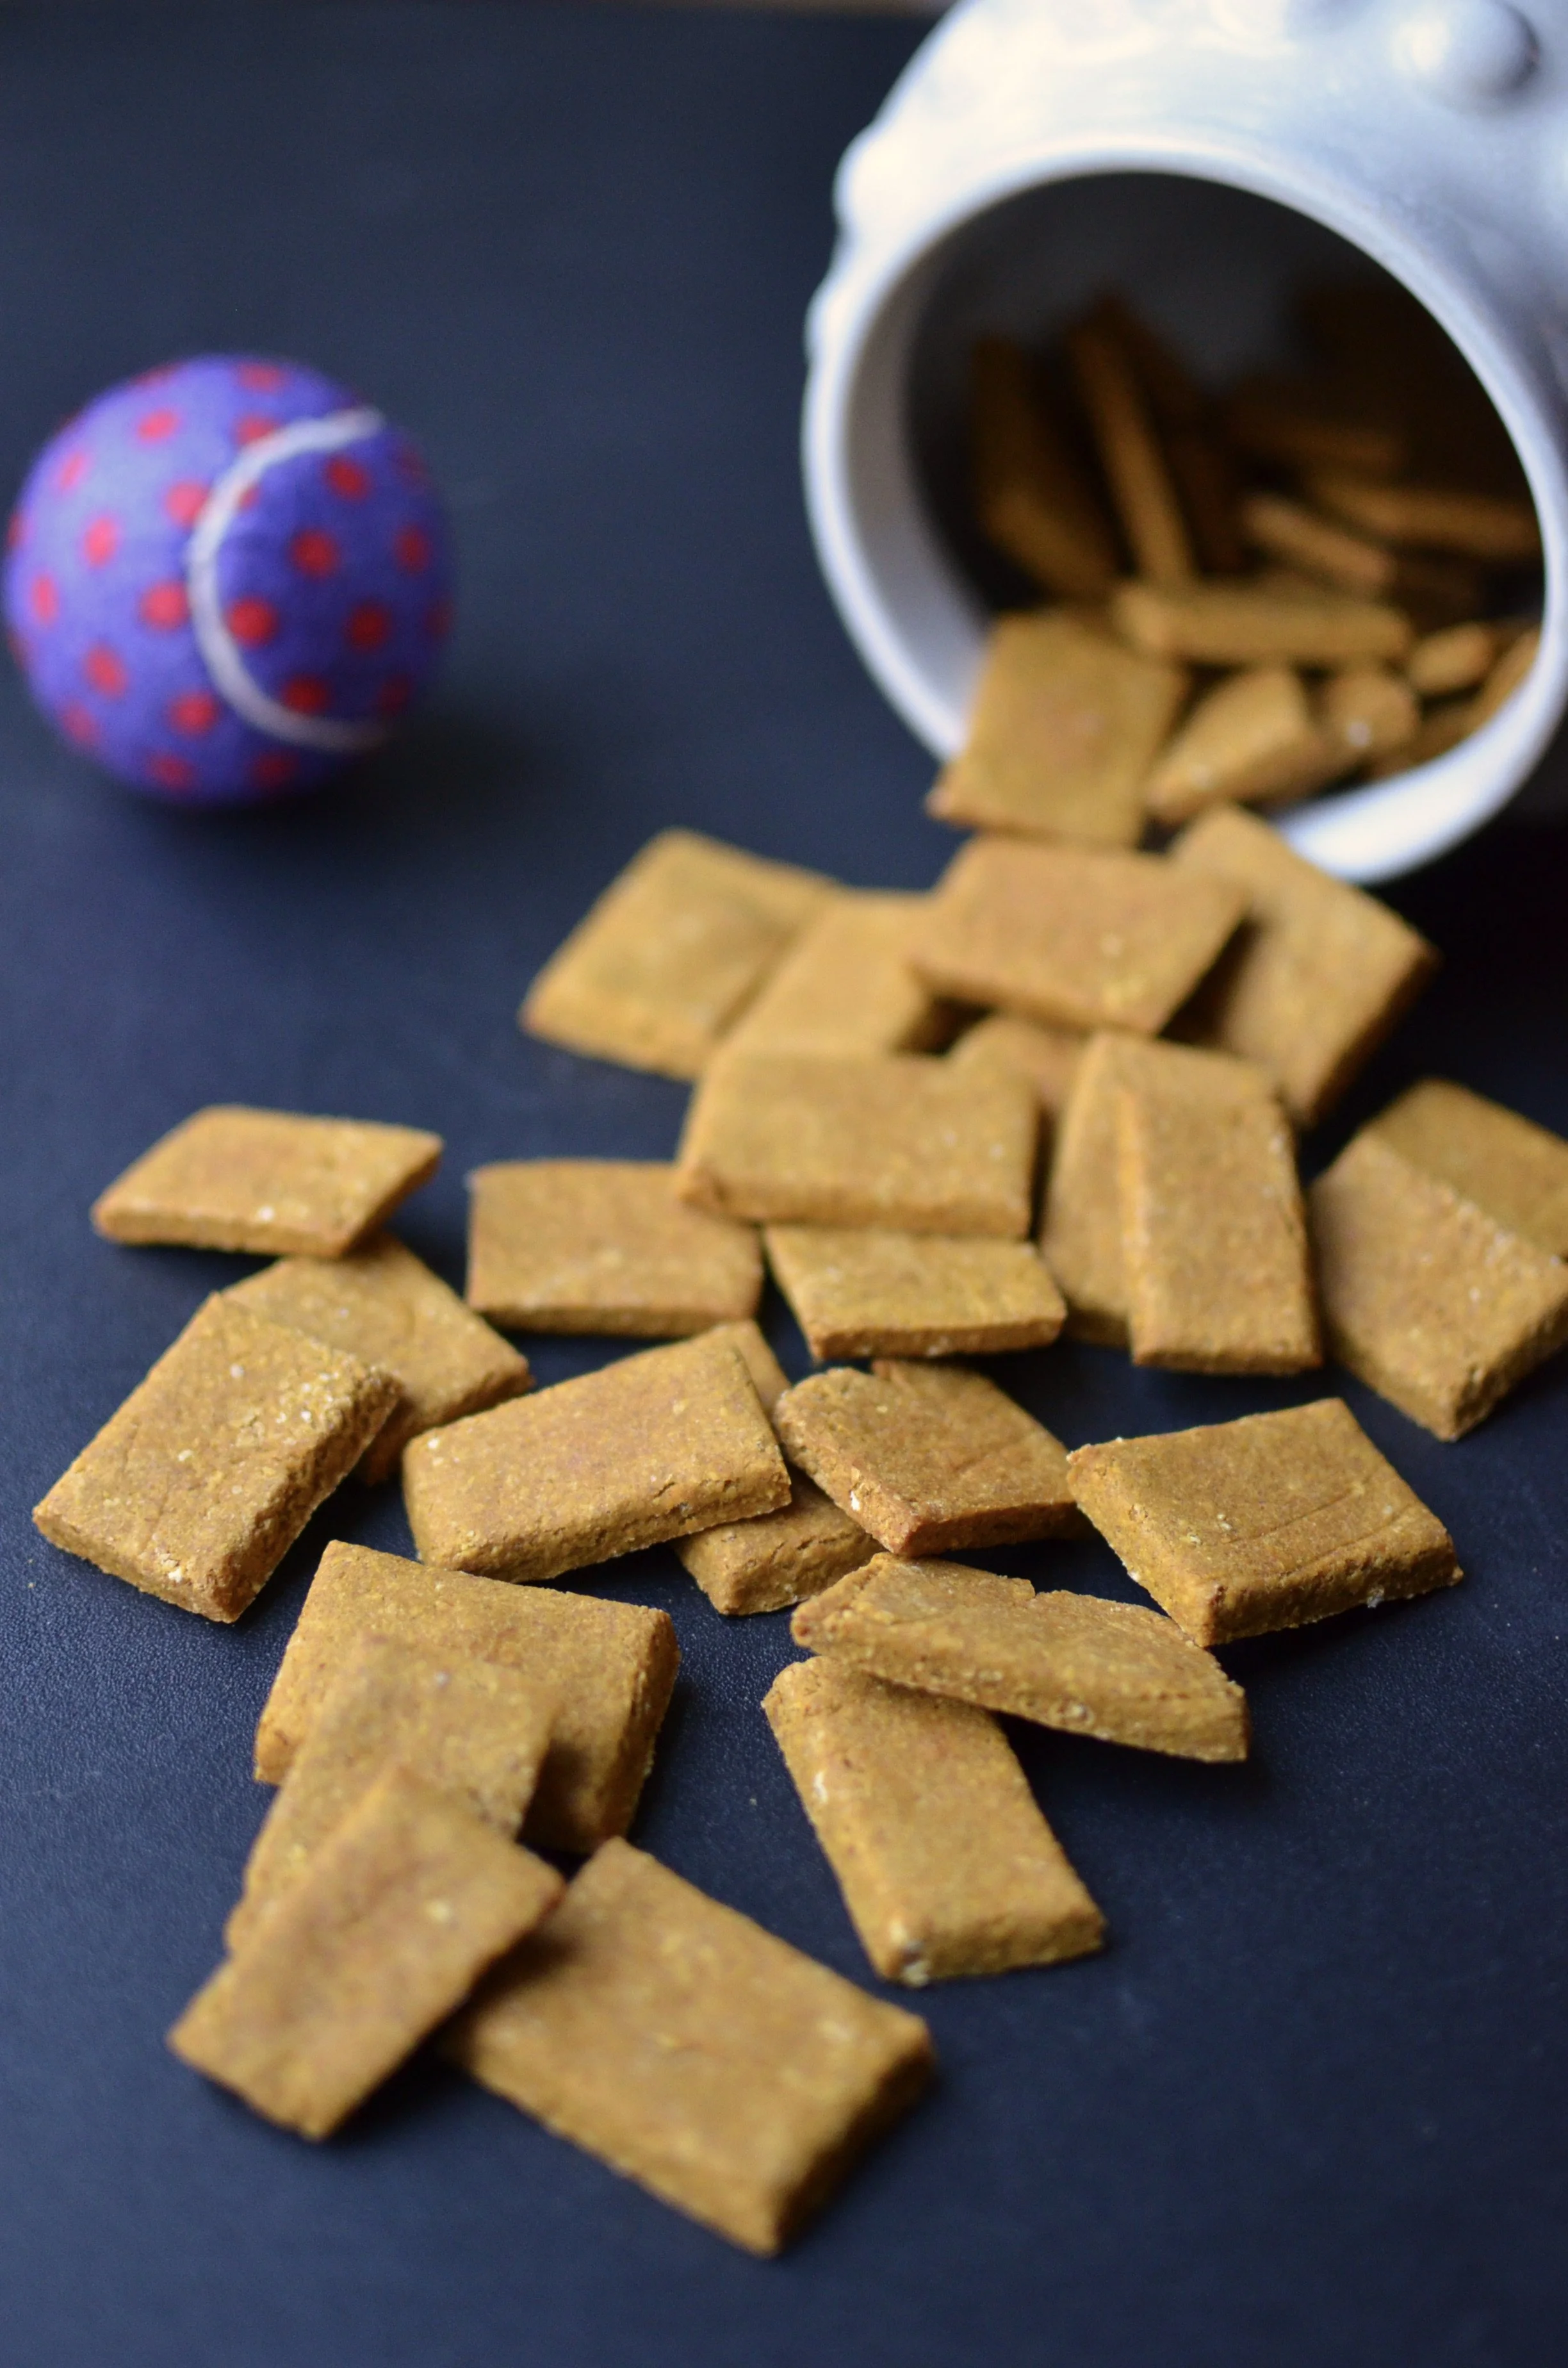
Peanut Butter Dog Treats
Patricia @ ButterYum
We recently had a shortage of dog treats at my grocery store so I needed to find a solution, stat! Thankfully, these high-protein treats are a cinch to make using just 5 healthy pantry staples you probably already have on hand. The pups absolutely LOVE them, and I love that the treats don’t contain a bunch of icky ingredients. It’s a win-win!
Combine ingredients until a soft, supple dough forms. The dough should not be sticky. If it is sticky, knead in a little extra whole wheat flour. Place dough on a sheet of parchment paper.
Cover with another sheet of parchment and roll to 1/4-inch thickness (use rolling guides for accuracy).
Ta-da!
Use treat cutters or a pizza cutter to cut dough in desired shapes (mine were approx 1x1.5 inches). Bake on parchment-lined half sheet pan as directed in the recipe below. Cool completely and store in an airtight container.
Items used to make this recipe:
(affiliate links)
rolling guides https://amzn.to/3iQPERU
parchment sheets https://amzn.to/3v41sGn
half sheet pans https://amzn.to/38kgMH5
dog treat cutters https://amzn.to/35tkUDz
pizza cutter https://amzn.to/3K0BLMV
dog treat canister https://amzn.to/3wQo7s9
small food processor https://amzn.to/3u7OV5v
personal blender https://amzn.to/3qTSF8A
Peanut Butter Dog Treats
makes a bunch of treats (approx one half sheet pan full)
Ingredients
1 1/4 cups rolled oats (quick cooking or old fashioned)
1 1/4 cups whole wheat flour
2 large eggs
1/2 cup 100% pure pumpkin puree
1/4 cup creamy peanut butter
1/2 teaspoon fine table salt
Directions
Preheat oven to 350F and place rack in center position.
Line half sheet pan with parchment paper; set aside until needed.
Grind rolled oats in a small food processor or personal blender until the oats resemble coarse meal (this step is optional, but will make the dough easier to cut).
Place ground oats and remaining ingredients in the bowl of a stand mixer fitted with the flat paddle attachment; combine until no traces of dry ingredients remain. Alternatively, you can stir the ingredients together by hand in a mixing bowl. The dough should be soft, supple, and easy to handle. It should not be sticky. If your dough is sticky, add a little more whole wheat flour. if your dough is dry, add a little water.
Place half the dough between two layers of parchment paper and roll to 1/4-inch thick using rolling guides.
Cut dog-friendly shapes using dog treat cutters or a pizza wheel and place on parchment lined half sheet pans, leaving at least 1/4-inch space between treats. Re-roll scraps and continue until there’s no more dough to roll.
Bake shapes for 30 minutes, then flip over and bake for an additional 15 minutes or until dry. Treats will firm up and become crunchy as they cool so it’s okay if they’re just a little soft in the center when you remove them from the oven.
Allow treats to cool completely before storing in an airtight dog treat container to preserve crunchiness.
Notes
You can use either old fashioned or quick cooking oats. Quick cooking are kind of broken up to begin with, so this is a good recipe to use them in.
Grinding the oats makes cutting the dough easier, but you can leave them unground if you don’t want to bother.
The dough should be soft and supple, and not stick to your hands. If it’s too sticky, add a little whole wheat flour. If it’s too dry, add a little water.
No need to sprinkle flour on the parchment paper when rolling the dough.
For this recipe, I prefer baking on parchment rather than silpat (silicone) liners because the parchment produces crispier treats.
Cut dough into whatever shape you like. Depending on the size, you many need to adjust the baking time. For reference, my baking directions are for treats that are 1/4-inch thick and measure approximately 1x1.5 inches.
If there’s any question about whether or not your treats are completely dry, you may want to consider allowing them to rest overnight in the turned off oven.
adapted from scratchpantry.com


