Soft and Chewy Vanilla Sugar Cookies
Patricia @ ButterYum
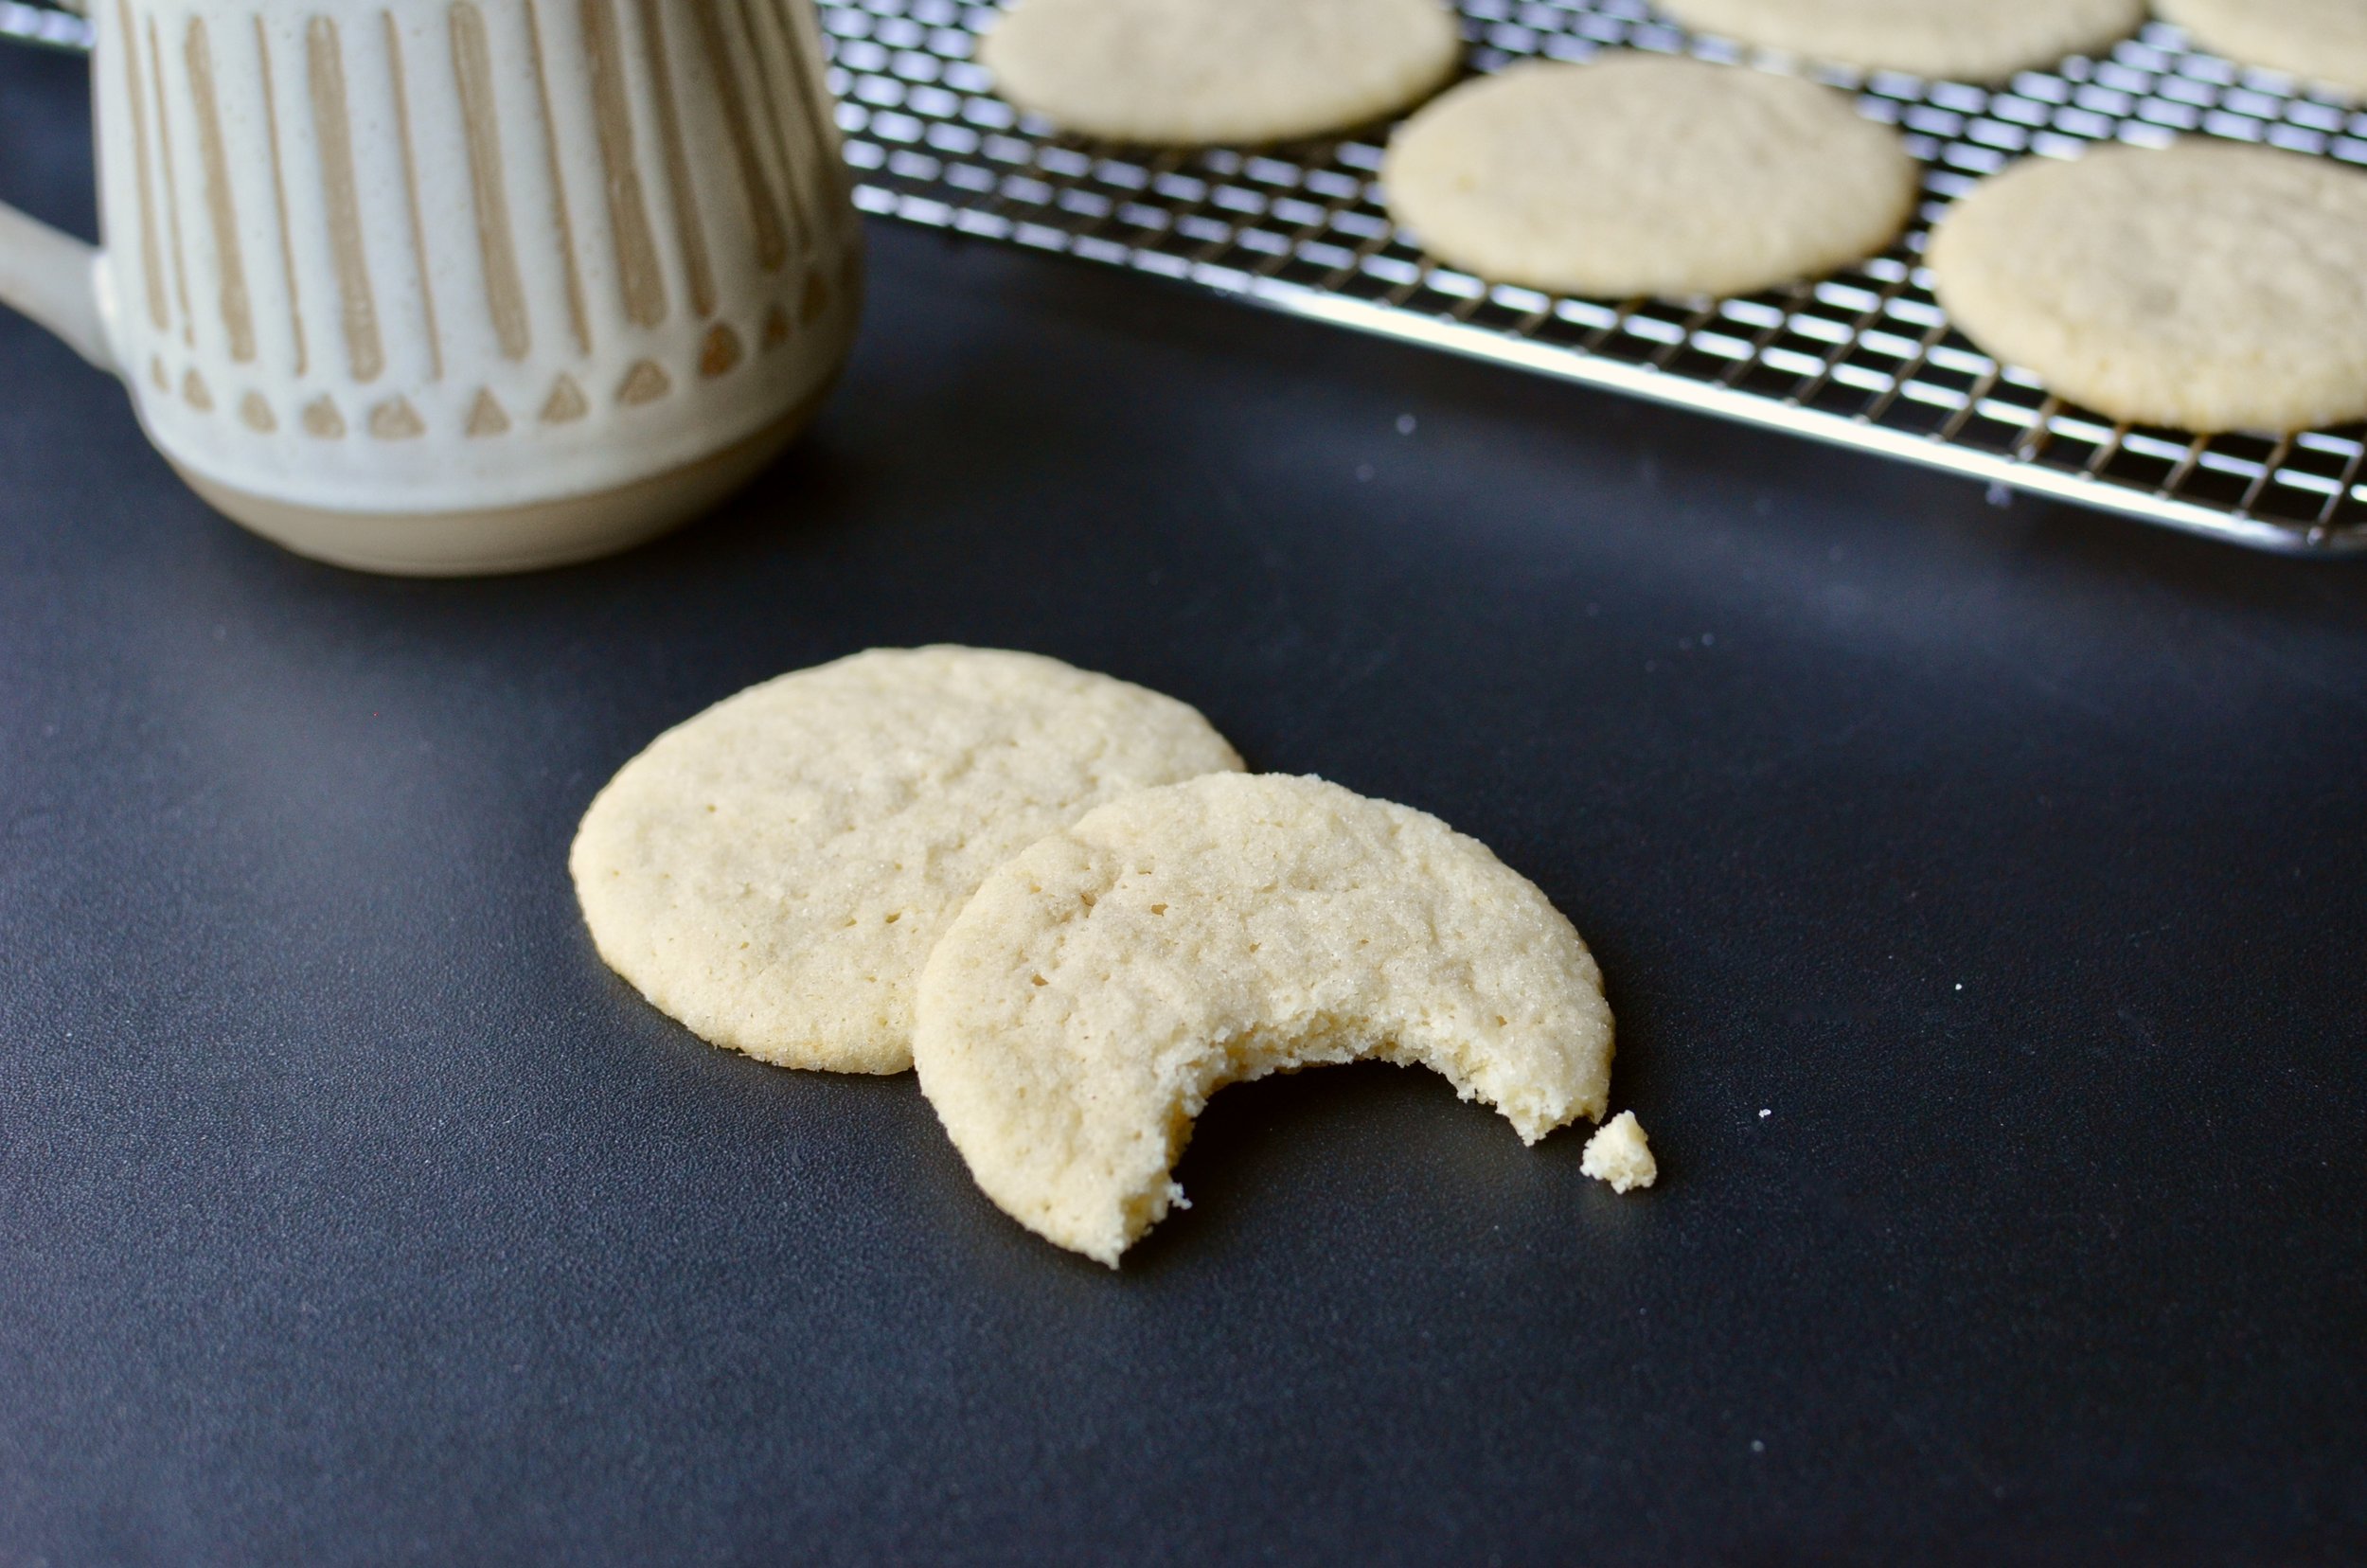
A family member recently requested sugar cookies. It had been a long time since I enjoyed a good sugar cookie so I was happy to oblige. This recipe produces sugar cookies that are very soft, very chewy, and full of wonderful vanilla flavor. Since the cookies are so tender, it’s probably no surprise that the dough is not suitable for rolling and cutting with cookie cutters. Instead, use a #50 cookie scoop to portion equally-sized dollops of this lovely dough.
Items used to make this recipe:
(affiliate links)
pure vanilla extract (be sure to use the good stuff)
Soft and Chewy Vanilla Sugar Cookies
makes 24 cookies
Ingredients
1/2 cup granulated sugar
8 ounces unsalted butter, room temperature
less than 1 egg (you’ll need 30 grams or 1 tablespoon) *see notes below
1 teaspoon pure vanilla extract
1 cup all purpose flour
1/2 teaspoon baking powder
1/2 teaspoon table salt
extra granulated sugar for coating the dough
Directions
Preheat oven to 350F, place the oven rack in the center position, and line two half sheet pans with parchment paper or silpat liners (see notes below).
In a small bowl, whisk together flour, baking powder, and salt; set aside.
In the bowl of a stand mixer fitted with a paddle attachment, cream butter and sugar together for 3 full minutes on high speed; stop the mixer and scrape down the sides of the bowl. Alternatively, you can use a hand mixer, but increase the creaming time to 5 minutes.
Turn mixer on medium speed and add egg and pure vanilla extract until fully emulsified (no traces of egg remain).
Turn mixer on low and add flour mixture just until no traces of dry flour remain.
Use a #50 scoop to portion the dough; roll each portion into a ball and coat with granulated sugar.
Place dough balls on lined sheet pans (12 per pan); use a glass (see notes below) to press dough balls to 1/2-inch thickness.
Bake one sheet pan at a time for 9-11 minutes; remove as soon as the edges are set and they start to turn a slight golden color.
Allow cookies to cool complete on sheet pan before transferring to an airtight container. Store at room temperature.
Notes
For best results, bake only one sheet pan at a time.
For this particular recipe, parchment paper gives slightly better results than silpat liners, but either will work (see photo below)..
To measure egg, break into a cup or bowl and beat to combine the whites and yolks completely, then measure the amount needed for this recipe. Save the rest in an airtight container for tomorrow’s breakfast.
Do not place cookie dough on hot or warm cookie sheets. Wait for the sheets to cool completely before using.
If the cookie dough is too soft to handle, chill it for a few minutes before rolling.
When pressing the dough, use a plastic cup or a glass wrapped with plastic wrap to prevent sticking. Alternatively, you can dip your glass in additional granulated sugar between presses.
Remove the cookies from the oven as soon as the edges are set and start to turn the slightest golden color; allow the cookies to cool completely before removing from sheet pan.
Store leftovers in an airtight container at room temperature.
If your cookies spread too much during baking, chill pressed cookie dough for 10 minutes before baking.
If using a hand mixer instead of a stand mixer, increase the time you cream the butter and sugar together to 5 minutes.
adapted from A Spicy Perspective

Both cookies pictured above started off as exactly the same size ball of cookie dough. The cookie on the left was baked on a silpat liner (silicone), while the cookie on the right was baked on parchment paper.


