Caring For Your Wooden Utensils
Patricia @ ButterYum

As you know by now, I really love to spend time in the kitchen. When I moved into my first apartment more than 20 years ago, I was living on a really tight budget and the only way I was able to stock my kitchen with utensils was to buy really cheap ones at the grocery store. When my $1 wooden spoon broke the very fist time I used it, I learned that you really get what you pan for.
I managed to make-do for a while, but as soon as I was able, I started replacing all of my inexpensive wooden spoons with higher quality woods like walnut, cherry, olive, maple, bamboo. Some of these replacements are more than 10 years old so they've been well worth the investment. I attribute their longevity to their quality, and to the fact that I spend a few minutes a couple of times a year maintaining and protecting them so they stay in tip-top shape. Here's what I do:
(this post contains affiliate links)
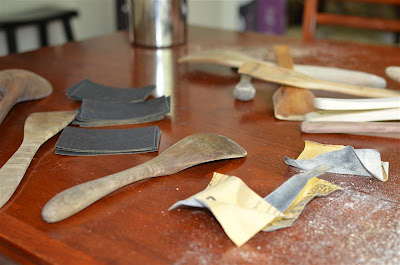
I start with a variety pack of sandpaper. I cut the sheets into small pieces that are easier for me to handle. My variety pack contains 220, 320, and 400-grit papers.
Before we get started, think of the procedure you might use to file your nails. You start filing with a rough grit emery board, polish with a softer grit, and then buff for a smooth finish. Same goes here - I'll knock off the rough edges with the 220-grit, polish with the 320, and buff to a satiny finish with the 400.

After the utensils are buffed smooth, I use a damp cloth to remove all traces of sandpaper dust and allow them to dry completely before I move on to the next step.
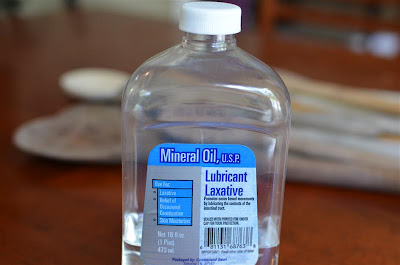
Okay, here's my secret - Mineral Oil. I've used more expensive bees wax/mineral oil blends, but an inexpensive bottle of plain ole mineral oil works perfectly well.
IMPORTANT: Just in case you're thinking what I think you're thinking... don't be tempted to use cooking oil - it will eventually turn rancid. Ugh, that reminds me of the time we were invited to a friend's house for dinner and we were served salad in sticky, rancid wooden bowls - it was nauseating. Don't let that happen to you!

Alrighty then, time to schmear a heavy layer of mineral oil all over the wood. I always start by wiping the oil on with a paper towel, but inevitably I end up scrapping the paper towel so I can use my bare hands to really work the oil into the the utensils. You really want to coat them well.
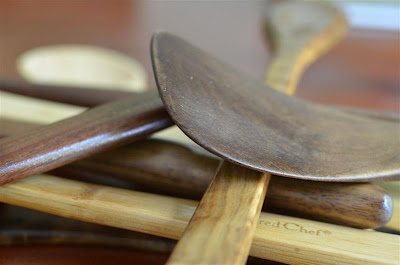
The two spoons above are both made of black walnut - look how much better the oiled spoon on the right looks.

When all my utensils are well oiled, I let them sit undisturbed in an out-of-the-way place for several hours or overnight so they can absorb as much oil as possible before I wipe away the excess. That's all - they're now ready to endure 6 more months of abuse.

Before
After
Such a huge transformation, and it’s so easy!
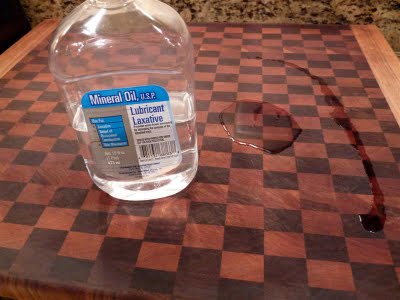
Oh, and you can use the same mineral oil to condition and protect your wooden cutting boards too!
Items used:
(affiliate links)
mineral oil https://amzn.to/2Tr8G3Z
sandpaper variety pack https://amzn.to/2Kt3RnC