TBB - French Orange Cream Tart
Patricia @ ButterYum
Welcome to the Alpha Bakers bake-a-long, an online project where a group of food bloggers bake our way through The Baking Bible by Rose Levy Beranbaum. Most of the recipes made during this project will not be shared, but I will post my commentary followed by a full photo tutorial.
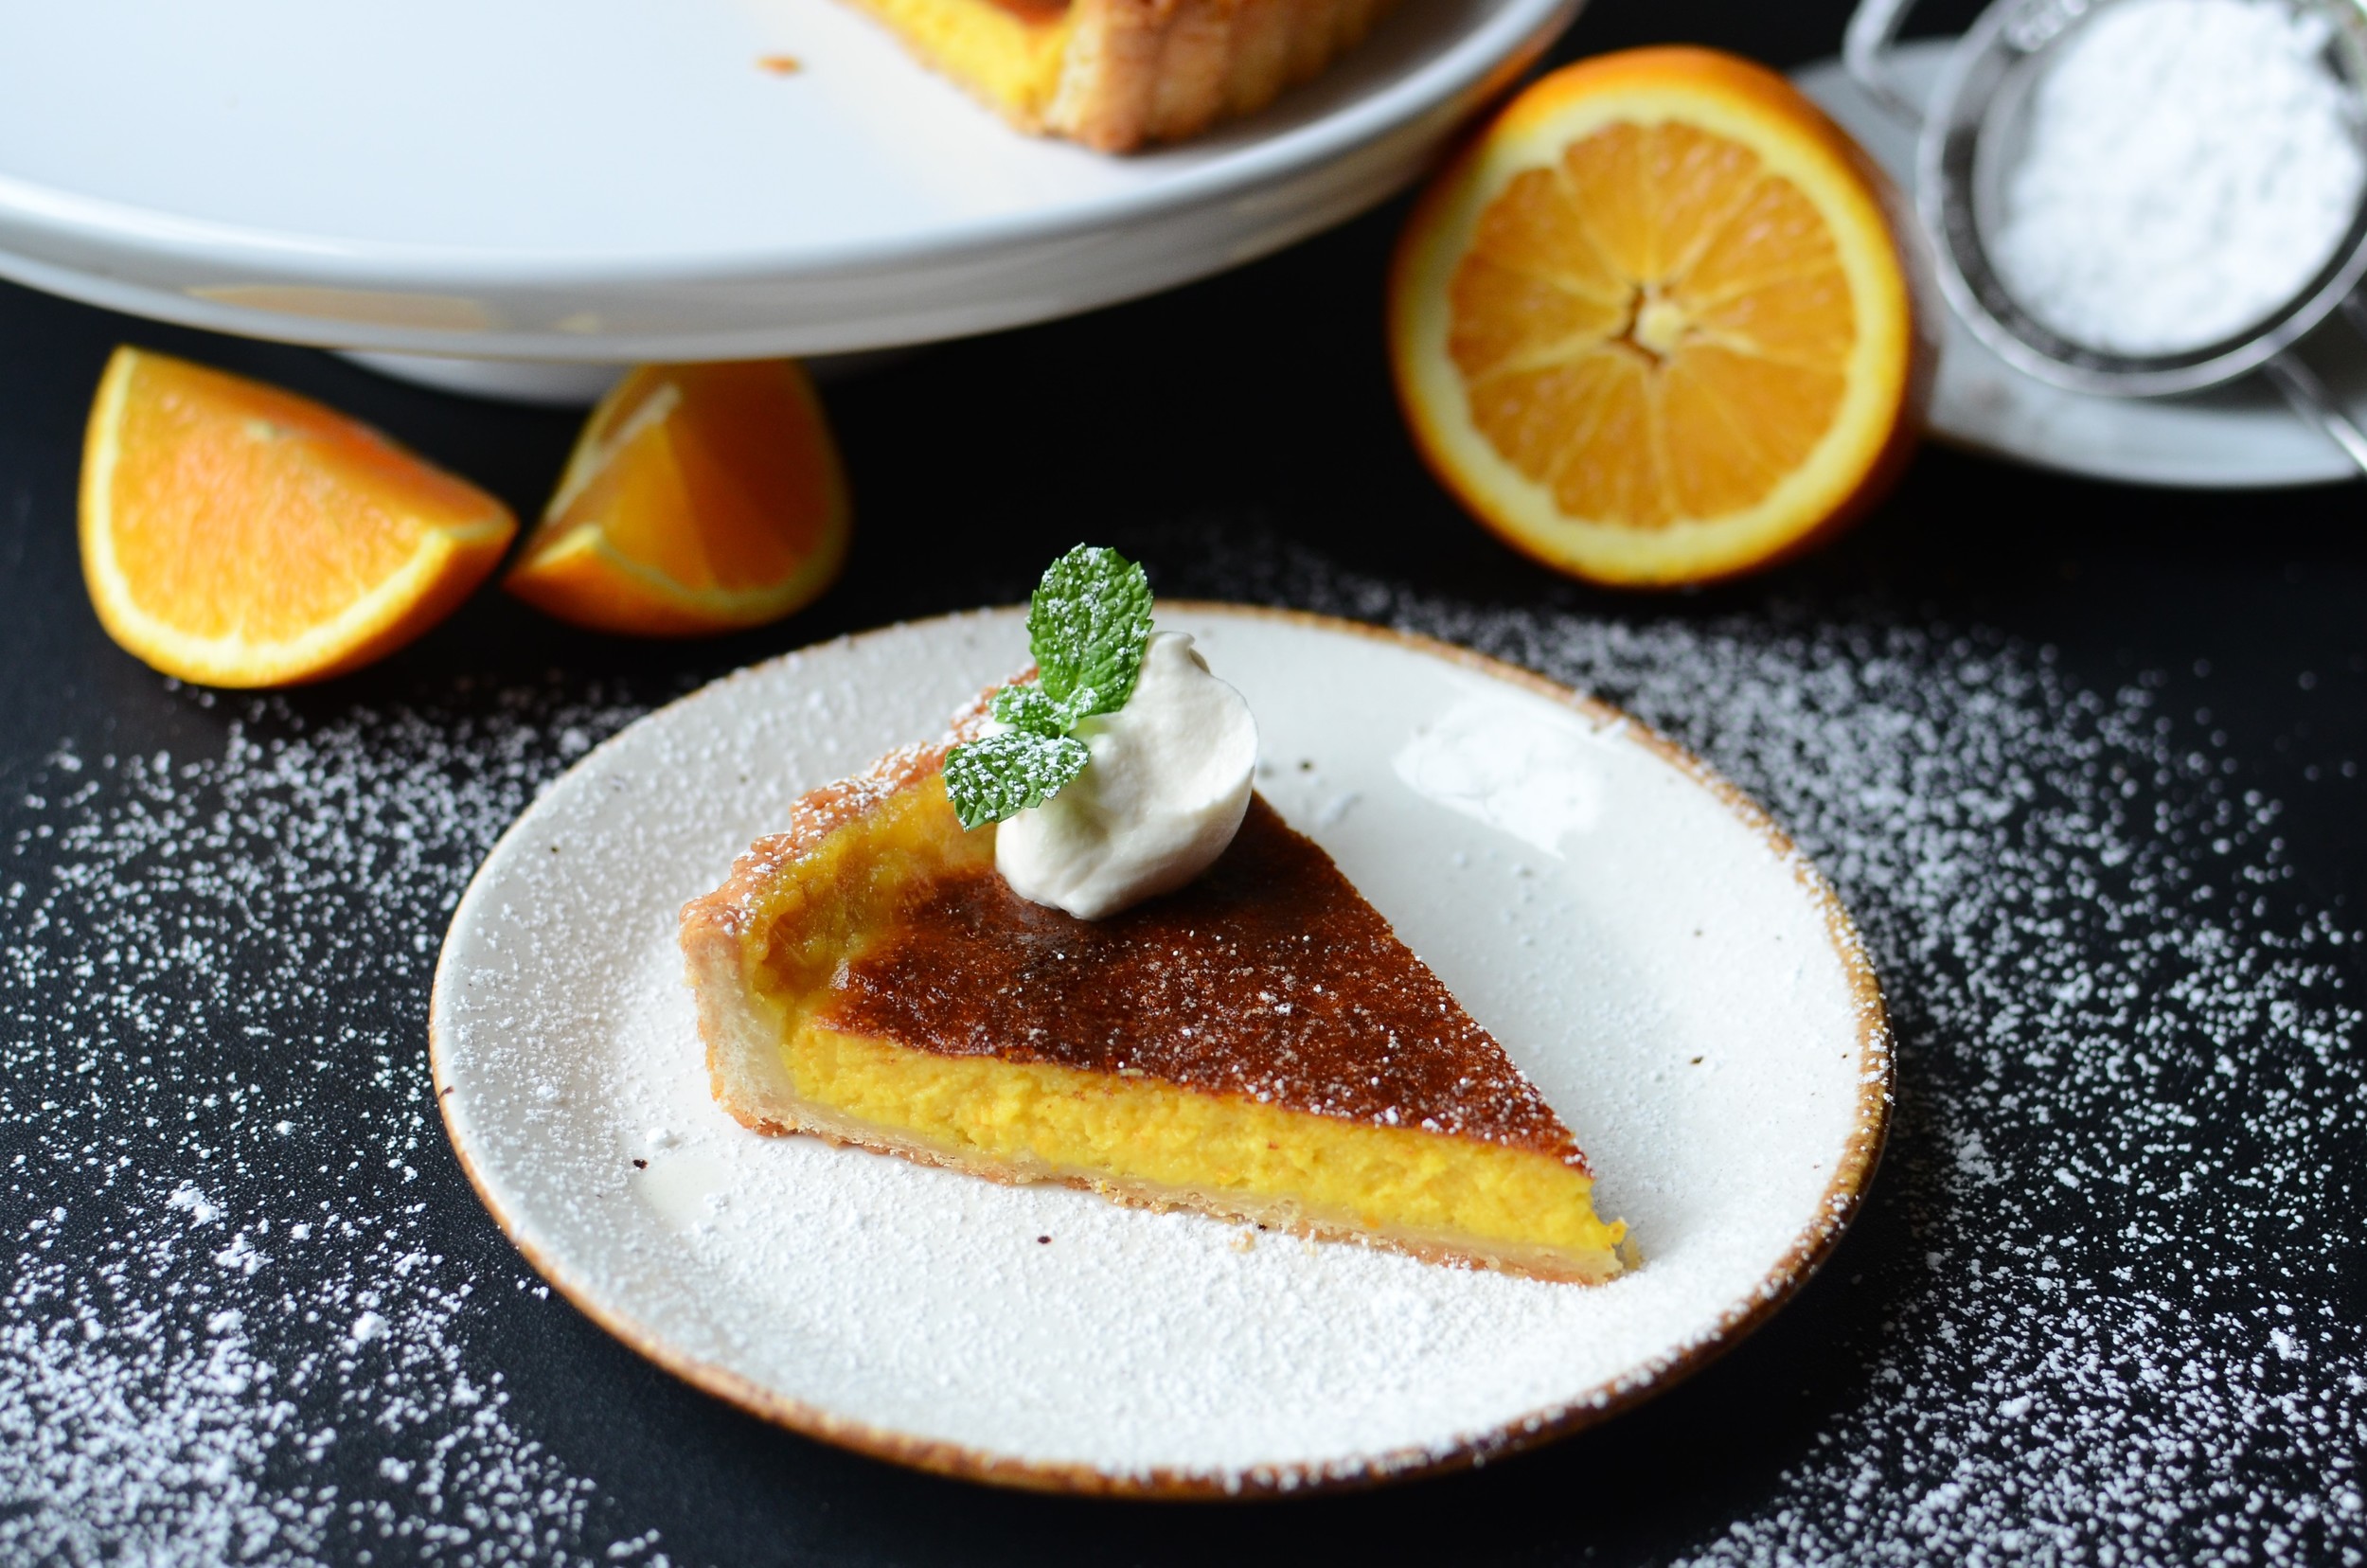
This week's selection - French Orange Cream Tart. A sweet pastry crust filled with a creamy orange filling.
Special ingredients and/or equipment needed - half sheet pans, digital scale, tart pan with removable bottom, pie crust shield, food processor, stand mixer, splatter shield.
Optional ingredients and/or equipment suggested - citrus juicer, microplane grater, pastry blender, kitchen torch, adjustable cake ring.
How does it taste - Nice and orangy, but I'm not picking up on the cream in the title of this recipe. When I think if "orange cream", I think of a dreamsicle (or creamsicle depending on where you're from). So I was a bit disappointed in that regard. If the recipe had simply been called a French orange tart, I don't think I would have been disappointed at all. One of my tasters thought it was "okay". Another said it would have been better if it were all lemon. I thought it was vert tasty, but not spectacular. I really liked to better on day two so I suggest making it ahead if you can.
Also, I'm not crazy about the gritty texture left by the grated citrus zest, but one of my tasters really liked the gritty texture. To each his own.
How does it look - Well, even though my tart got a little too brown in the oven, I'd say it looks pretty good. Who doesn't love a tart?
Level of difficulty - Intermediate.
Were the directions clear - Yes.
What would I do differently next time - I might add a little vanilla bean to the crust, and I would definitely puree the egg yolks, sugar, zest, and juice in my Vitamix to make the filling as smooth as possible.
Next up - Ricotta Loaf.
Okay, here's my photo tutorial.
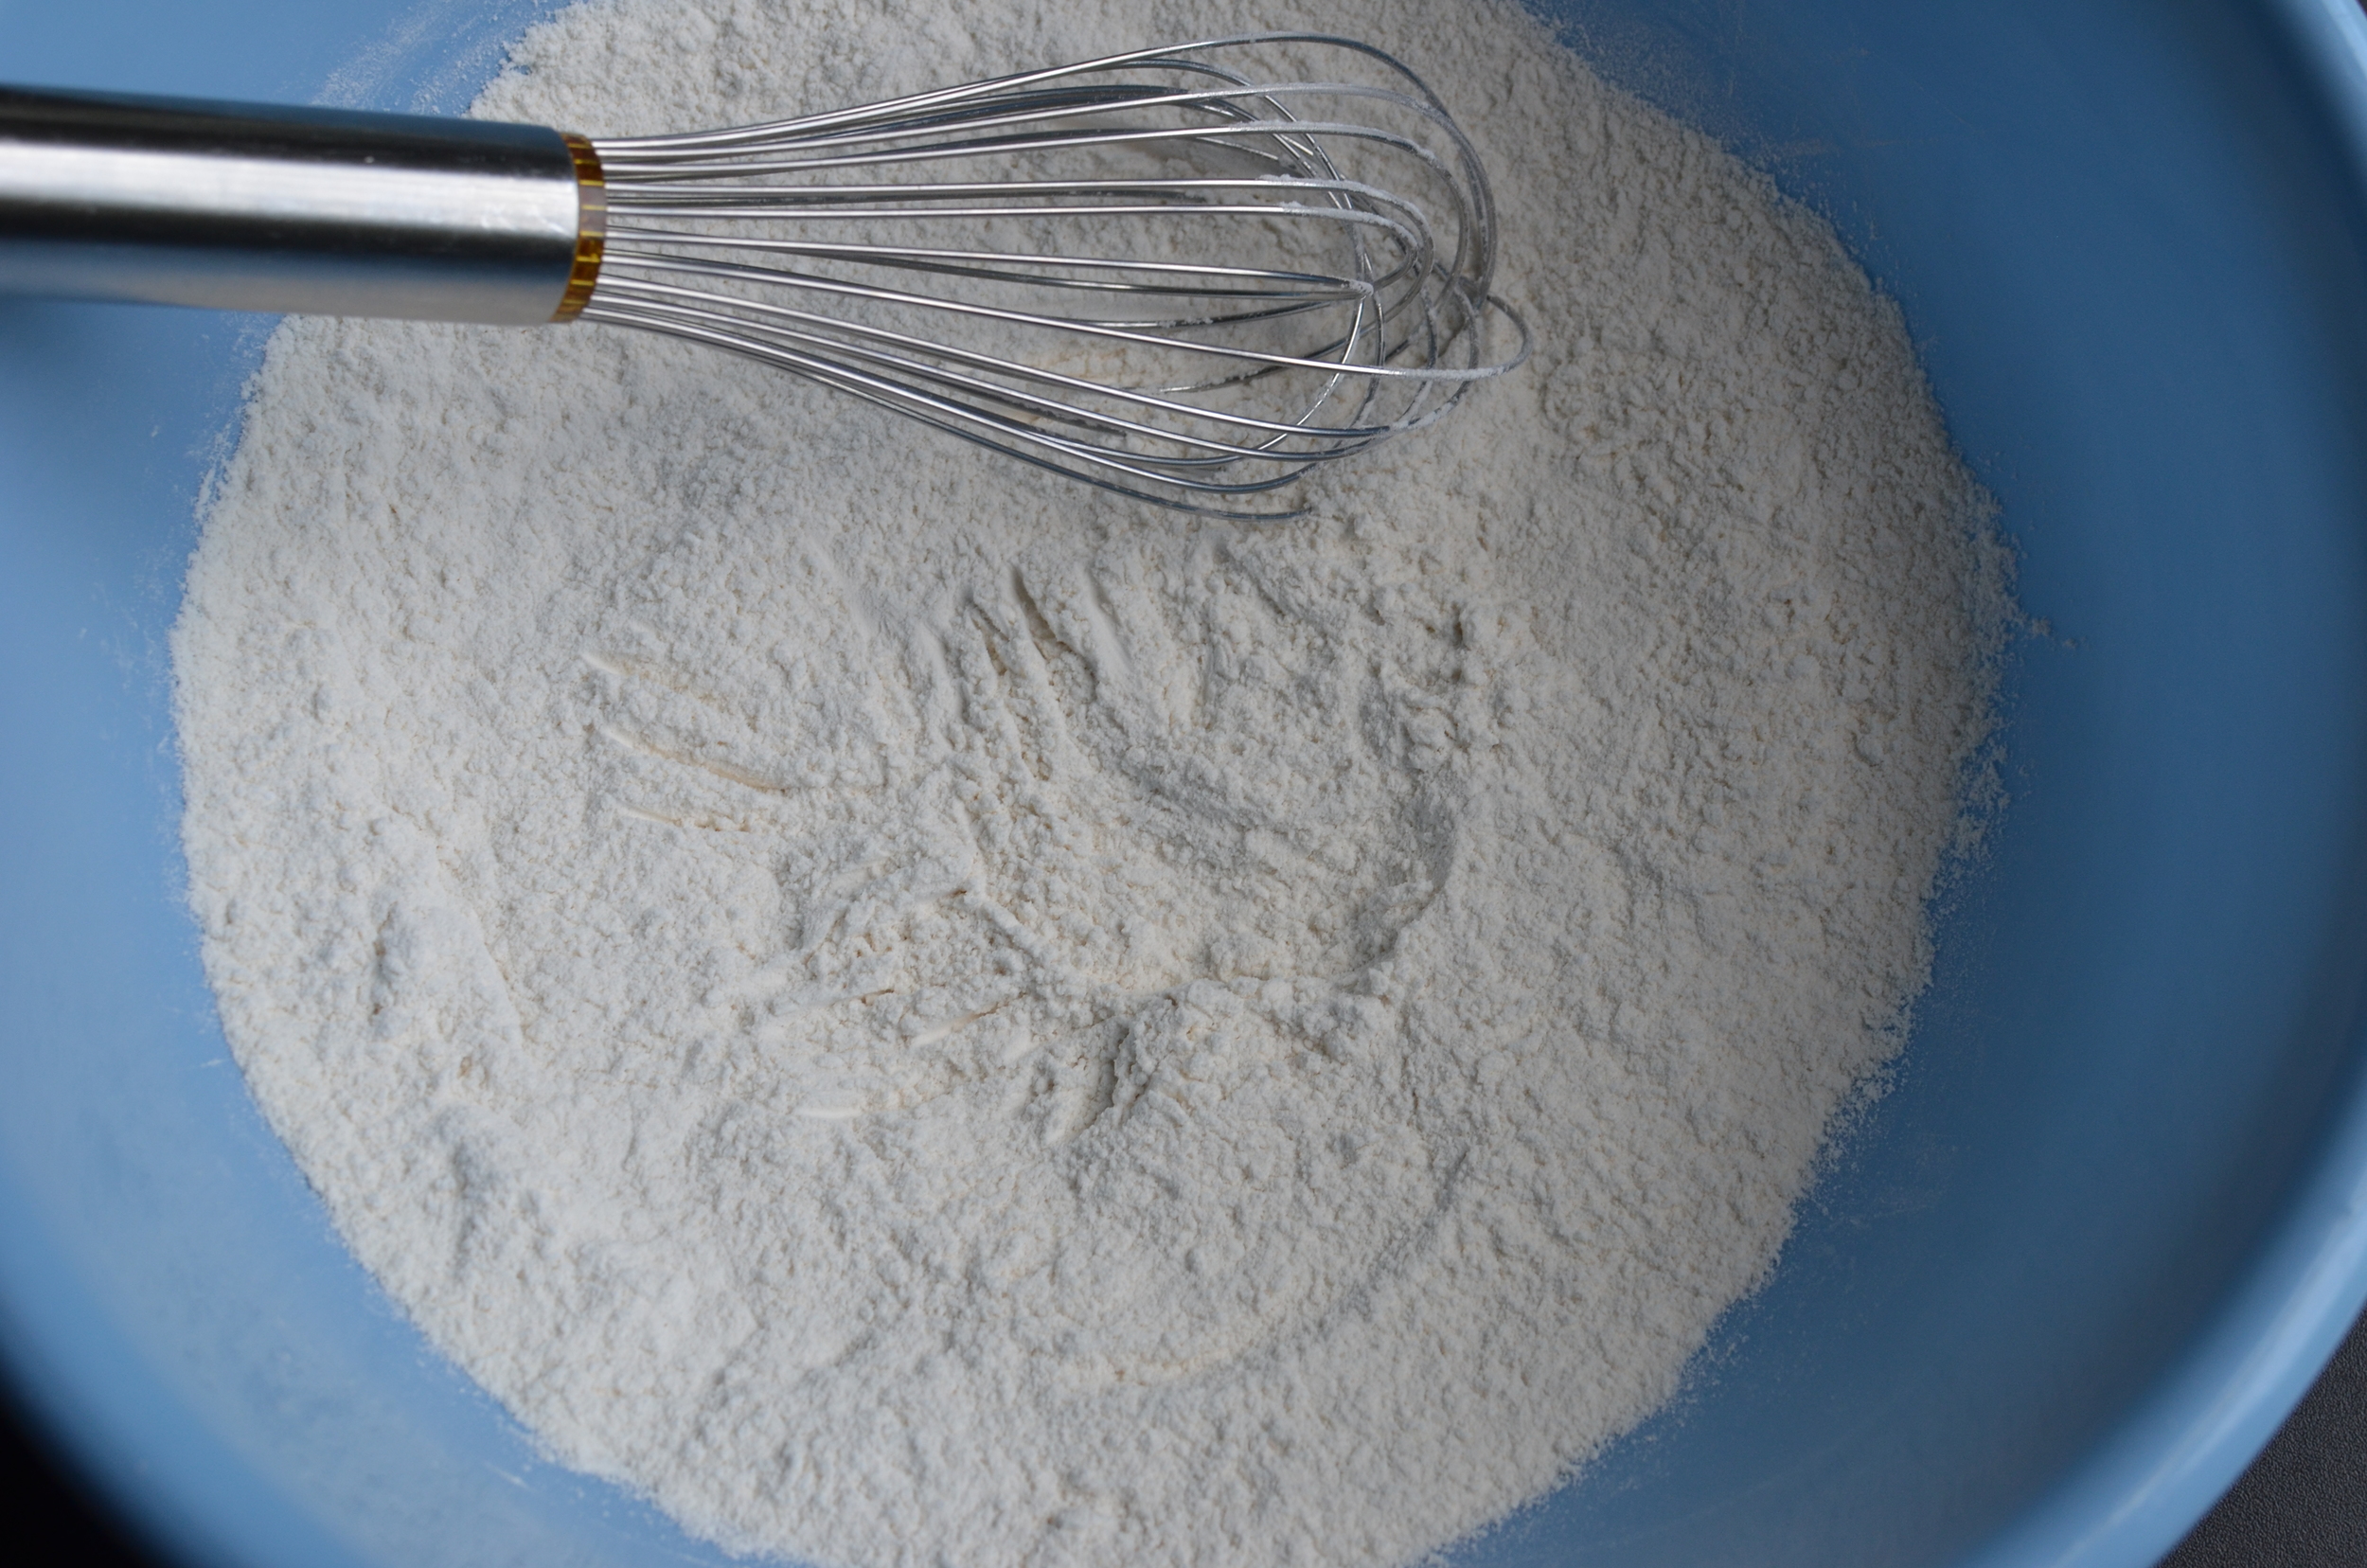
I decided to make the sweet crust for this tart by hand. I started by whisking the flour, sugar, and salt together in a very large bowl.
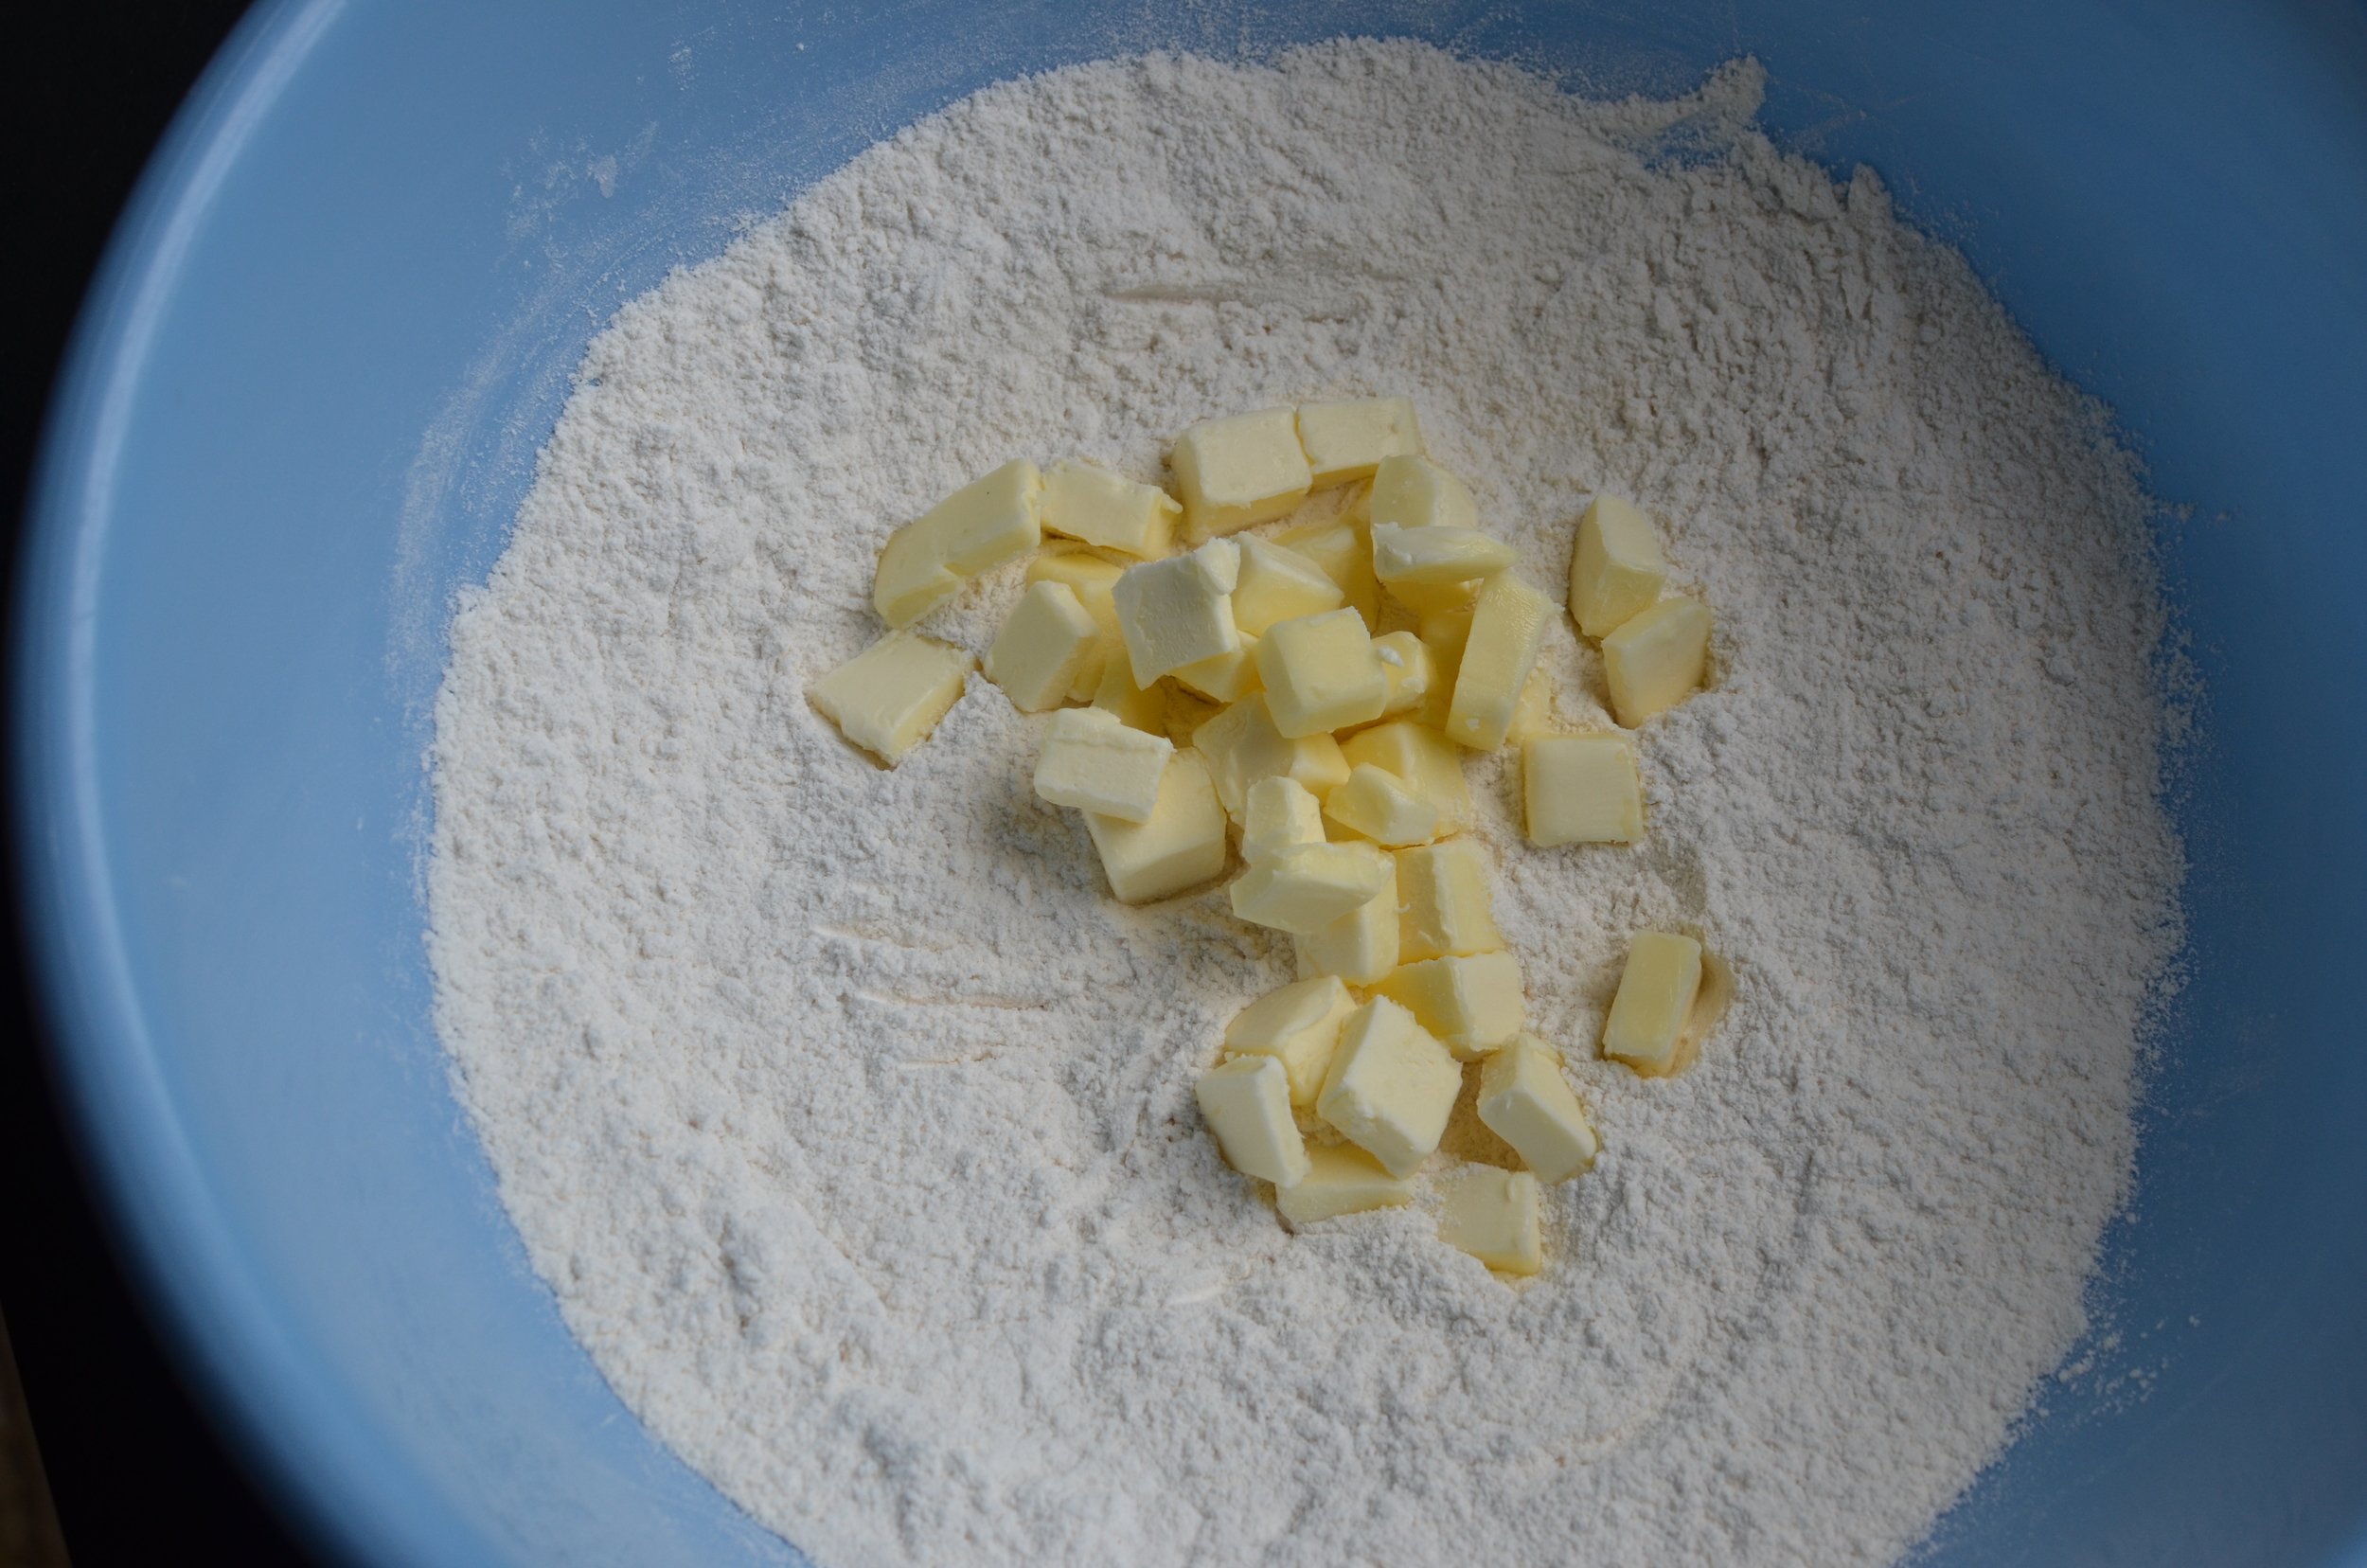
Next I cut in the butter using a pastry blender.
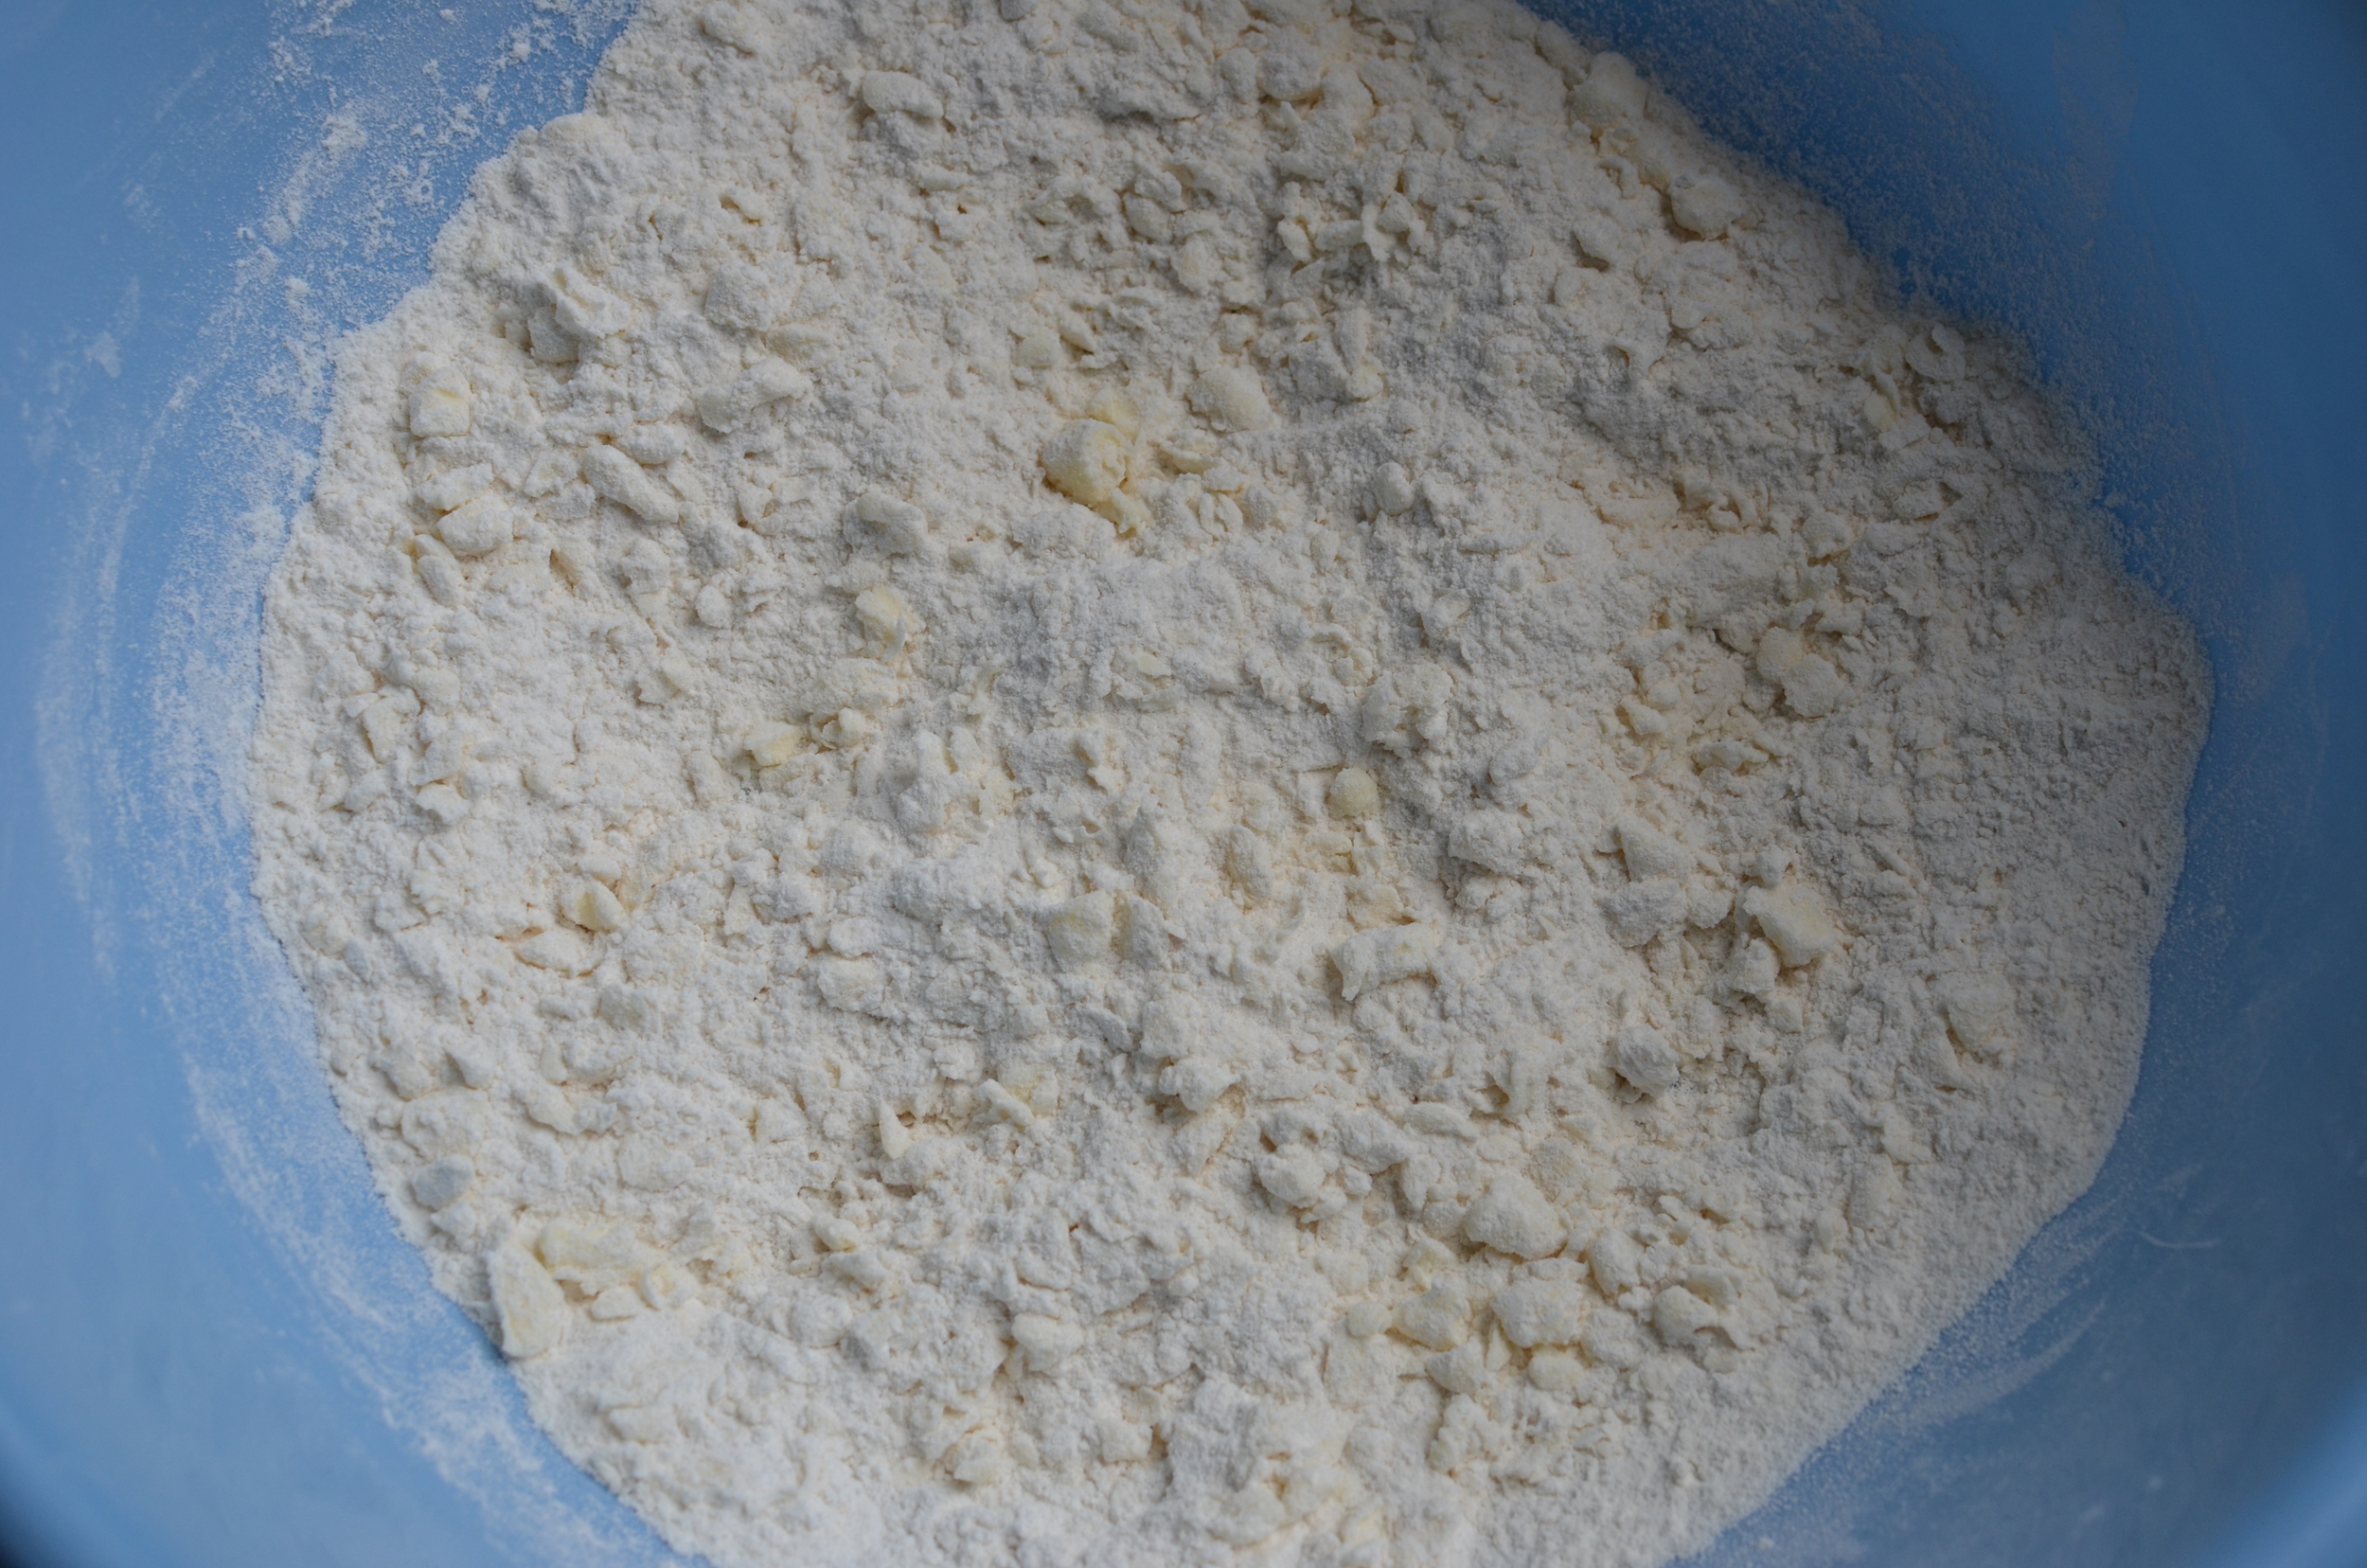
I knew I was done when the butter pieces were the size of small peas.
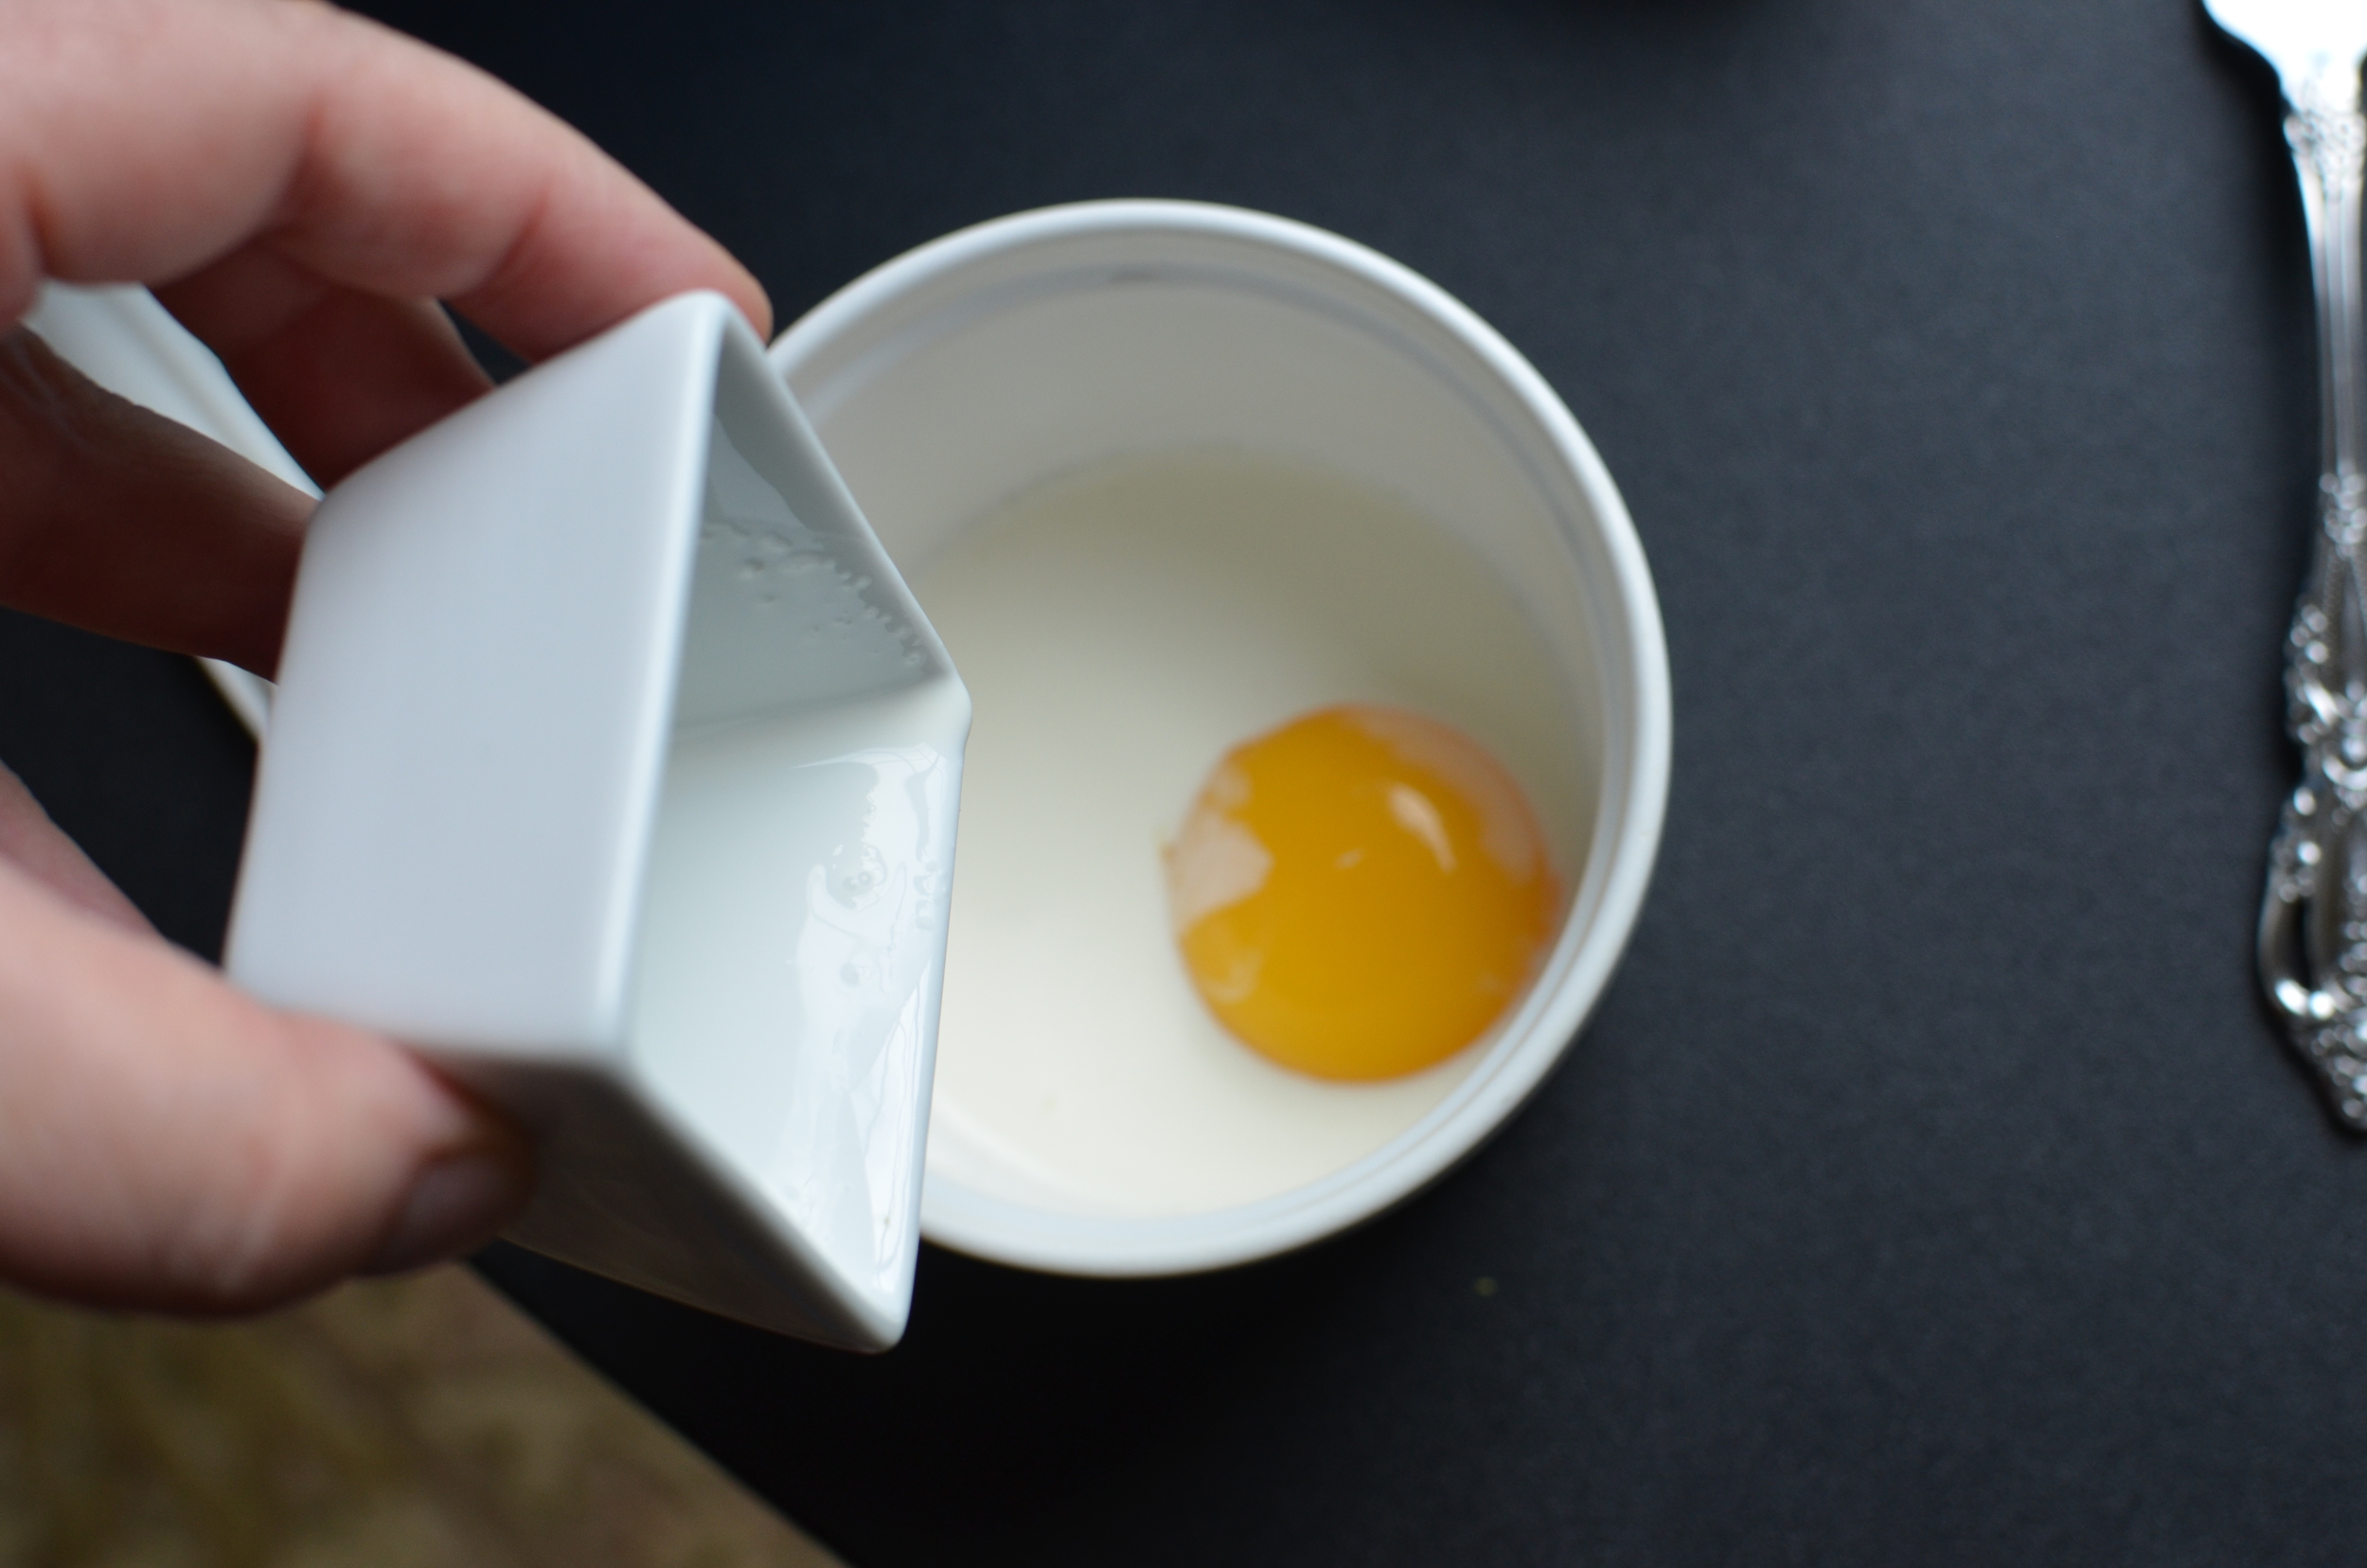
Time to mix an egg yolk with heavy cream.
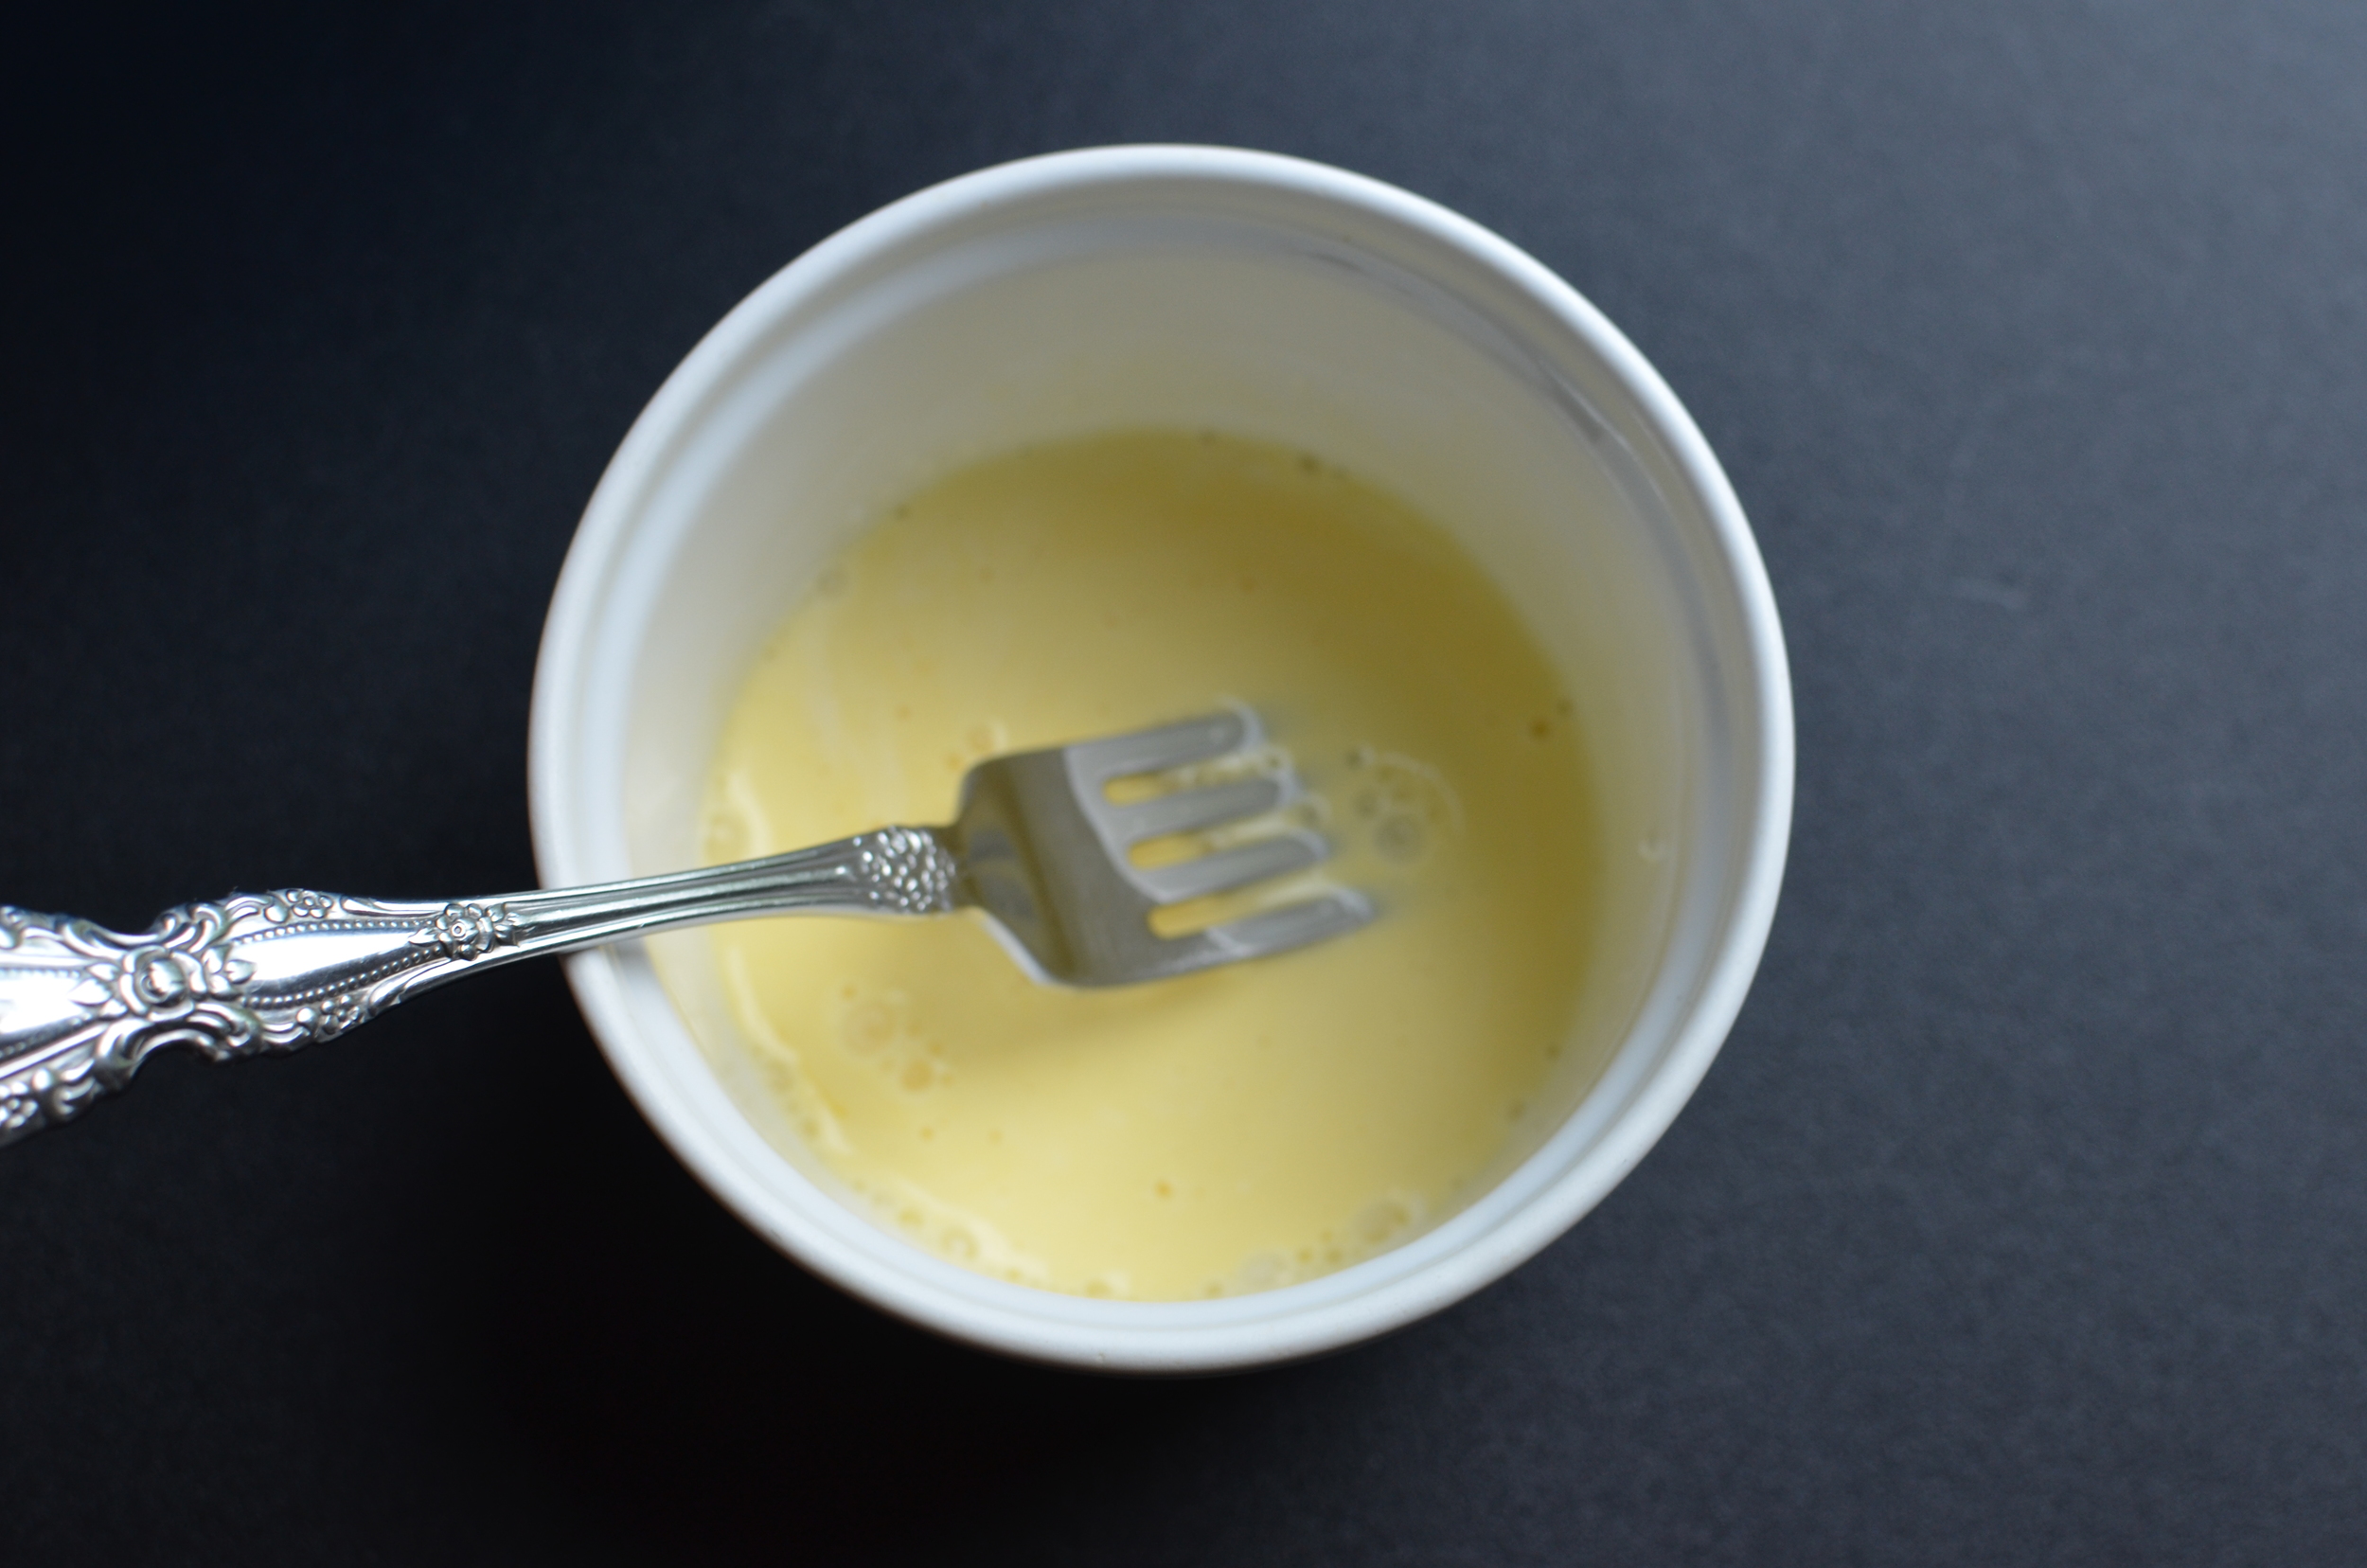
No skill involved here.
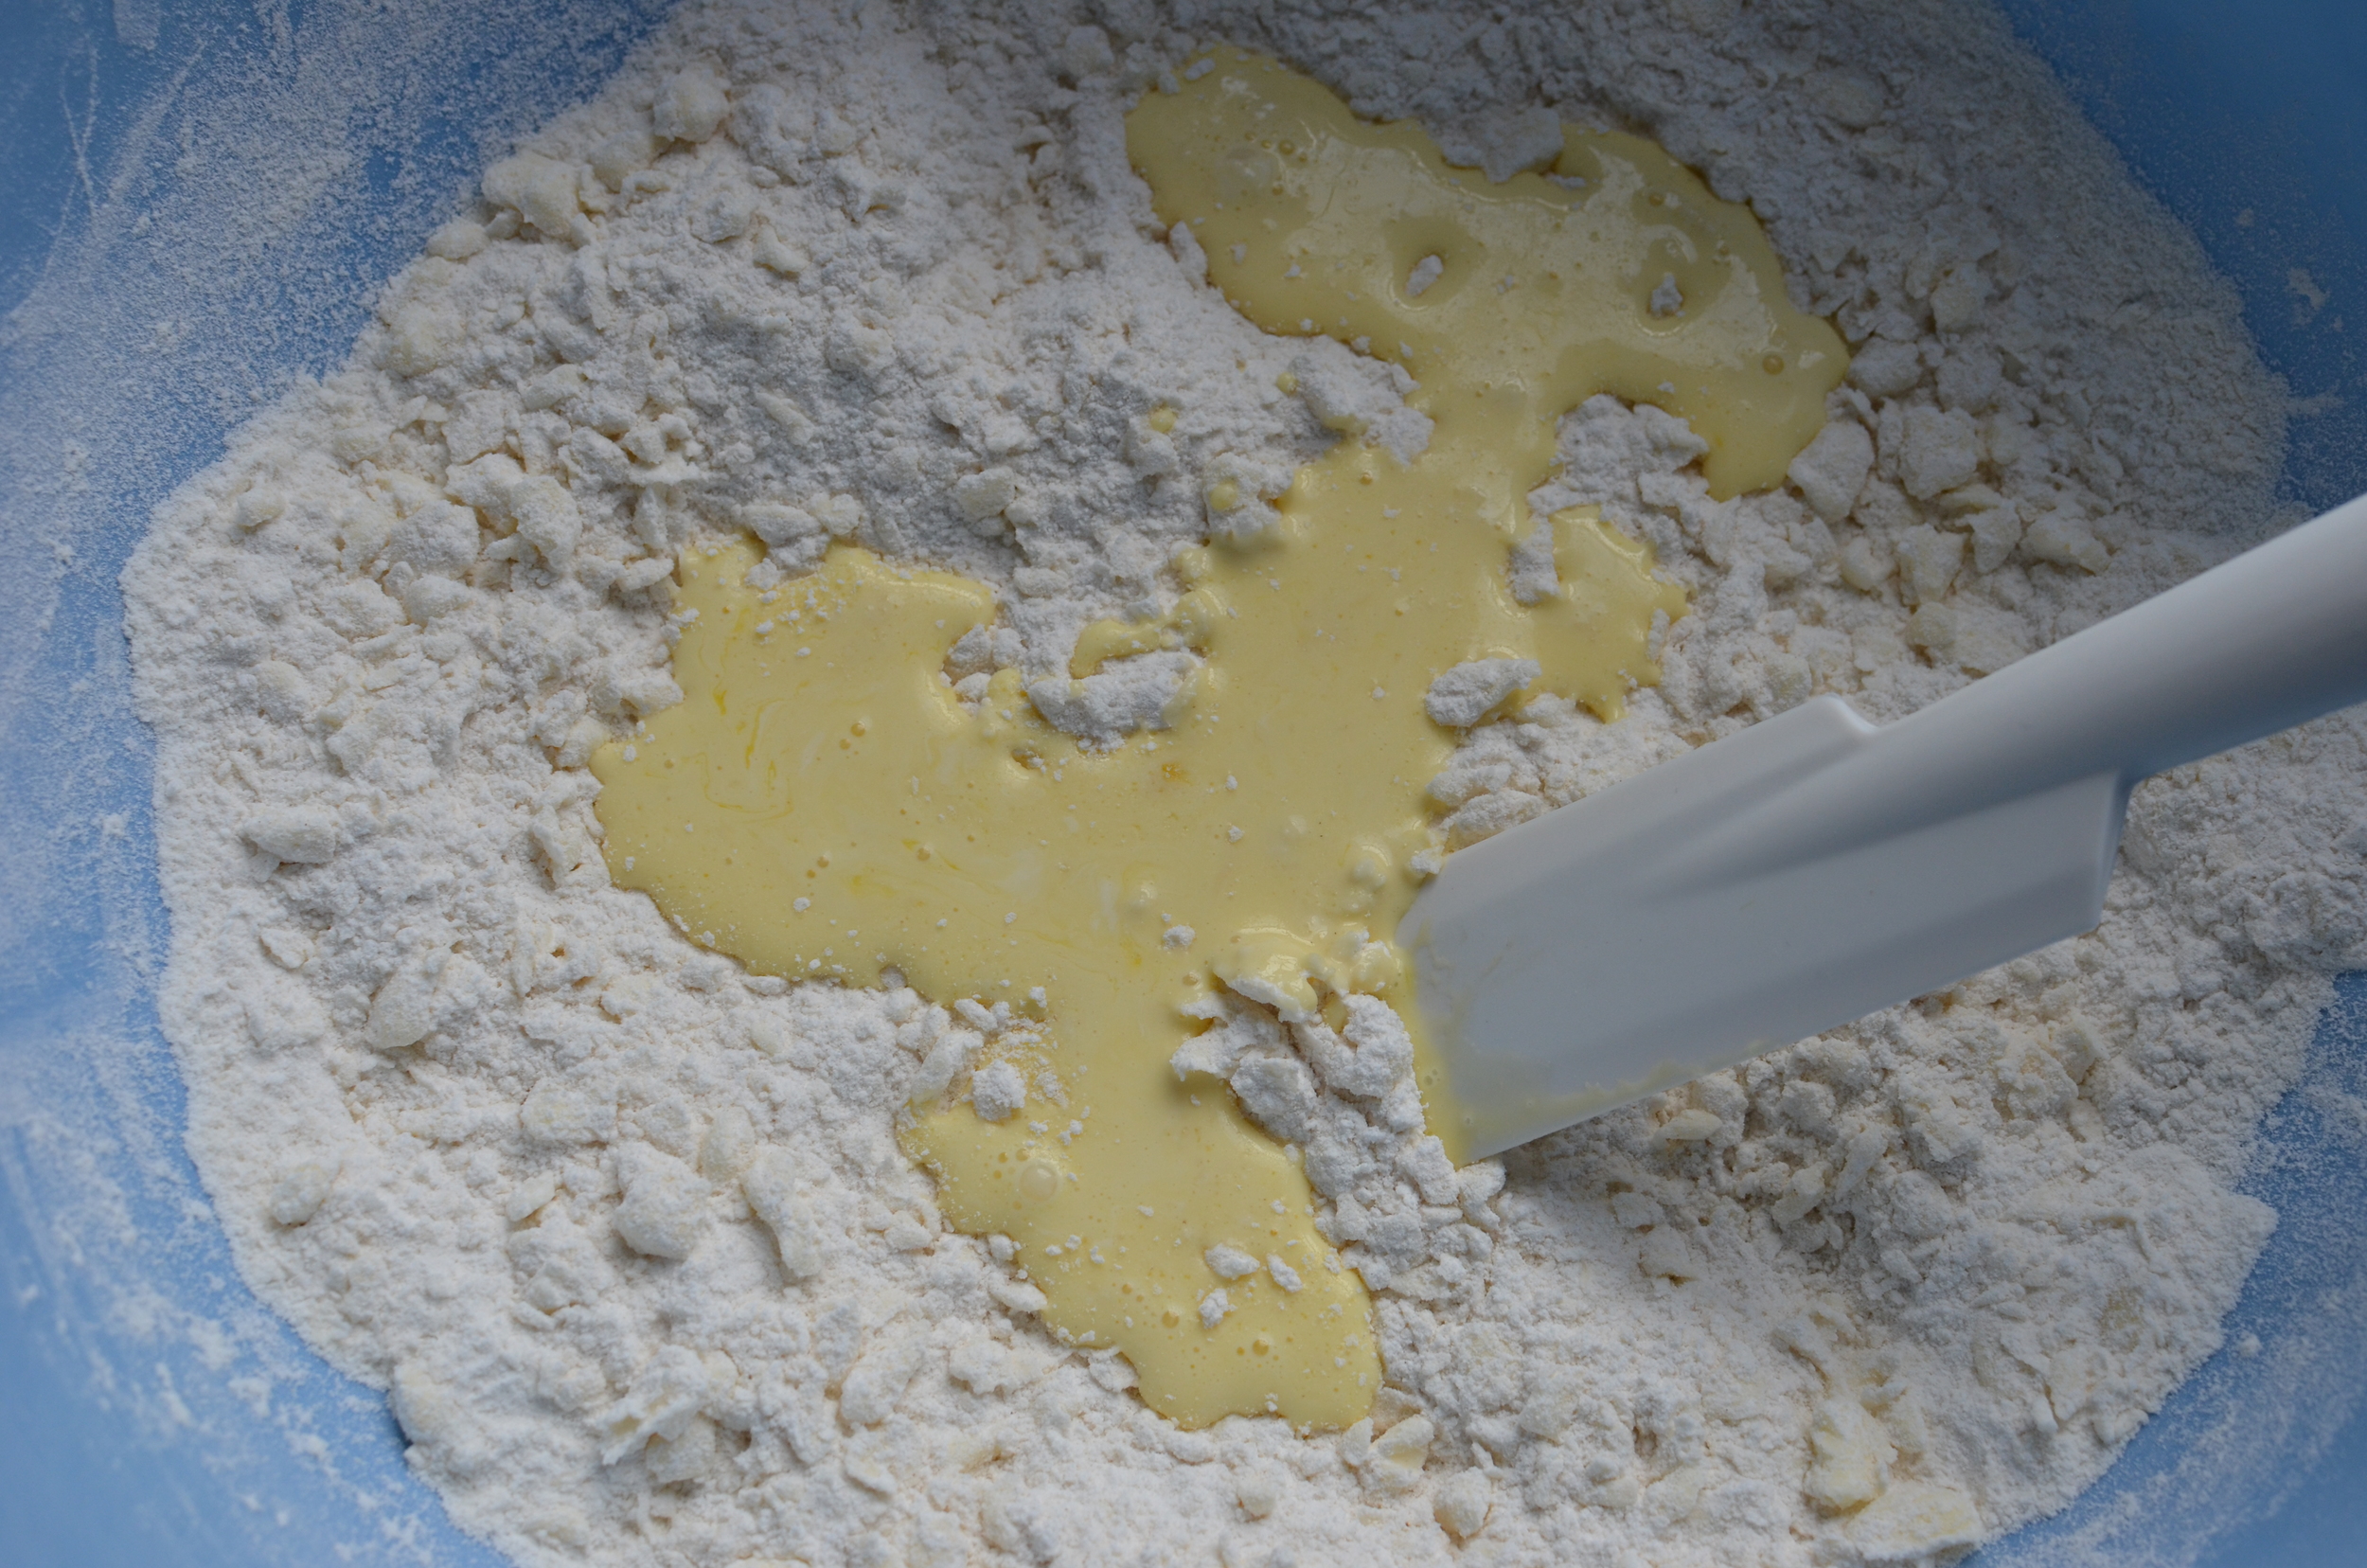
The egg and cream mixture is added to the flour mixture.

Stir and press and smoosh everything together until there are no dry floury bits left in the bowl.

Carefully place the clumpy crumbs in a gallon size zip-top bag.

Press the bag together so the crumbs form a flat-ish circle of dough. Chill before rolling.

Okay, here's where I experimented a little. My plastic wrap is only 12-inches wide and it's flimsy and it folds upon itself and sticks together horribly so I find it nearly impossible to roll the dough larger than 12-inches unless I attempt to overlap flimsy-foldy-sticky pieces together, which is completely maddening, and I'm not going to torture myself.
So this time I decided to roll my dough between 2 pieces of 16-inch wide parchment. It worked really well for rolling the dough, but it was a little too stiff to drape nicely over an inverted cake pan - you'll see that in a photo below.
Anyway, I rolled the dough a little larger than 12 inches in diameter.

Time to chill the dough again. Since there was a lot of excess parchment paper, I trimmed it with a pair of scissors so the whole thing would fit in the fridge a little easier.
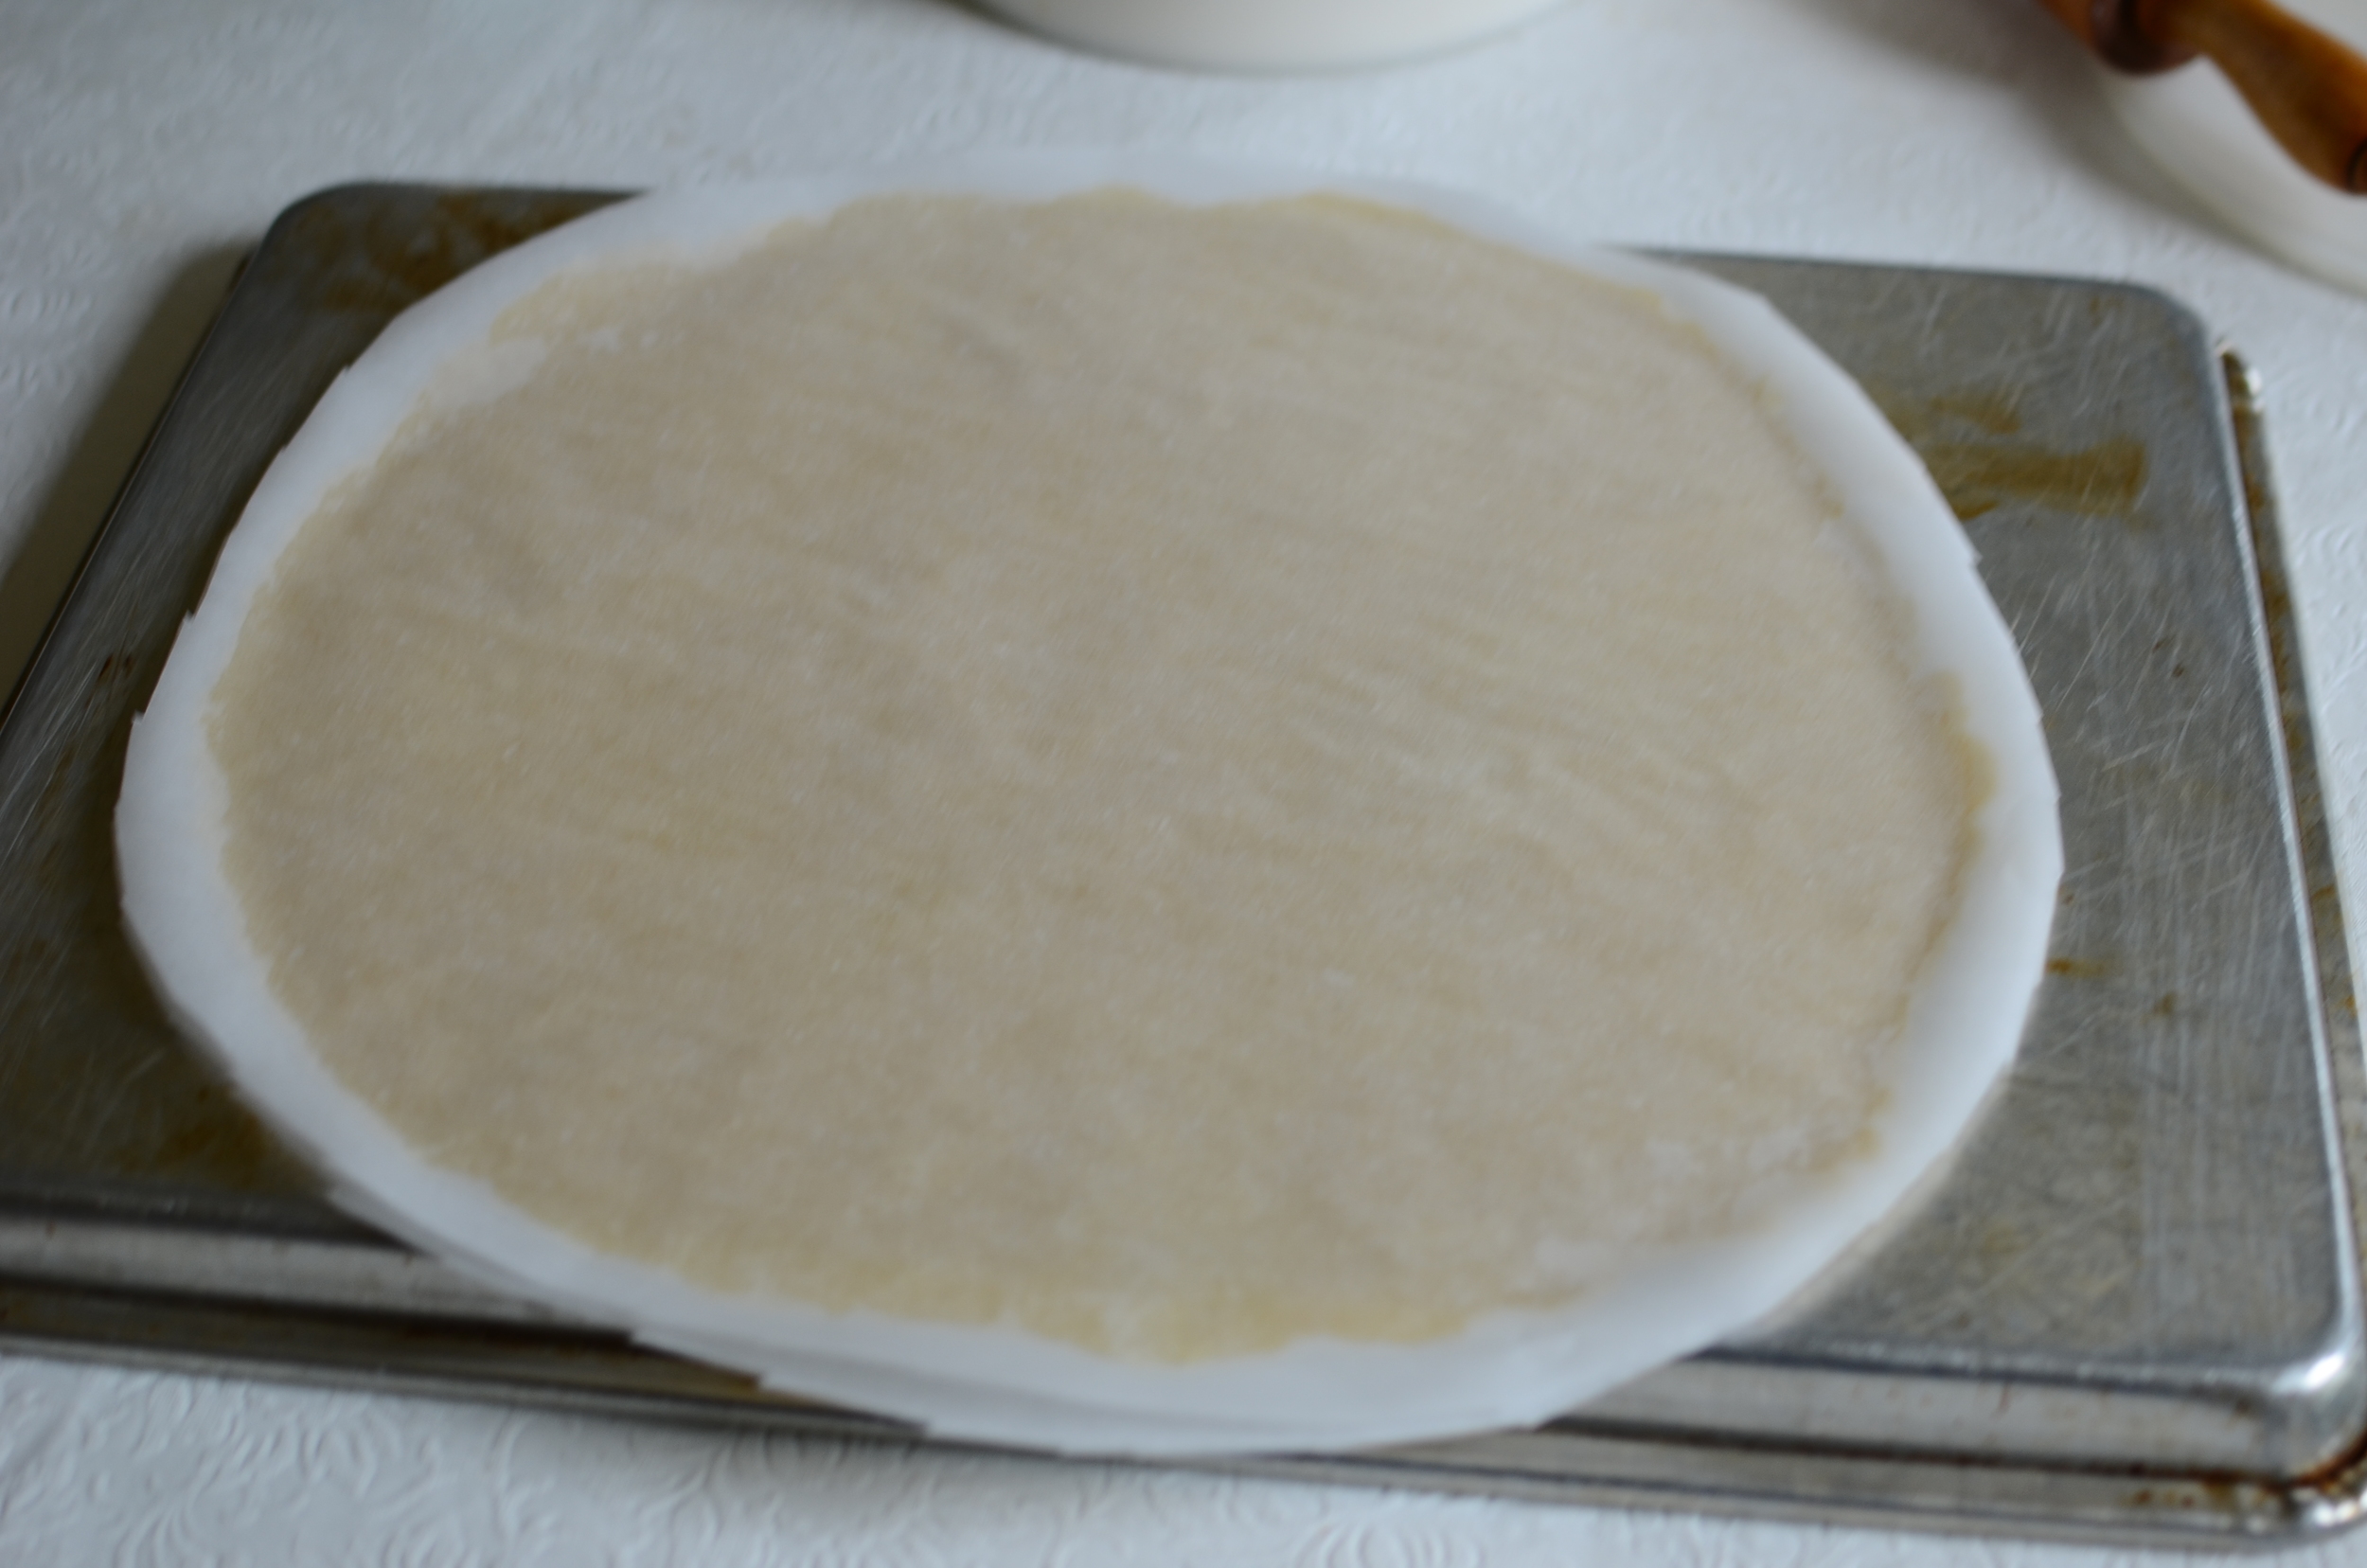
The circle of dough was a bit to0 big to fit on a half sheet pan without bending at the edges so I flipped the sheet pan over and used the bottom. Popped the whole thing in the fridge to chill for the recommended time.

Once the dough was chilled, it was very easy to remove the top portion of parchment paper.

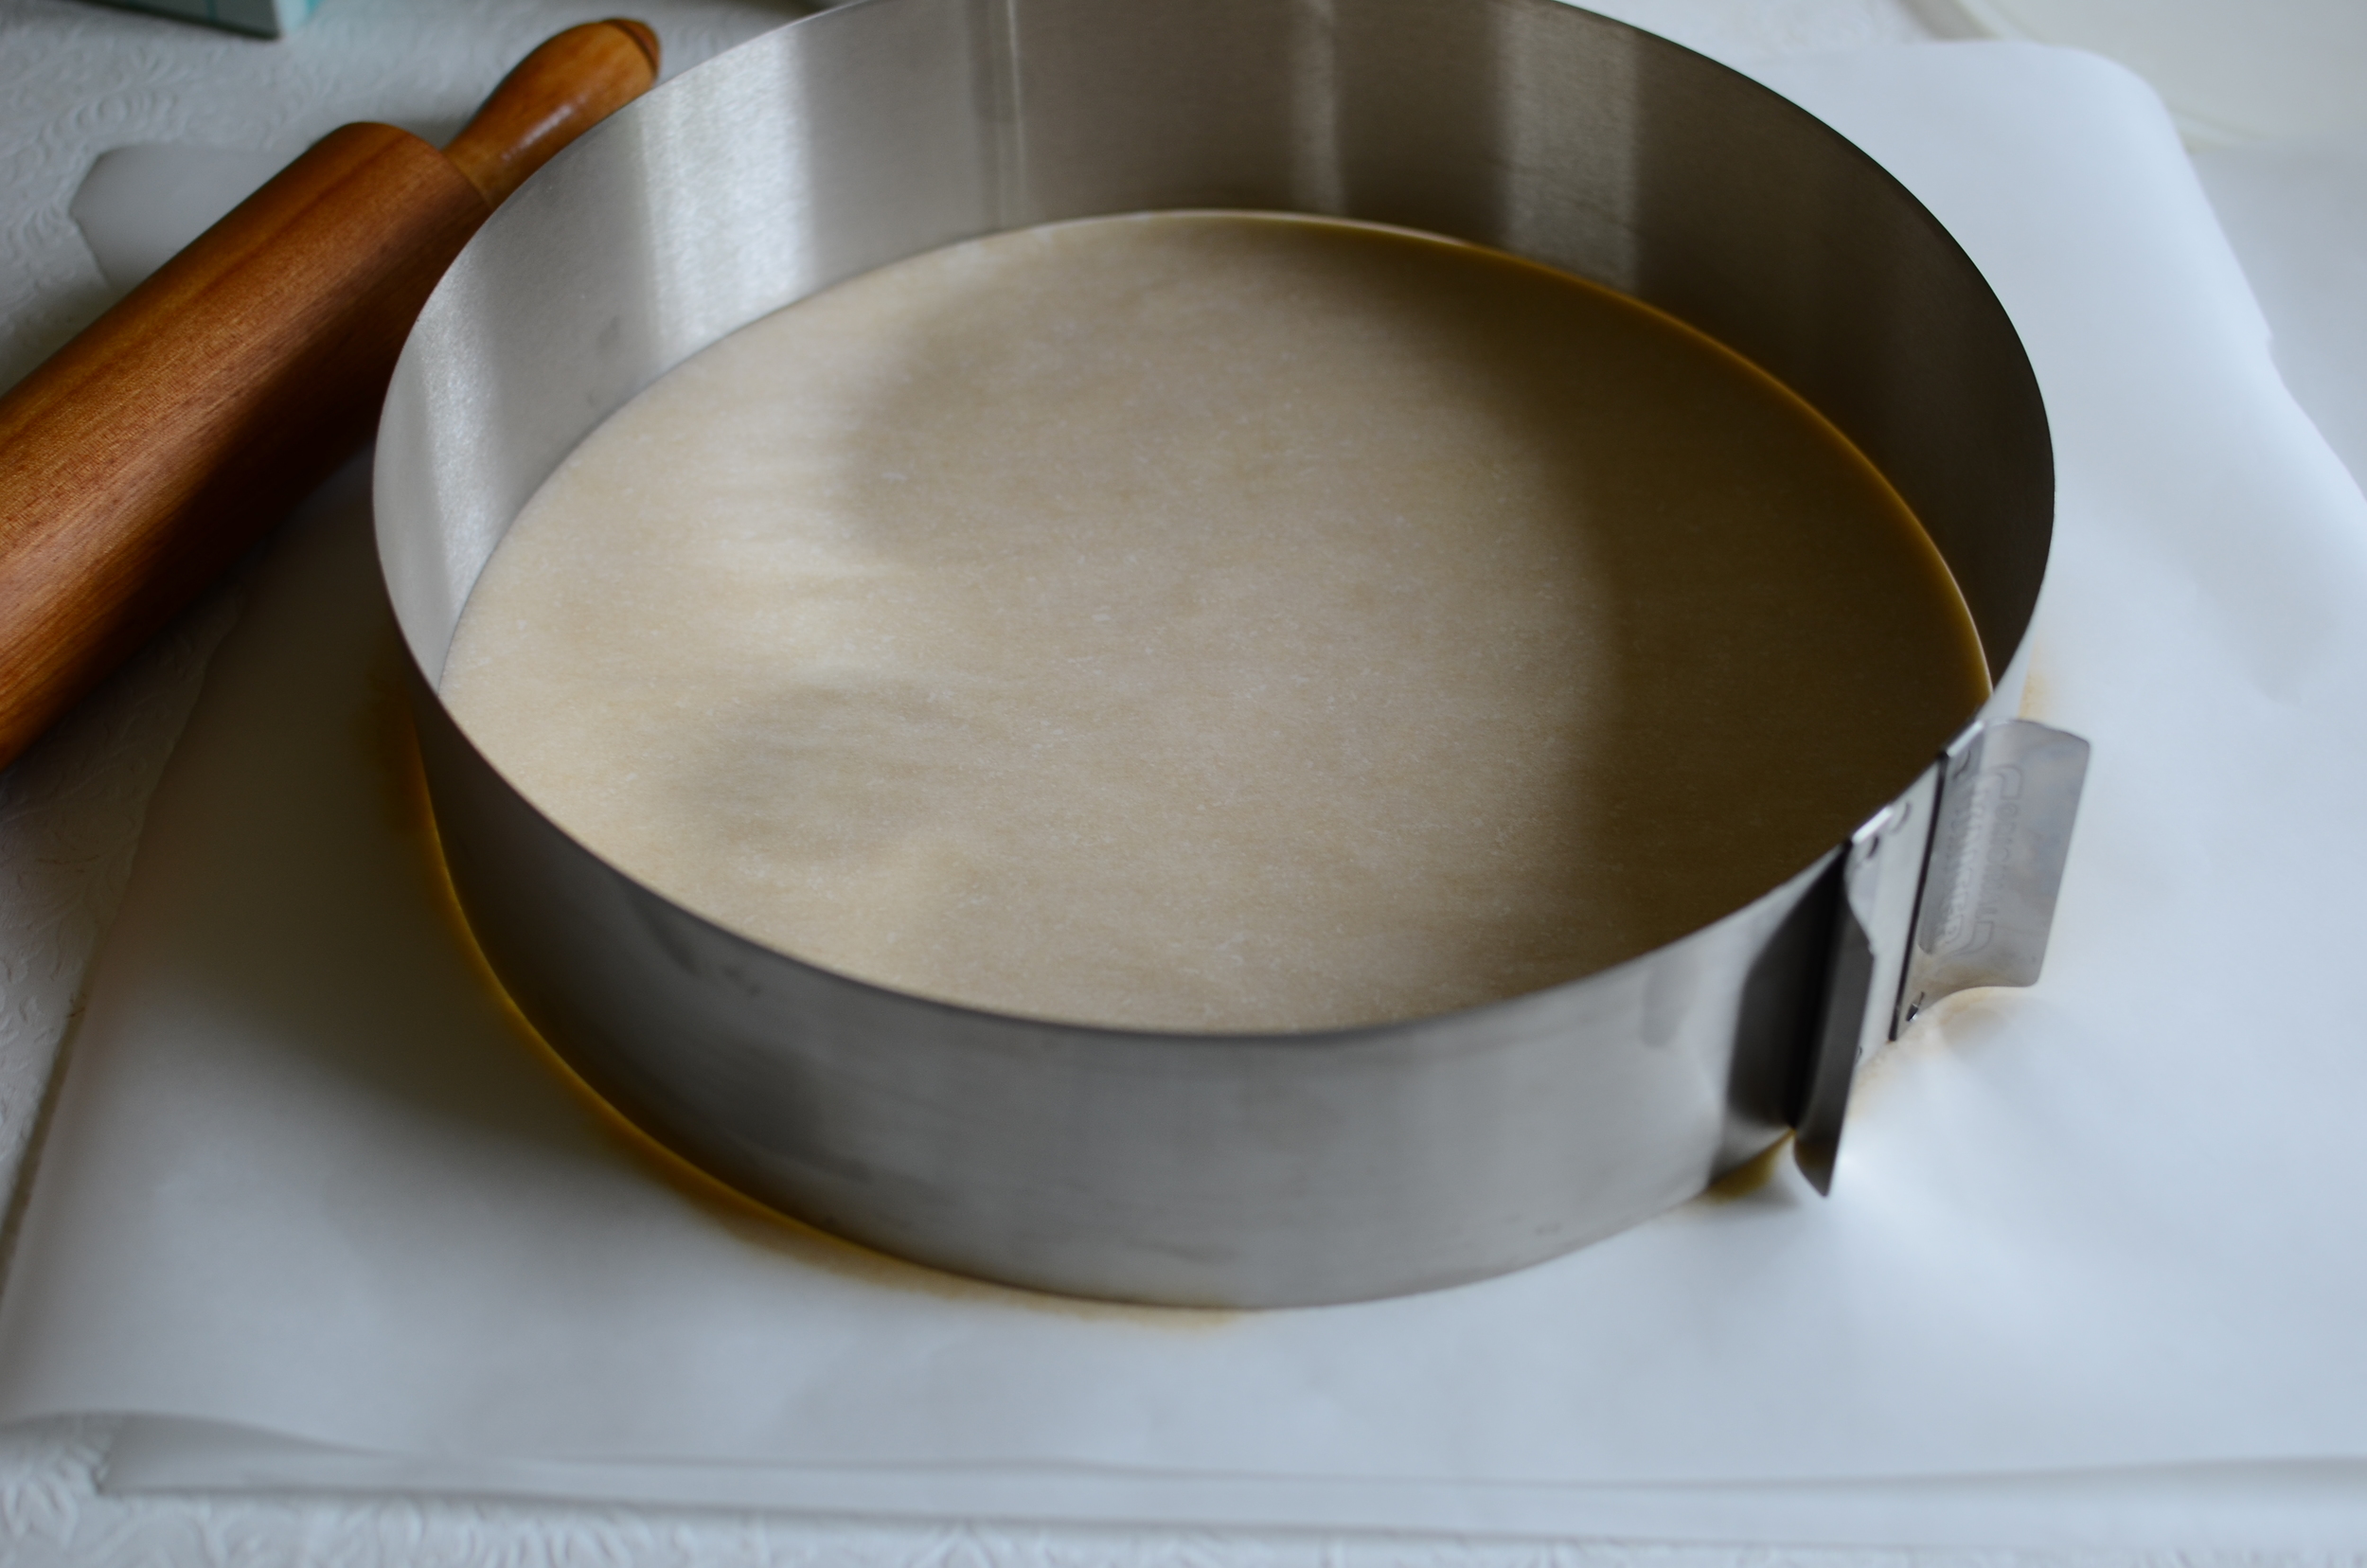
The next step was to cut the dough into a 12-inch round. I used an adjustable cake ring. Love that thing - it can be adjusted anywhere from 6 to 12 inches in diameter. So handy for all kinds of kitchen projects.

Remove excess dough and save!! Rose suggests making up to 6 Hamantaschen with the leftovers, but I only had a tiny bit left over. Just enough to patch a couple small holes.

Now here's the fun part. Turn an 8-inch cake pan upside down.
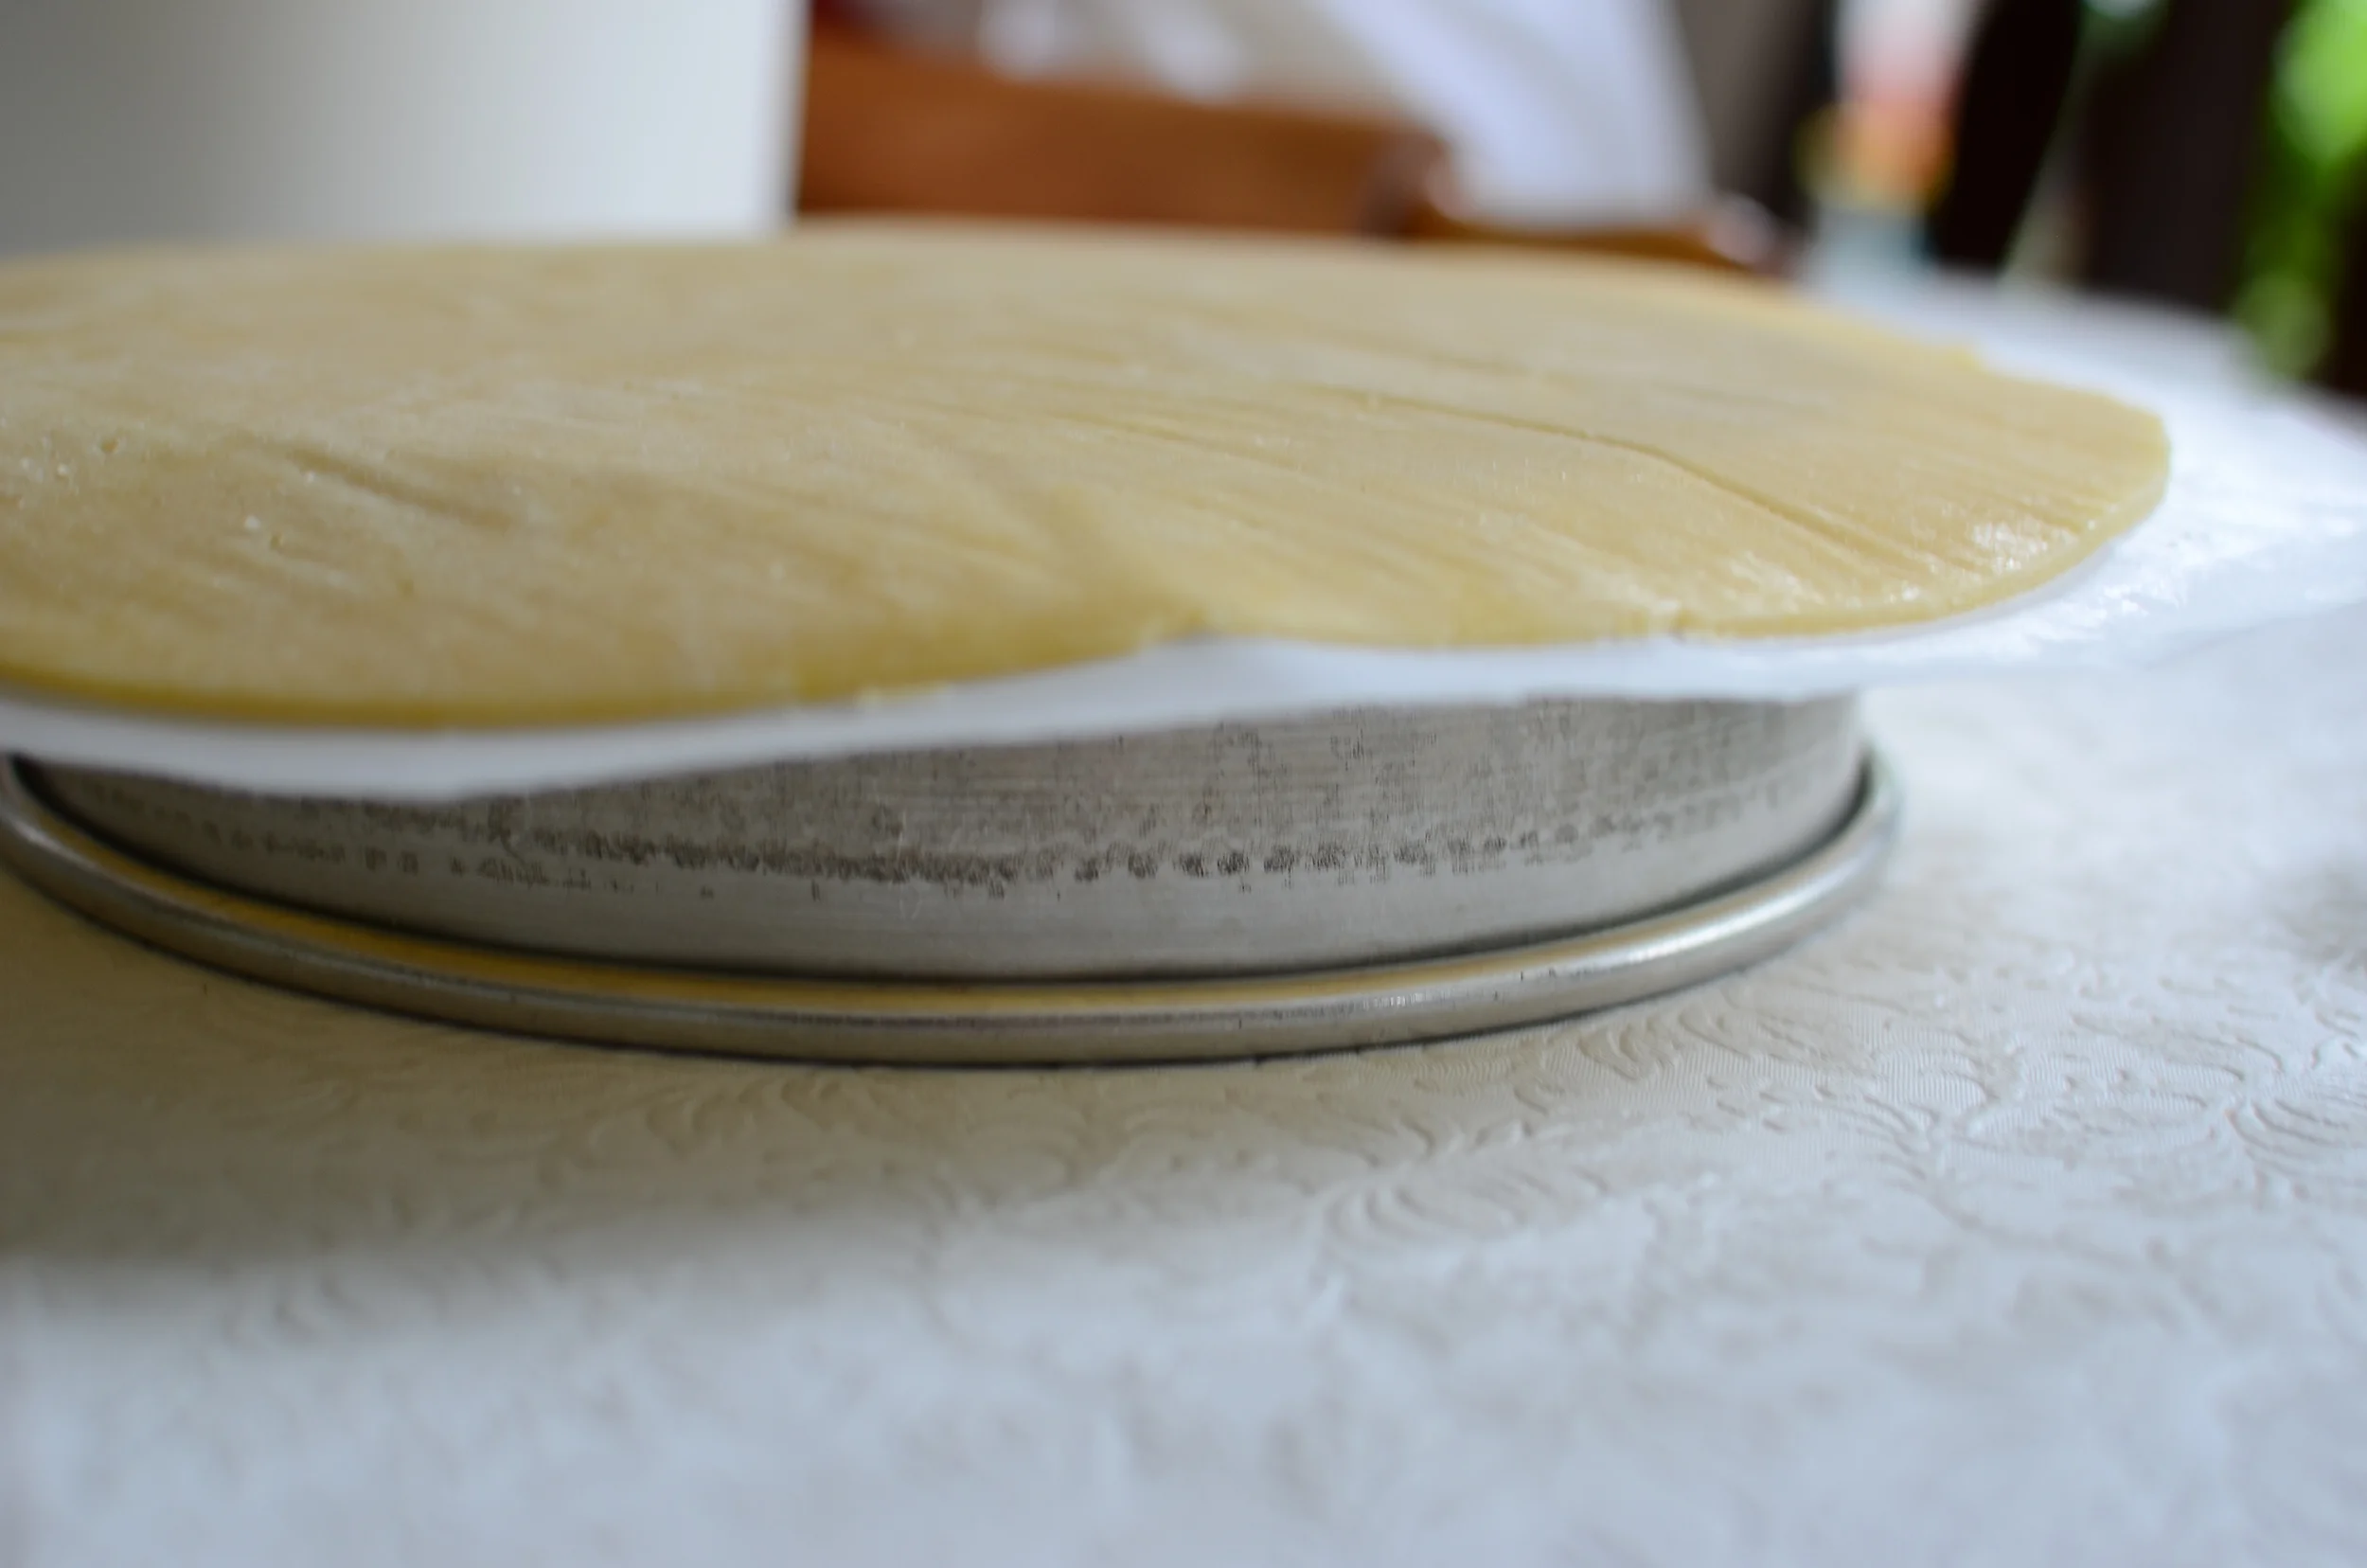
Top the cake pan with the 12-inch circle of dough that is still sitting on its plastic wrap base (or in my case, parchment base). Center the dough on the cake pan.

Now center the removable bottom from your tart pan right on top of the dough. If your dough is too cold and firm to drape around the inverted cake pan, just wait a little while. It will soften as it warms to room temperature. Whatever you do, don't force the dough to drape because it will crack. Once the dough is draped around the cake pan, add the tart ring and flip everything right side up.
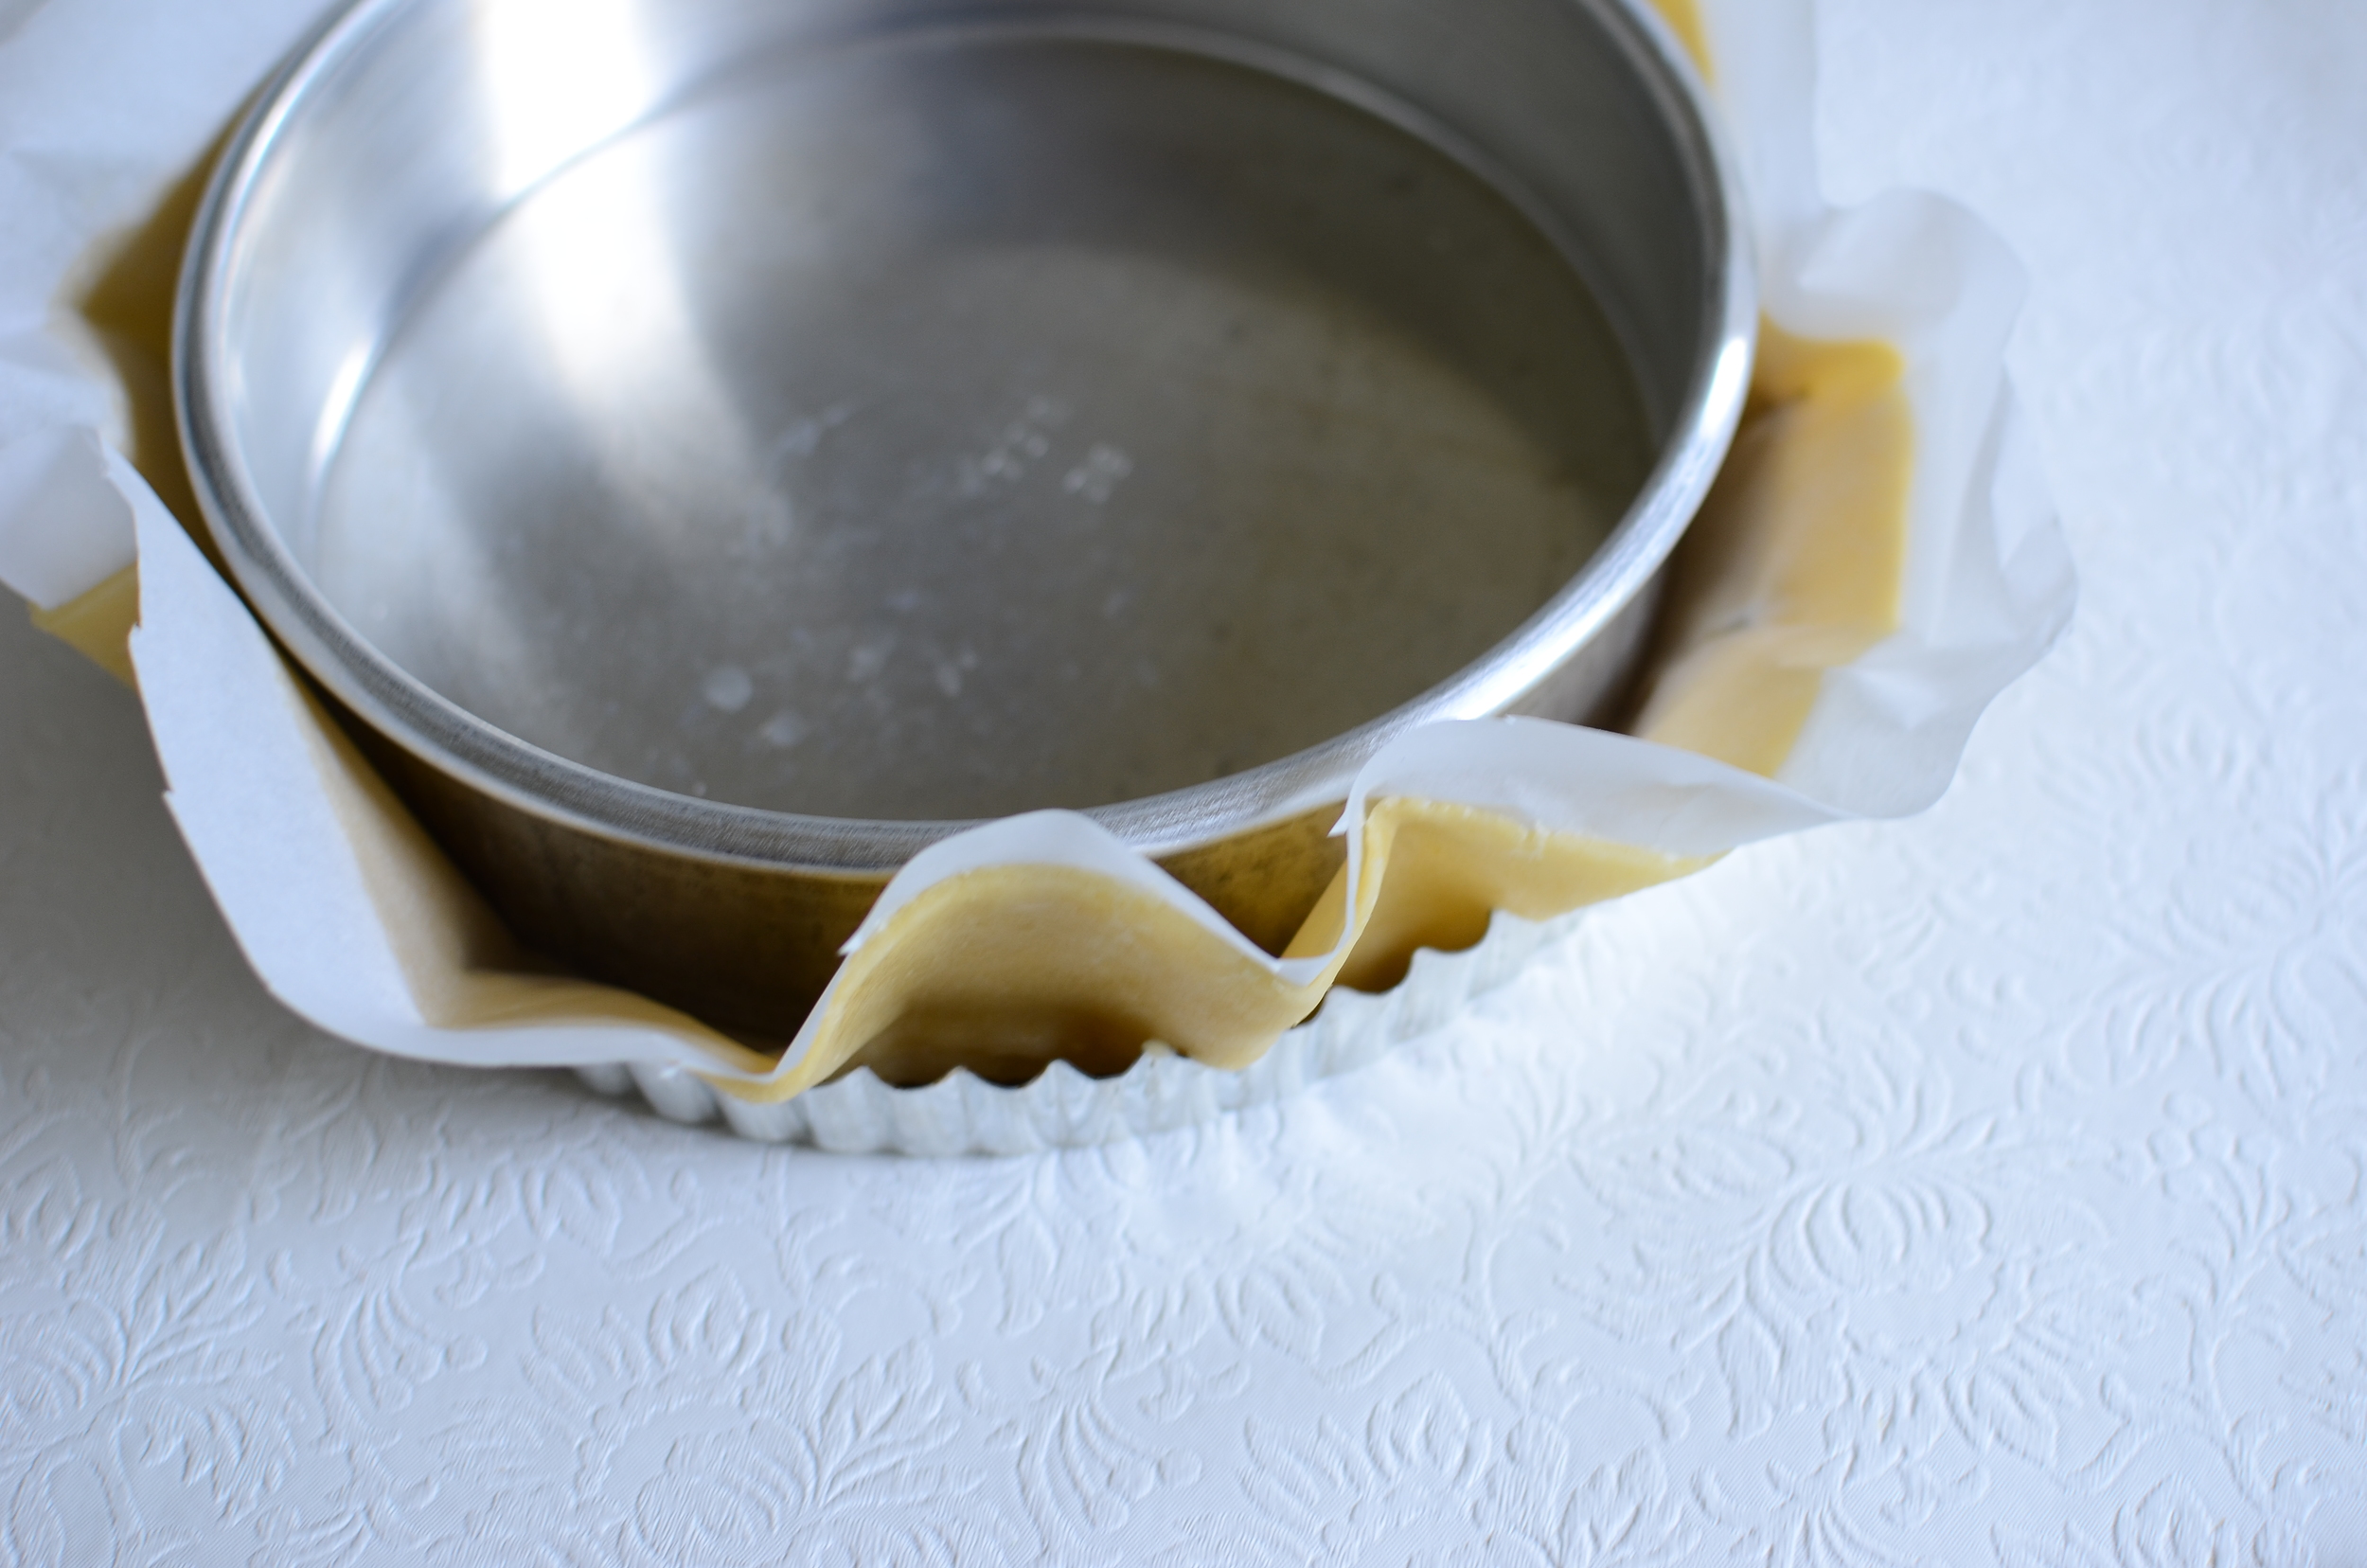
Sheew! Can you see how the parchment paper wasn't flexible enough to work well with this technique? I managed to make the parchment work, but I won't be using it again. Maybe I'll consider getting an industrial size roll of plastic wrap - I know they're more than 12-inches wide.
If you're interested in seeing how the technique works using plastic wrap (the way it's supposed to), check out the photos from my Frozen Pecan Tart post.

Once the tart shell is filled, fold the excess dough into the tart pan, building up the sides. This is an extra step, but I think it looks nice to decorate the crust a little. For this look, I used the blunt end of a wooden skewer to dot the center of each scallop. I love the way it looks!

Time to prebake the tart shell. I lined my shell with a large coffee filter and added rice, a trick I learned from Rose years ago.

Once the crust has baked long enough to set, it's safe to remove the rice. The rice will be toasted and will have absorbed some butter from the crust so don't throw it away. Cook it the way you usually cook rice - it's delicious!
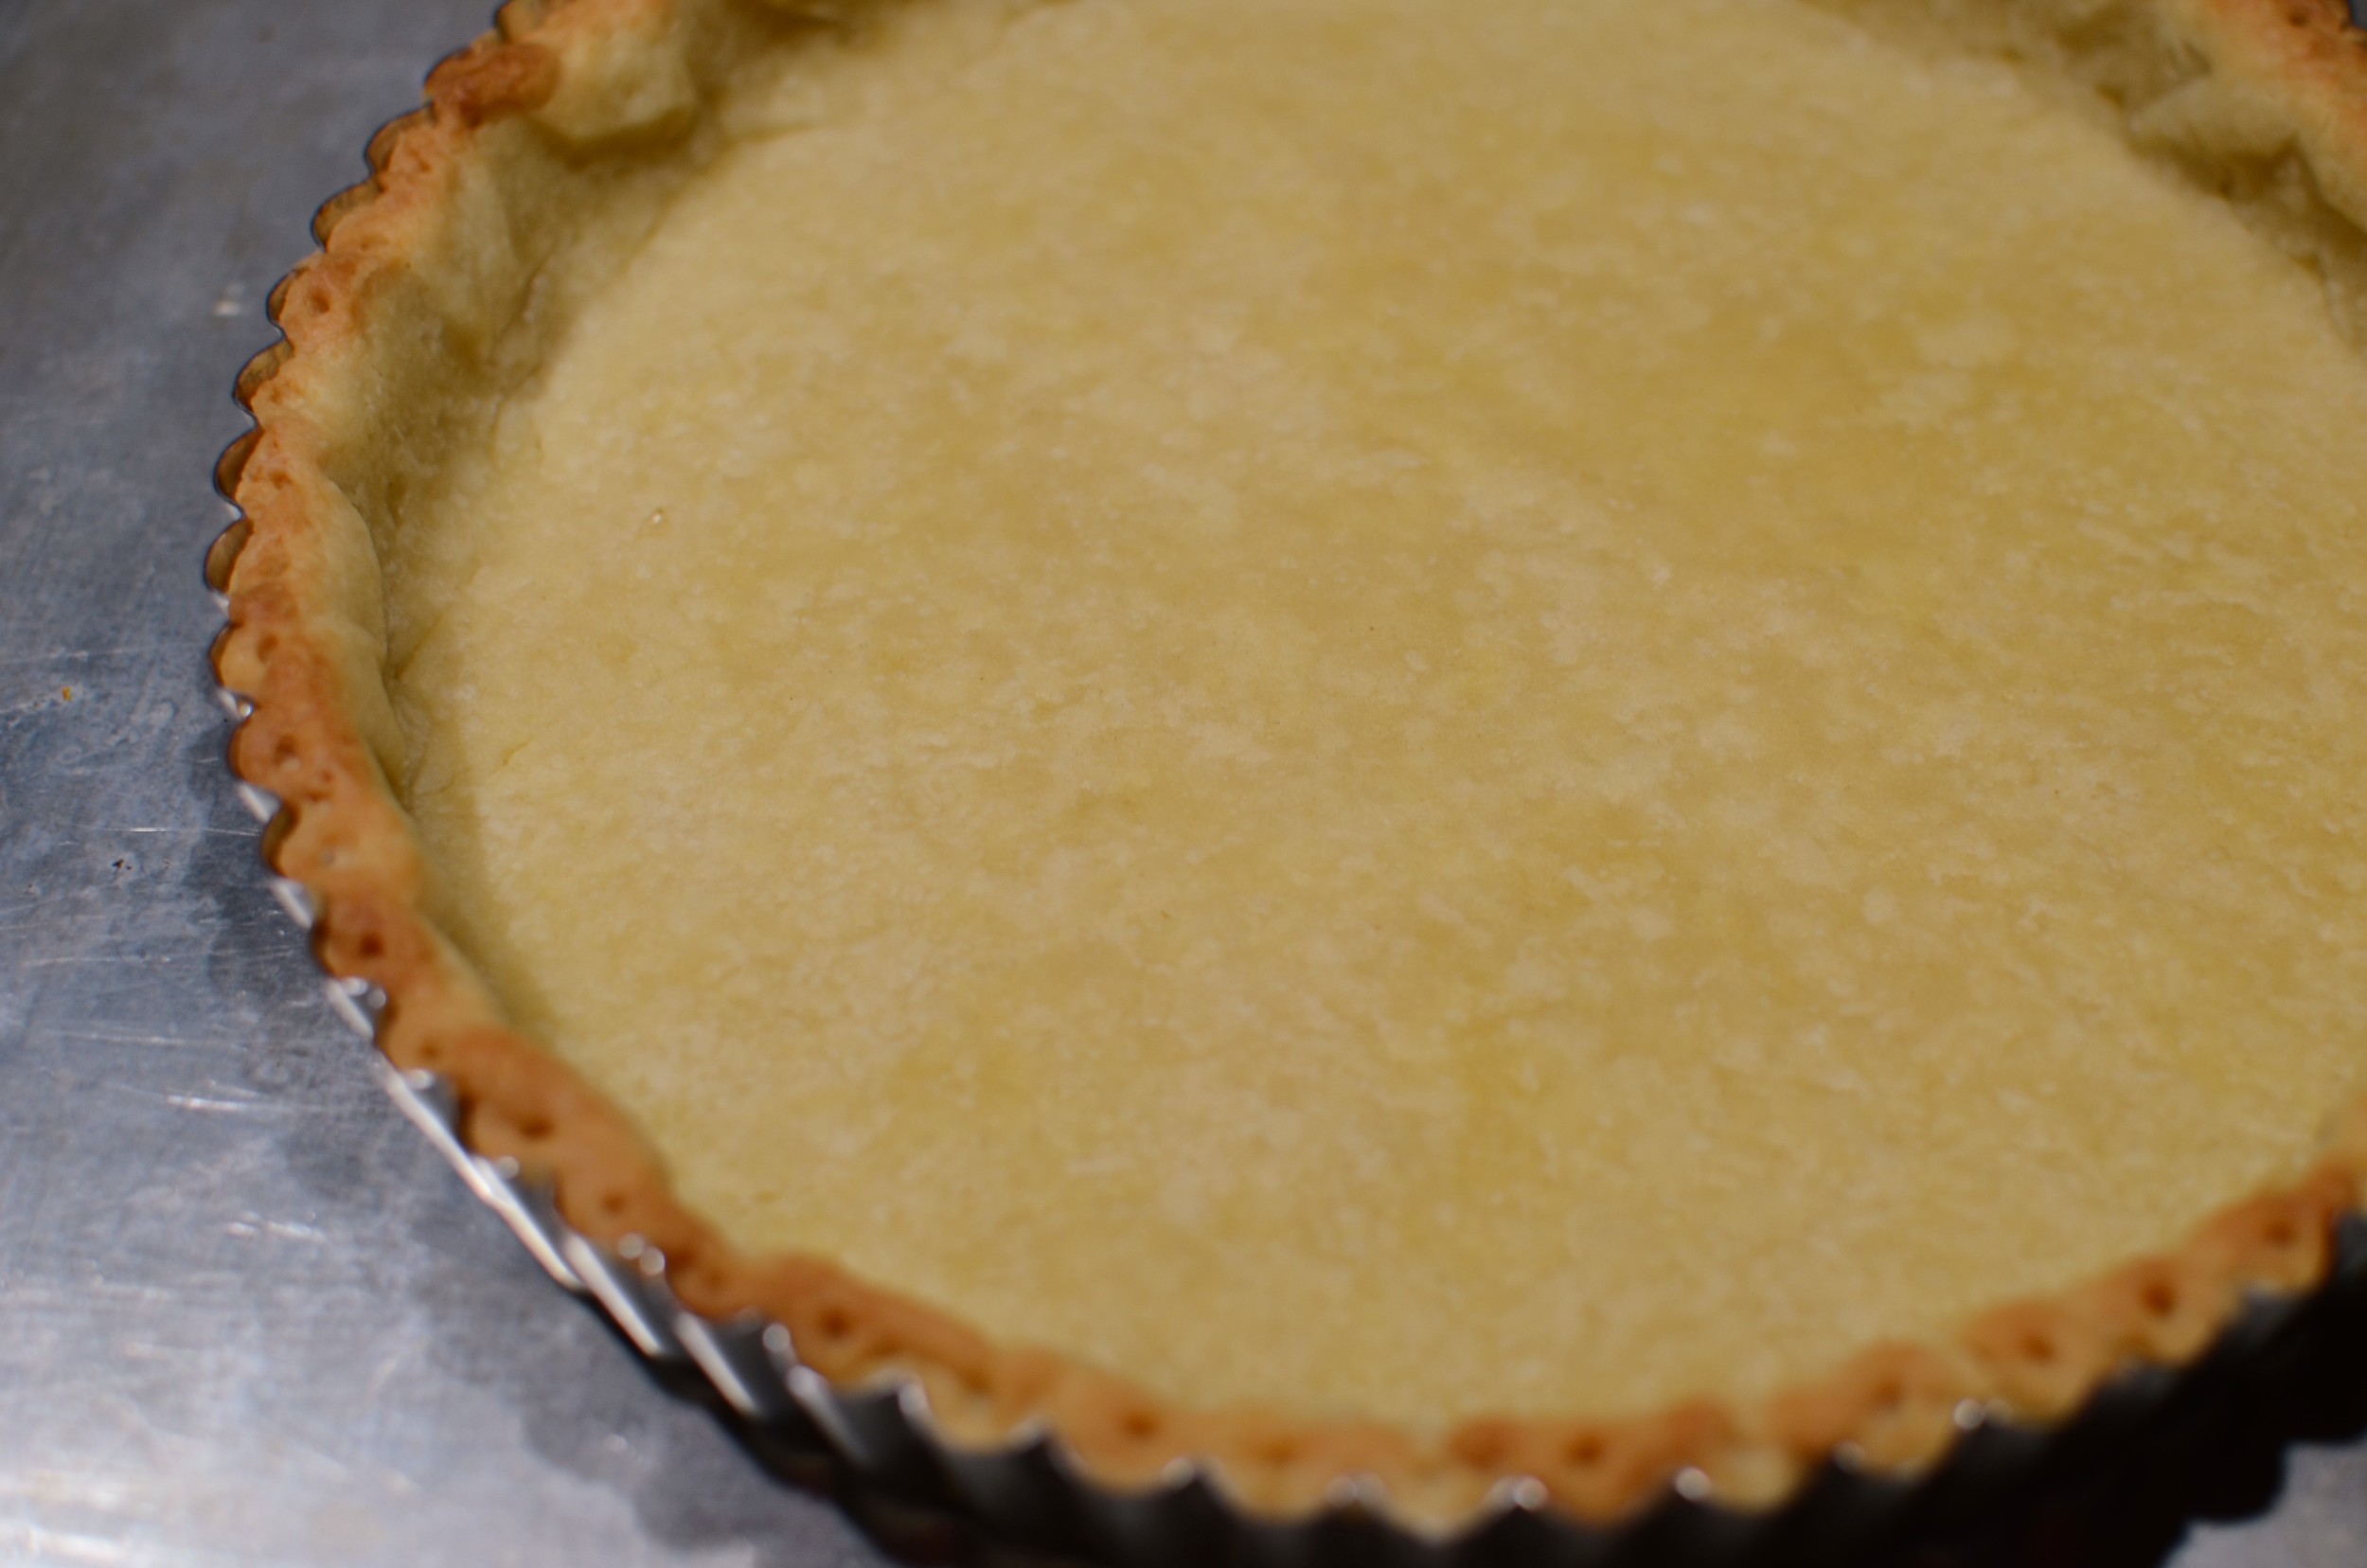
Cover the edges of the crust with a 10-inch aluminum pie shield or foil to keep it from over browning as it bakes for a few more minutes. Allow the crust to cool while making the filling.

To make the filling, combine the sugar, lemon zest, and orange zest in a food processor until the zest is very finely ground. By the way, be sure to scrub the citrus before zesting them.

Here's a neat trick I learned from Woody. If you don't need to use the feed tube of your food processor, place a piece of plastic wrap between the work bowl and lid to keep the lid from getting dirty. I LOVE THIS TRICK!!!
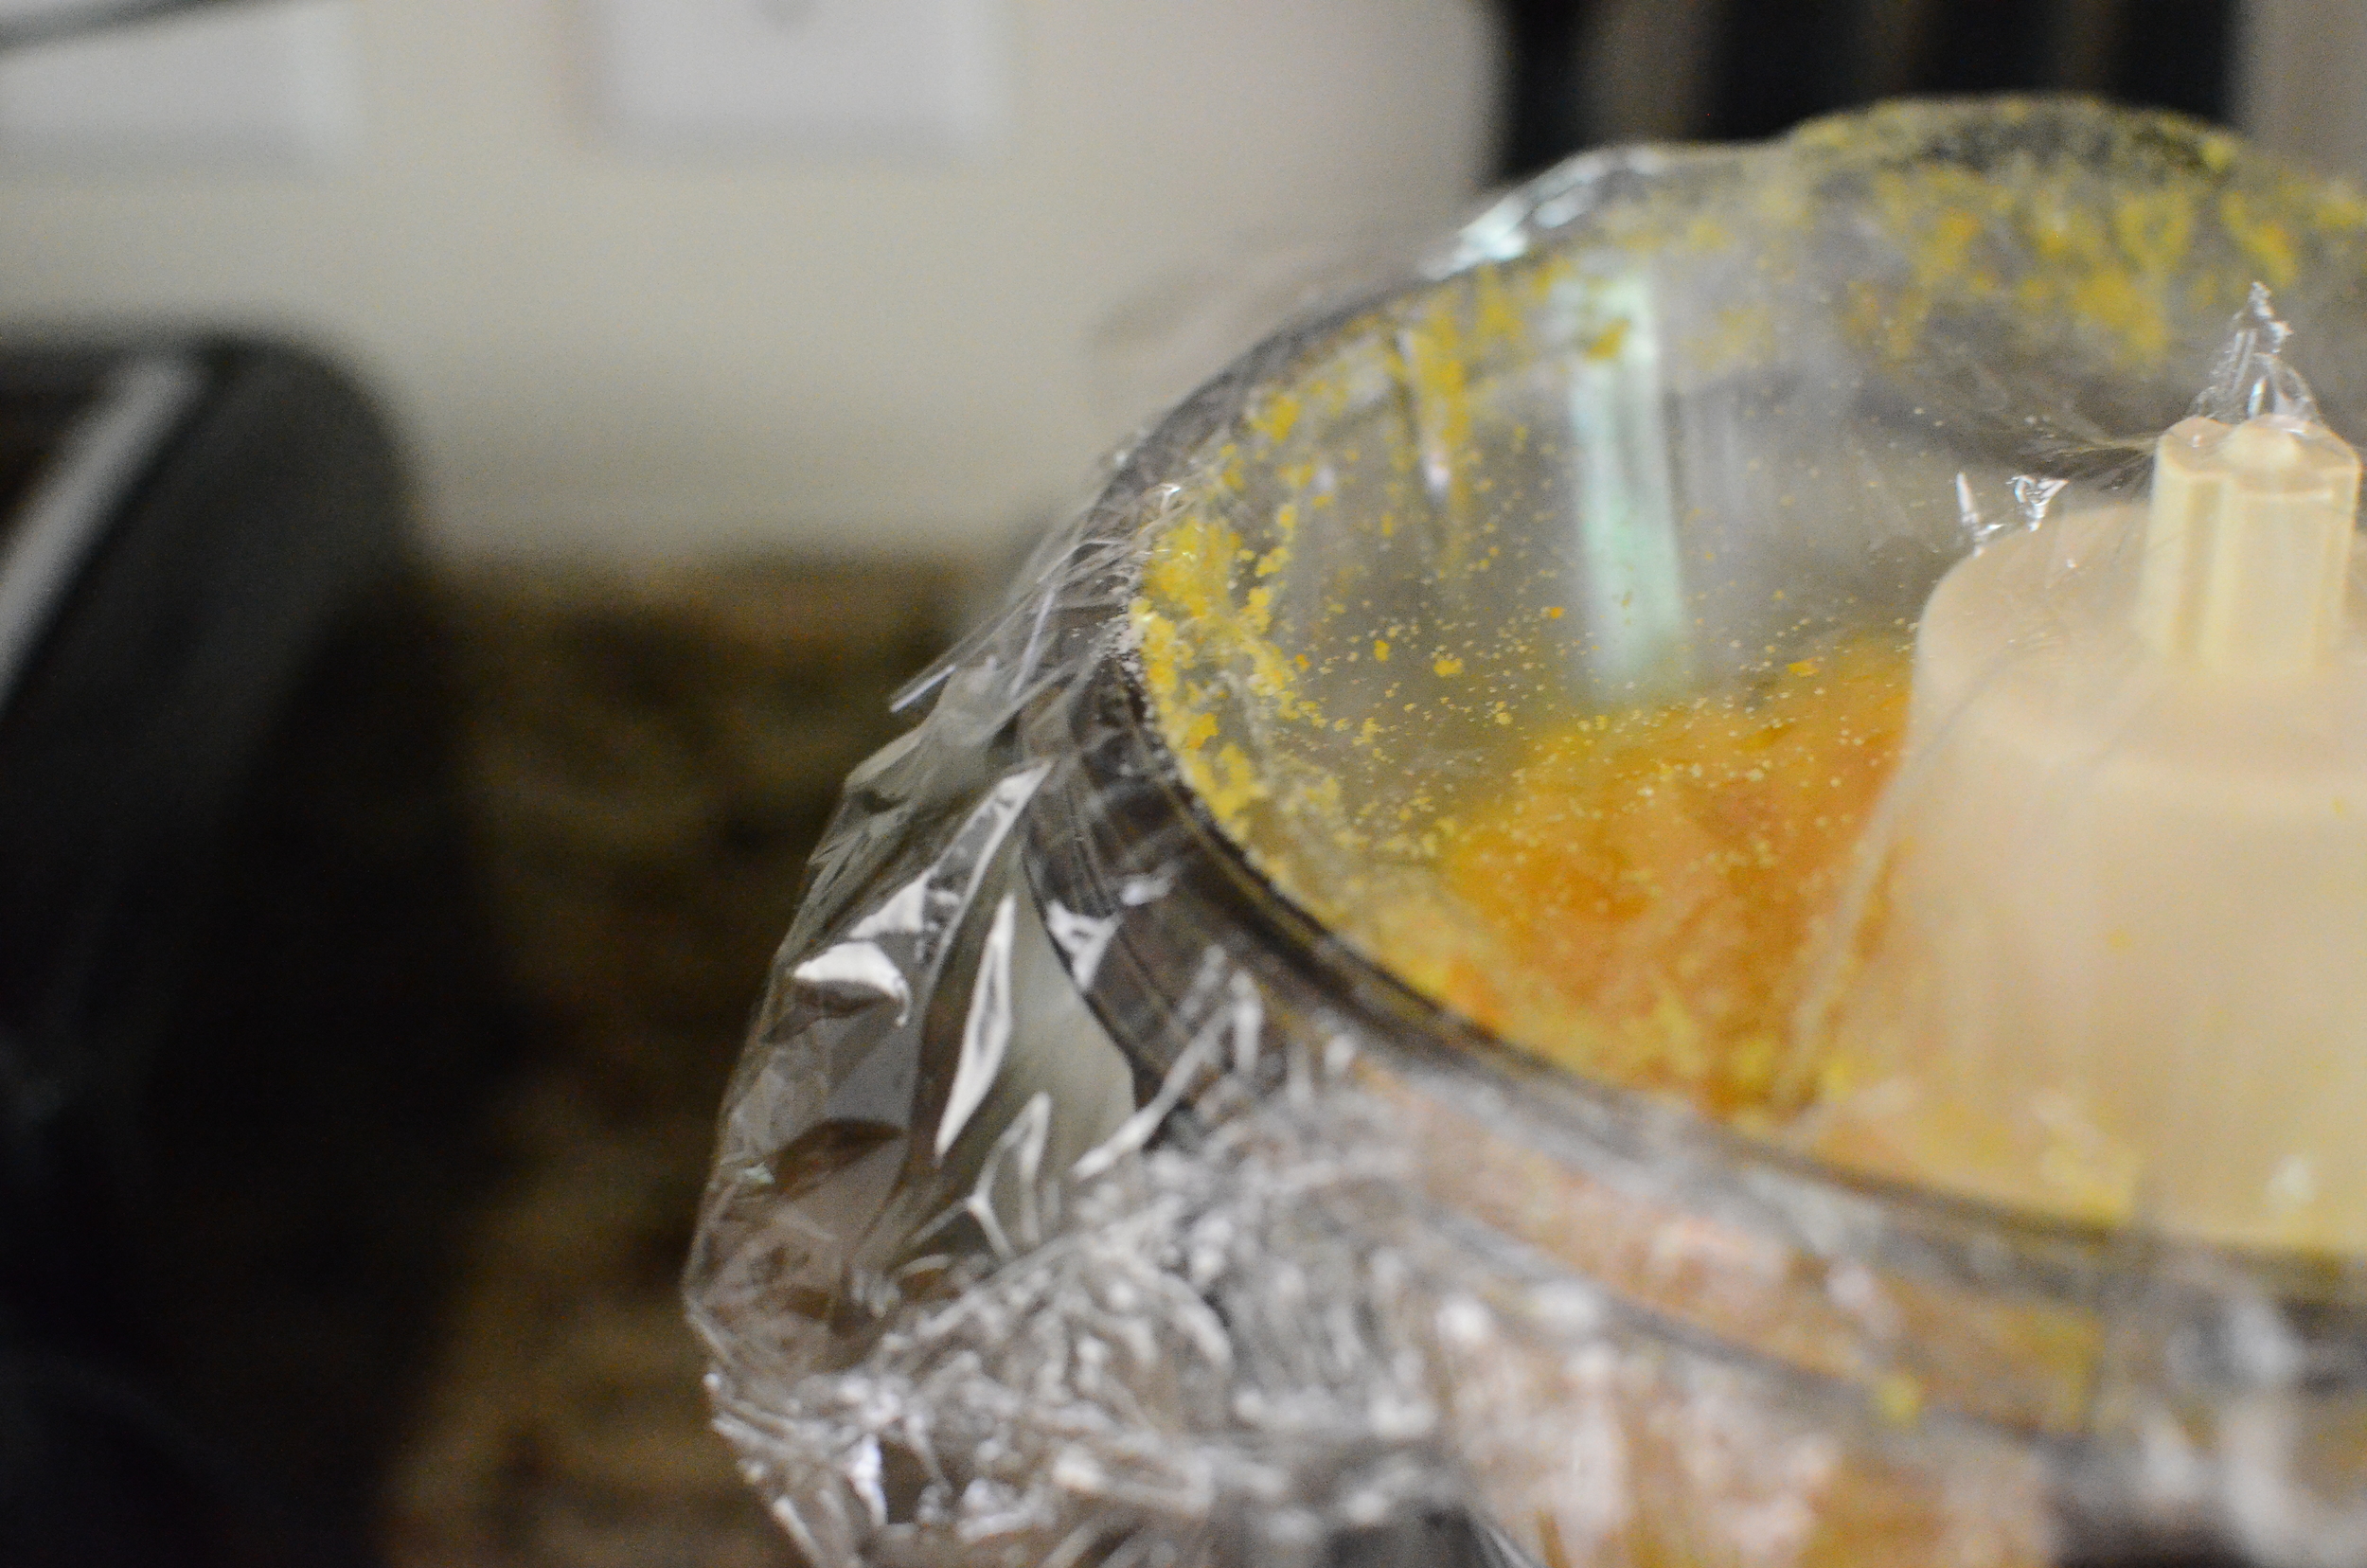
See all the messy stuff that would normally have splashed up onto the lid? Well, it stuck to the plastic instead - and my lid is still perfectly clean. LOVE!!

Check out the color of the sugar after the lemon and orange zest were added. MY EYES!!!

Joking aside, next we need freshly squeezed lemon and orange juice. How did we ever manage before citrus squeezers? Honestly, I thought since I only needed to squeeze a few fruits, I'd just go ahead and do it by hand, but I hardly got any juice. So I pulled out my citrus squeezer and suddenly there was plenty of juice to be found.

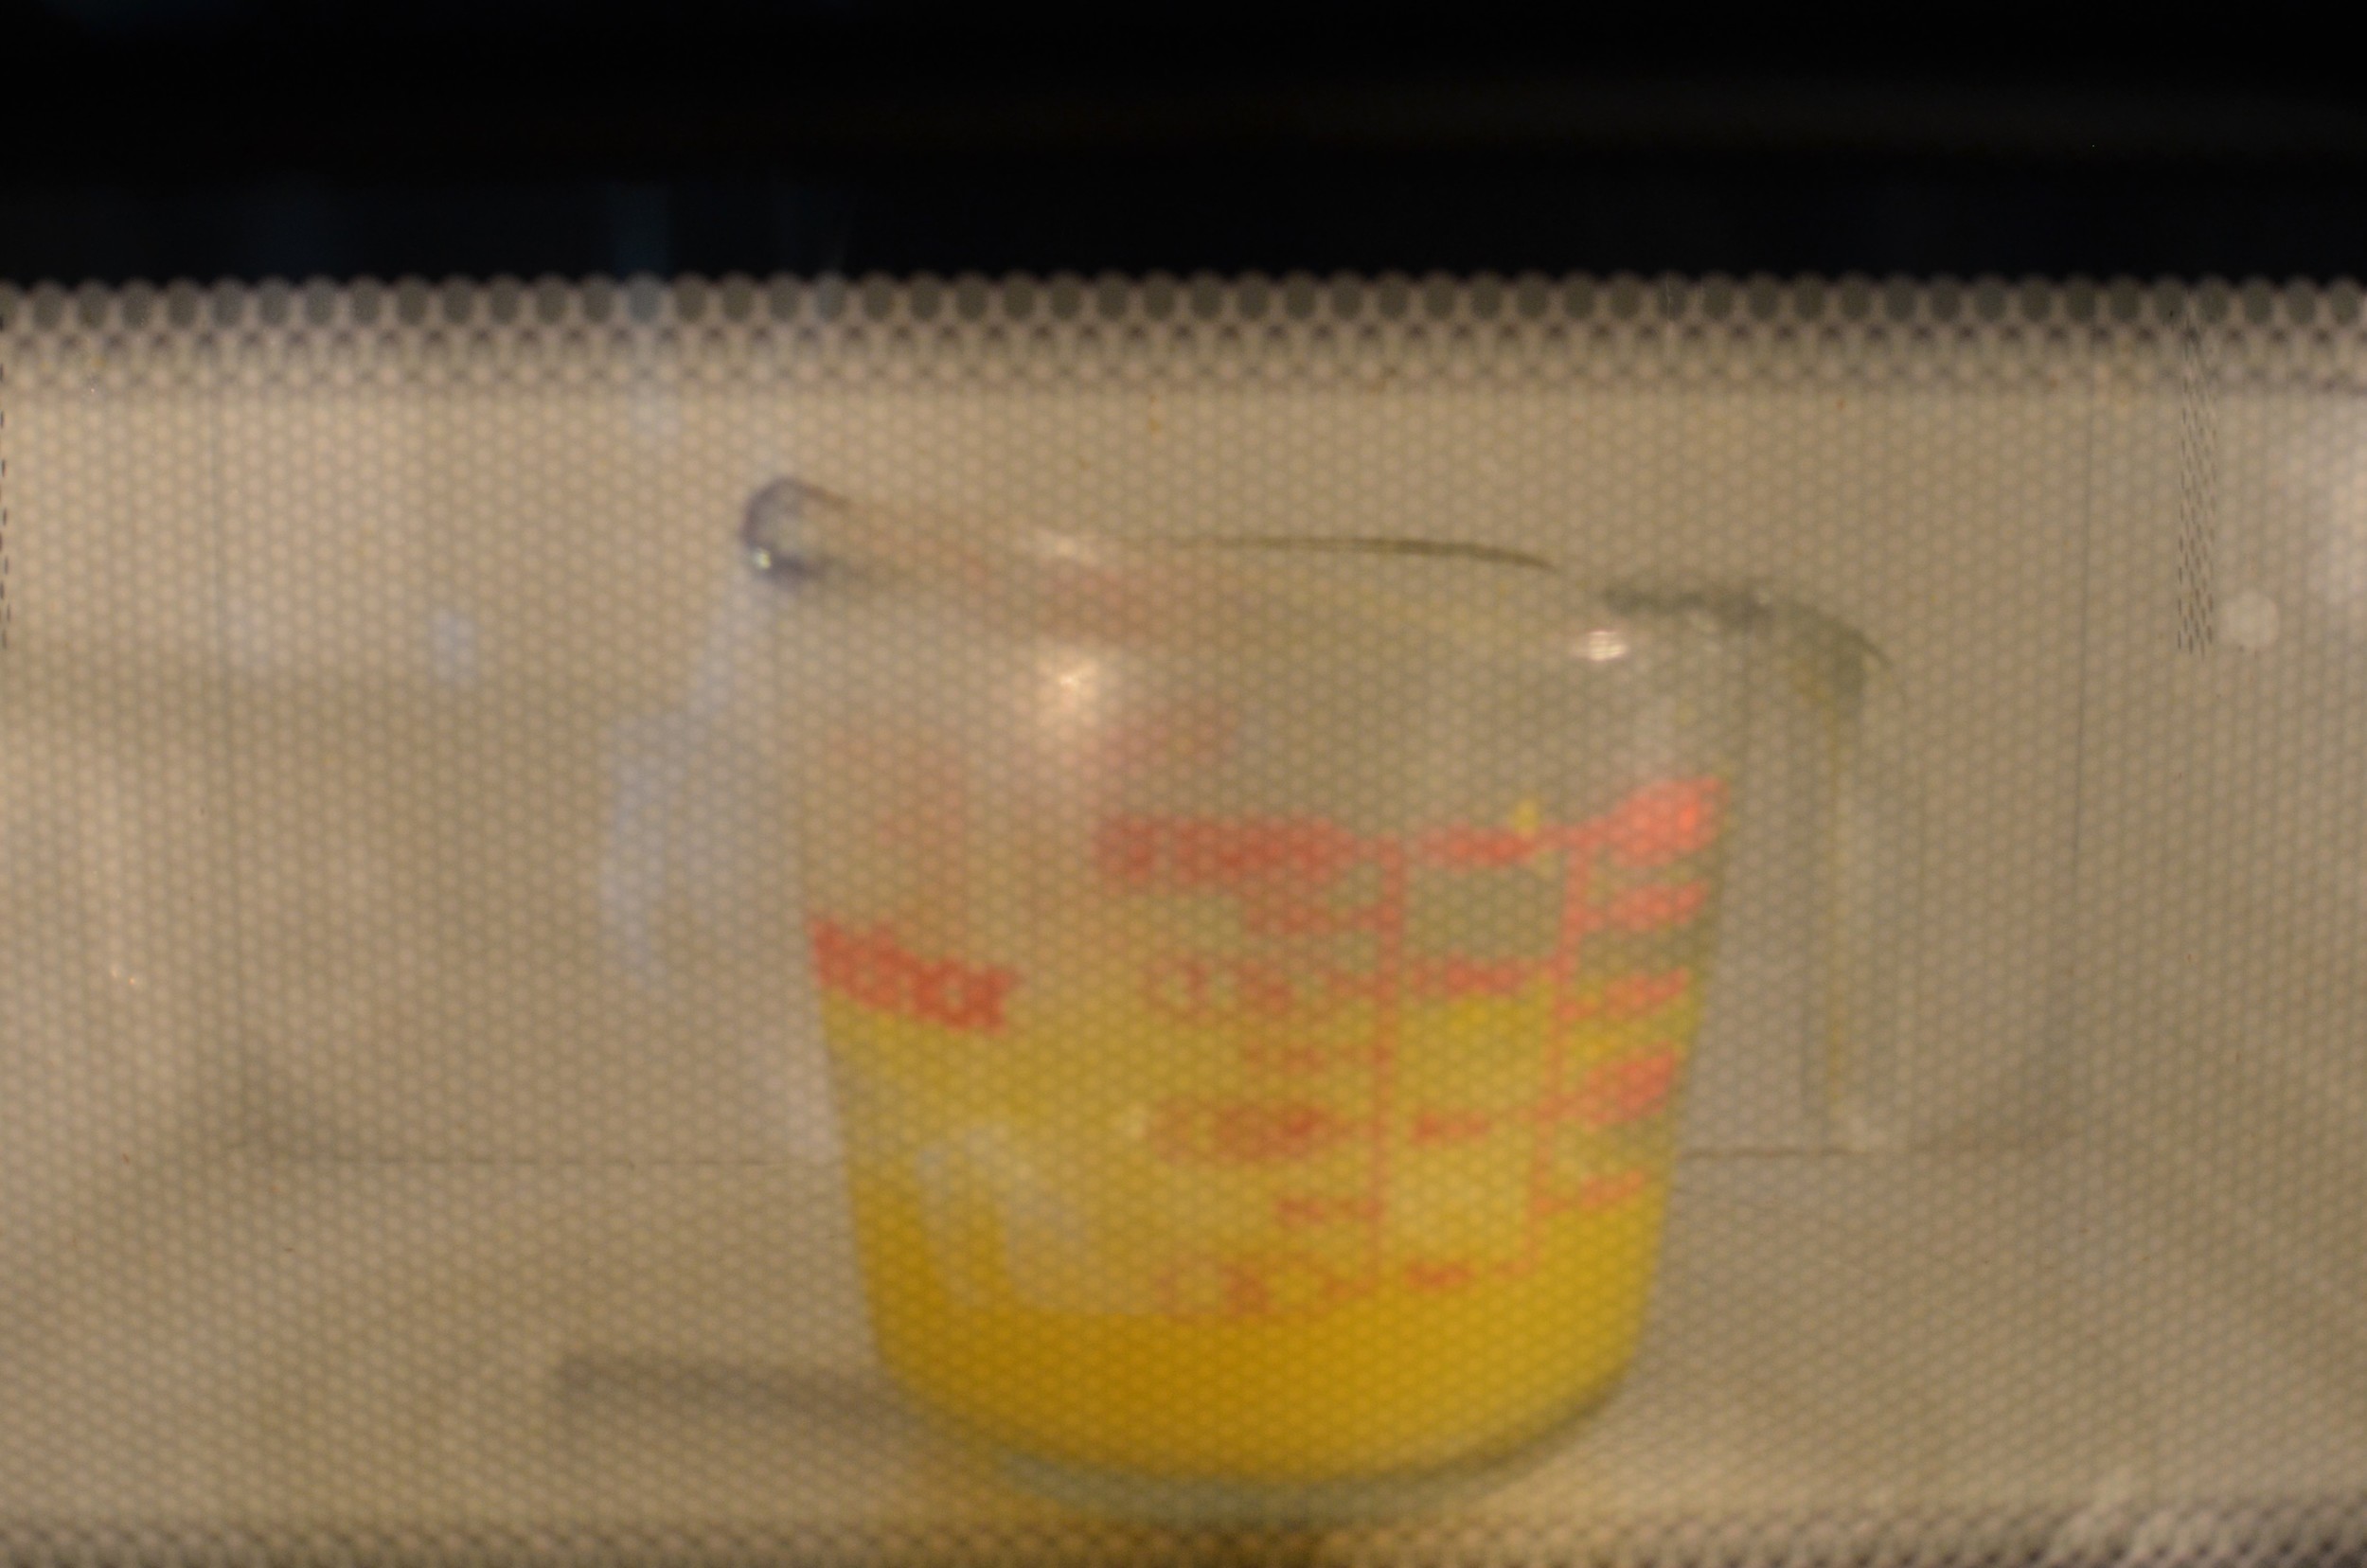
Reduce the juice in the microwave.

I allowed the reduced juice to cool, then added a little grand marnier to bump up the orange flavor. Set that aside until we need it.

Time to use the stand mixer. Rose's suggested using the splatter shield for this next step, and boy was she right! If you don't have a splatter shield on your mixer, drape a sheet of plastic wrap or a clean kitchen towel over the mixer. This is going to get messy.

Combine the egg yolks and sugar mixture for 2 minutes.

Then add the heavy cream and reduced citrus juice.

Yep, even with the splatter shield in place, the mixture splattered all over the place.

So the next thing I did was put my prebaked tart shell on a foil-lined half sheet pan. That's when I noticed a crack in my tart shell that needed some attention.

I melted a little white chocolate and used it to fill the crack so none of the filling would ooze out of the bottom of the tart and make a big mess.
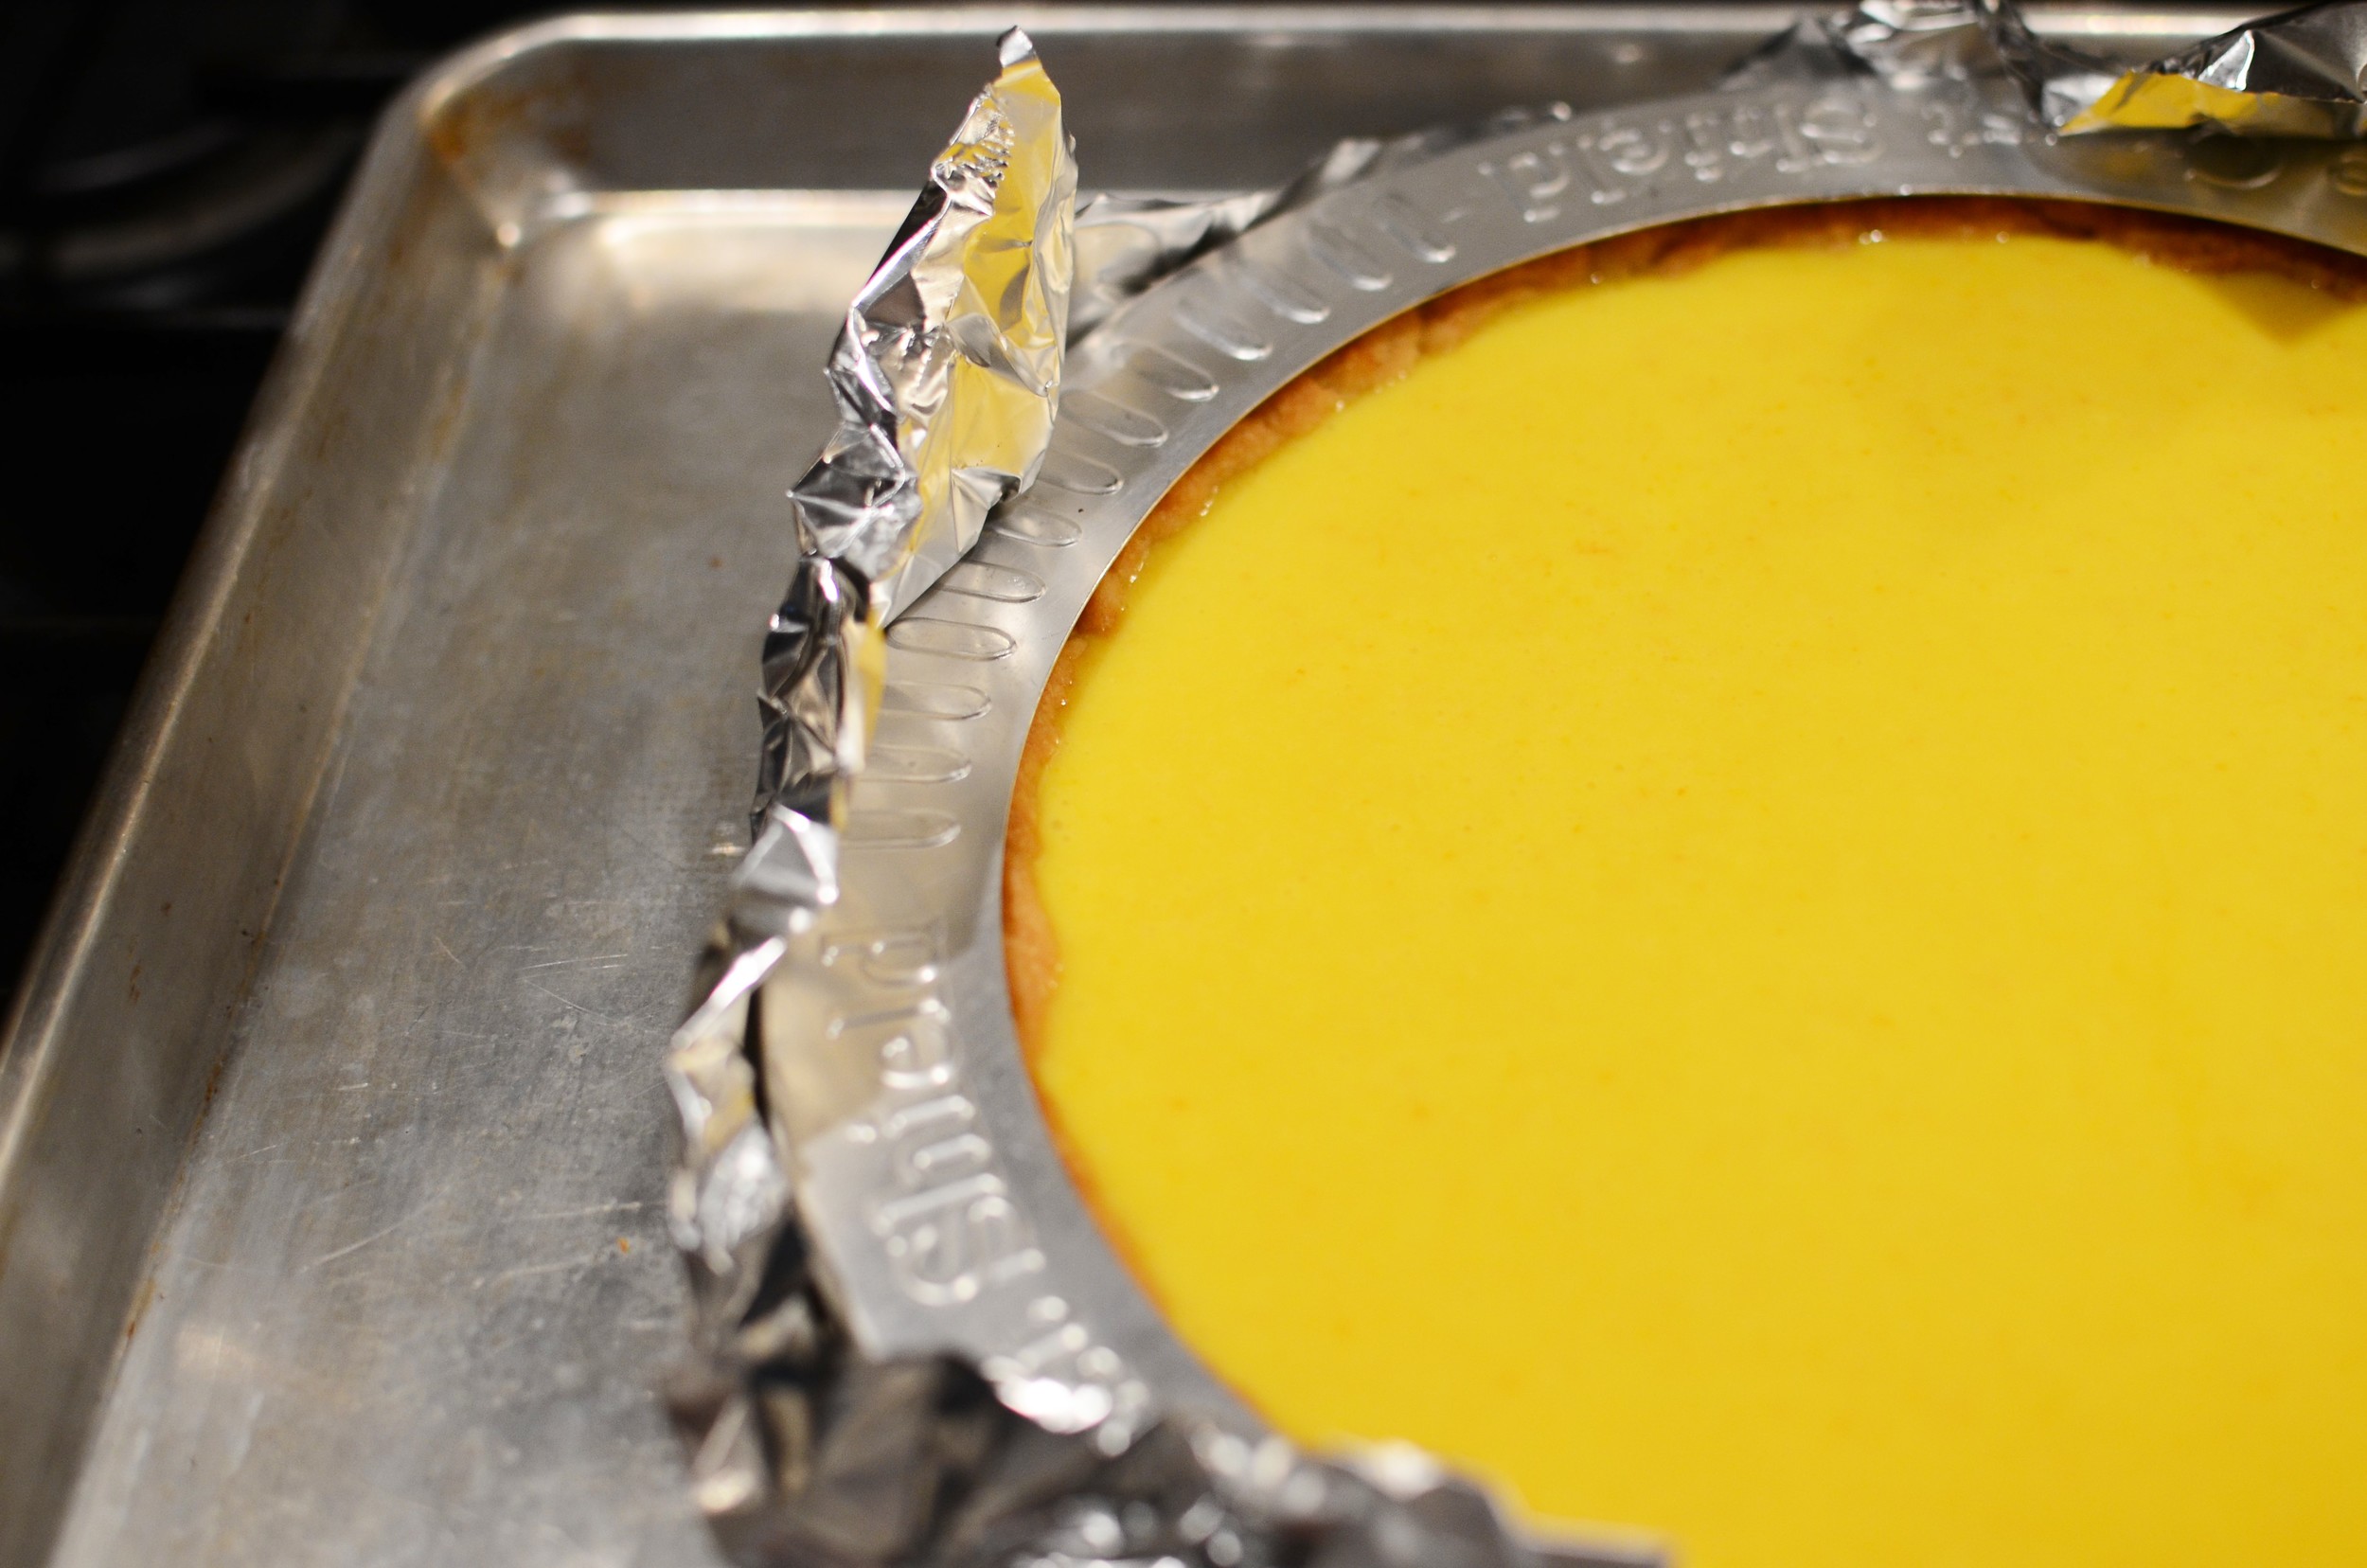
Now that the tart shell crack has been plastered with white chocolate, the filling is poured in and the crust is topped with a metal pie shield to keep it from burning when it goes back into the oven.
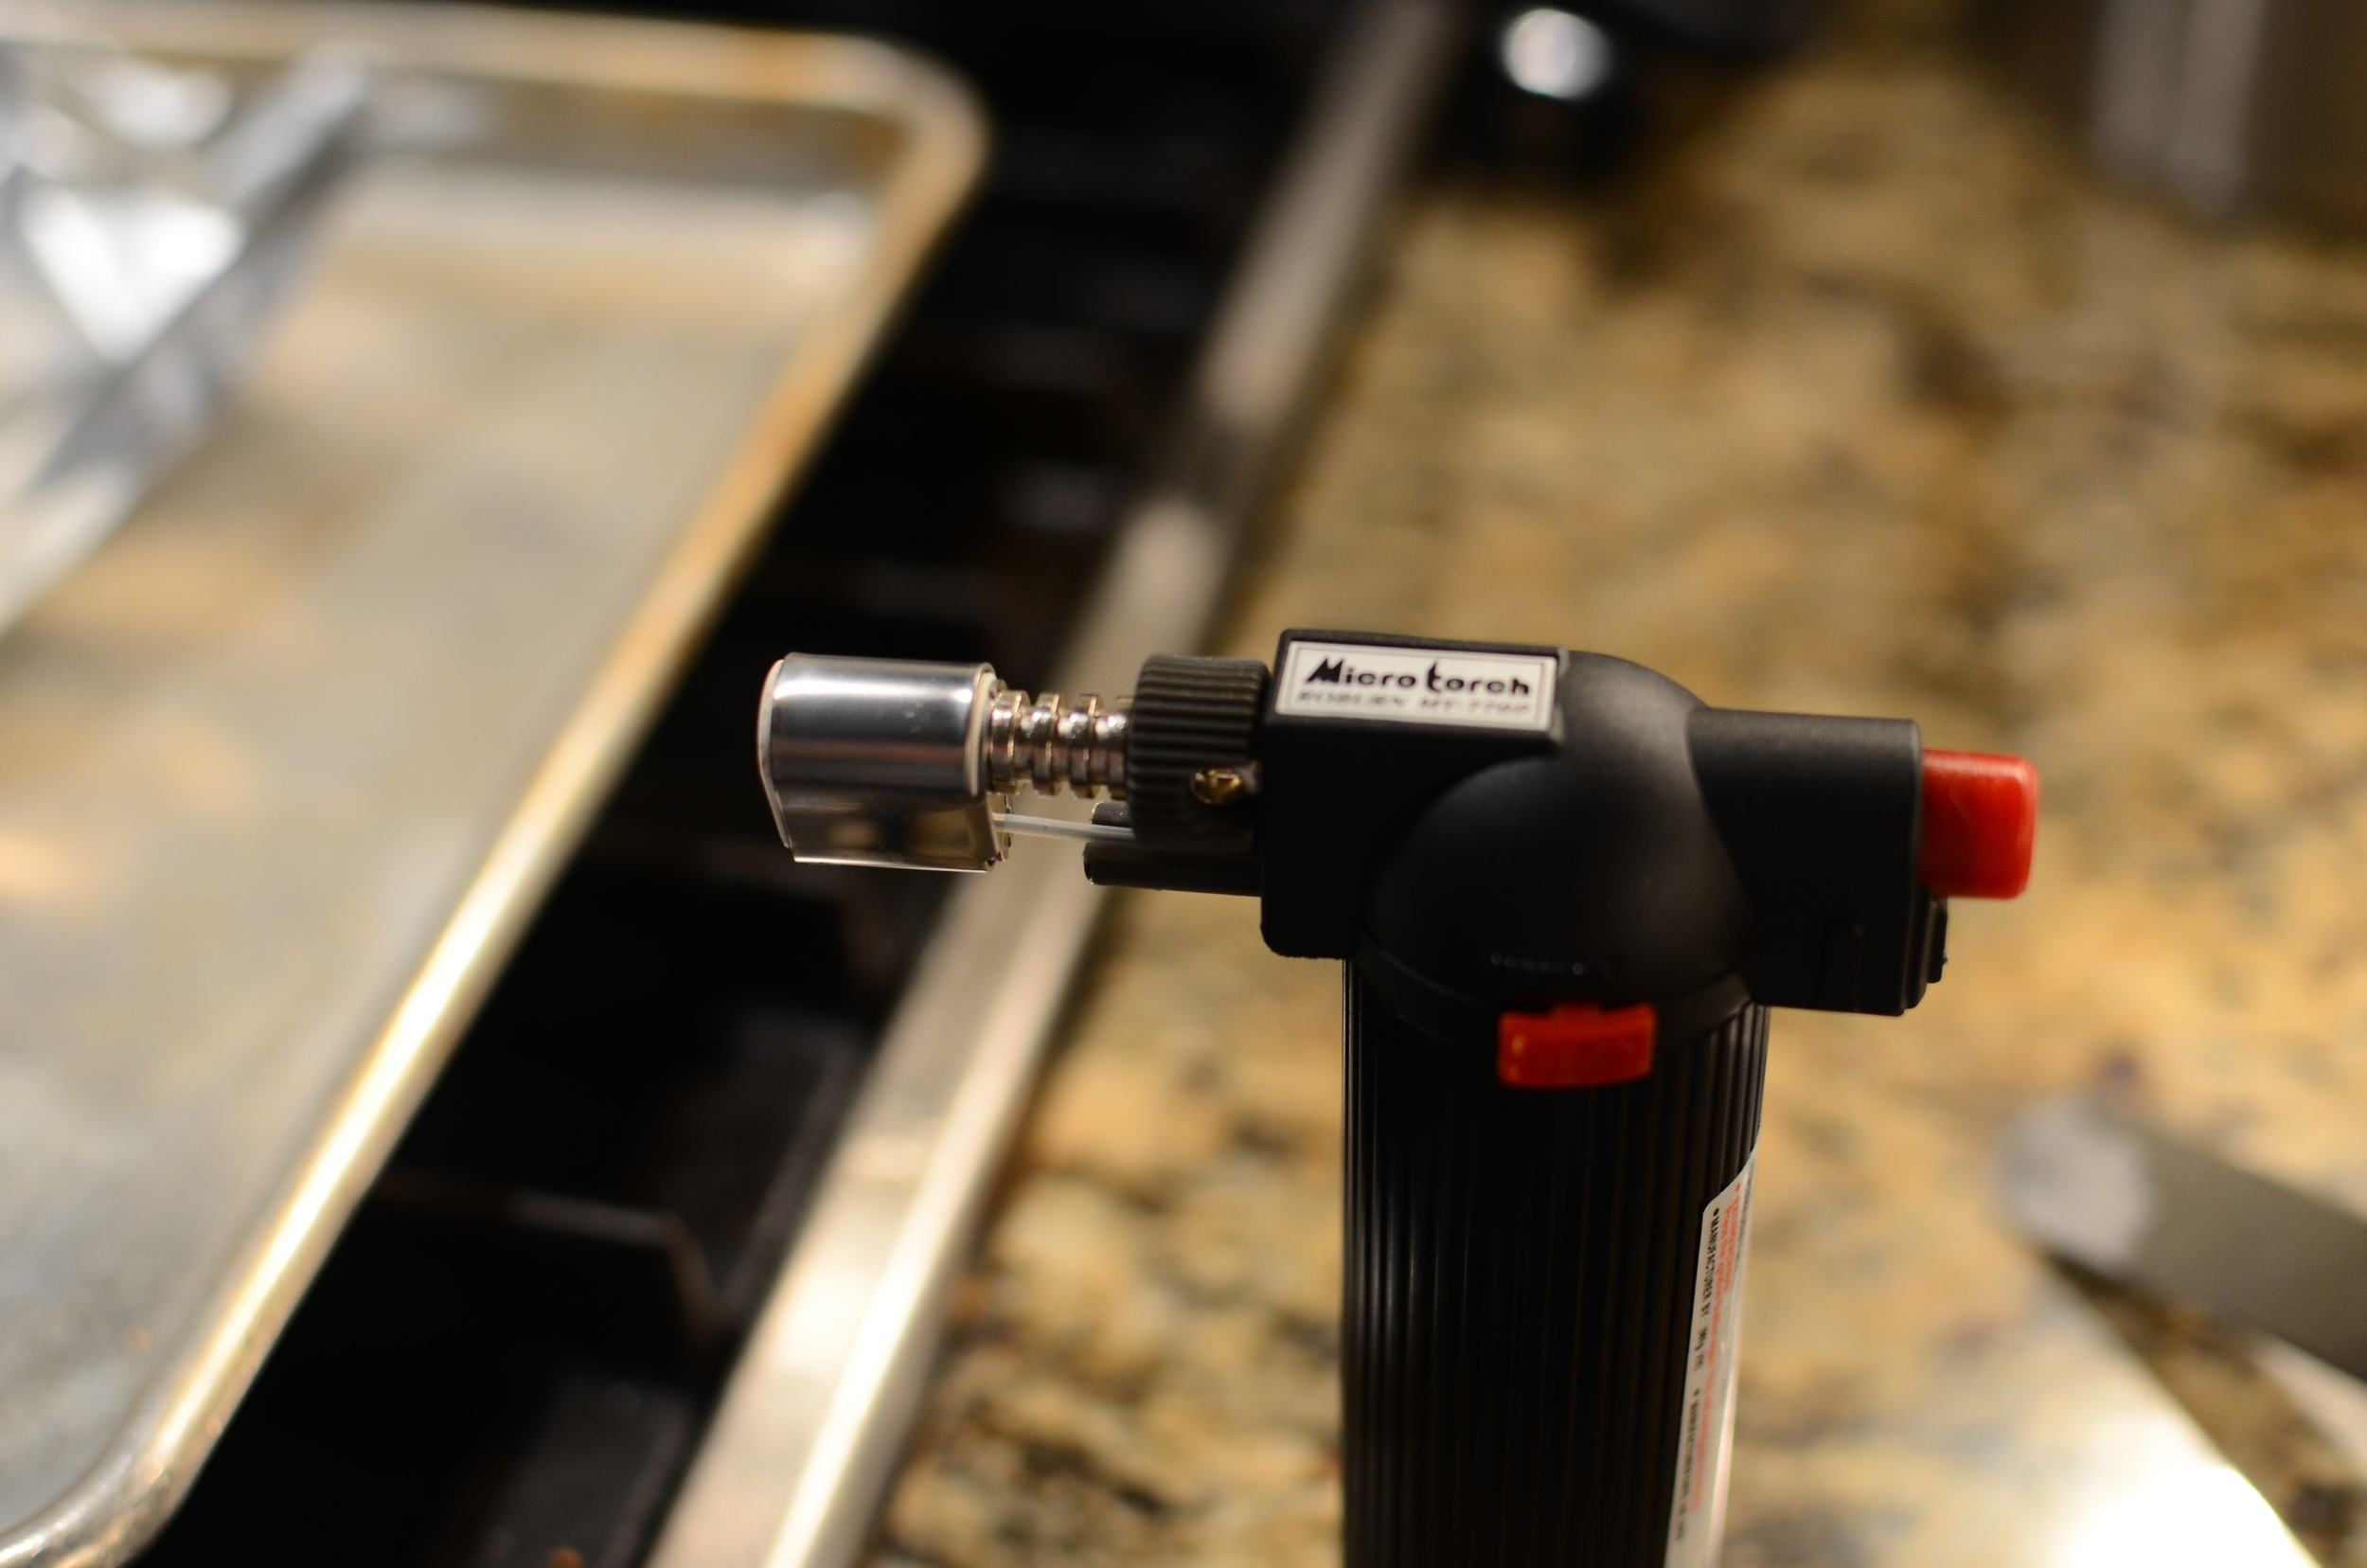
Oh, if you have any air bubbles floating on top of your filling, you can pop them quickly with a kitchen torch. It's so much easier than trying to pop them with a toothpick one-by-one, and you can eliminate a thousand bubbles in two seconds flat. Great little trick.

So here's my finished tart.
-
2016
- Dec 7, 2016 TBB - Luxury Chocolate Buttercrunch Toffee
- Sep 26, 2016 TBB - Bourbon (Whiskey) Pecan Butter Balls
- May 11, 2016 TBB - Blueberry Buckle
- Apr 5, 2016 TBB - Meringue Birch Twigs
- Jan 26, 2016 TBB - Lemon Almond Cheesecake
-
2015
- Nov 19, 2015 The Hazelnut Praline Cookies that Never Were
- Sep 1, 2015 TBB - Flaky Cream Cheese Scones
- Aug 23, 2015 TBB - Woody's Black and White Brownies
- Jul 1, 2015 TBB - Praline Meringue Ice Cream Sandwiches
- Jun 23, 2015 Ricotta Loaf - The Bread Bible
- Jun 4, 2015 TBB - French Orange Cream Tart
- May 19, 2015 TBB - Double Chocolate Oriolos
- May 15, 2015 Touch of Grace Biscuits - The Bread Bible
- May 7, 2015 TBB - Blu-Rhu Mini Pies
- Apr 27, 2015 TBB - Lemon Jammies
- Apr 2, 2015 Pita Pizzas - The Bread Bible
- Mar 22, 2015 TBB - Luxury Oatmeal Cookies
- Mar 15, 2015 TBB - Sour Cherry Pie (Pi Day)
- Mar 9, 2015 TBB - Caramel Buns
- Mar 4, 2015 TBB - Hamantaschen (Purim)
- Feb 23, 2015 TBB - Lemon Posset Alma
- Feb 15, 2015 TBB - Chocolate Pavarotti with Wicked Good Ganache
- Feb 11, 2015 TBB - Golden Orange Panettone with Chocolate Sauce
- Feb 9, 2015 Panettone Delay
- Feb 2, 2015 TBB - Swedish Apricot Walnut Bread
- Jan 26, 2015 TBB - Gingersnaps
- Jan 19, 2015 Biga Fail
- Jan 12, 2015 TBB - Black and Blueberry Pie
- Jan 5, 2015 TBB - Chocolate Cuddle Cake
-
2014
- Dec 29, 2014 TBB - Frozen Pecan Tart
- Dec 22, 2014 TBB - Almond Coffee Crisps
- Dec 15, 2014 TBB - The Ischler
- Dec 8, 2014 TBB - English Dried Fruit Cake
- Dec 1, 2014 TBB - Kouigns Amann (kween ah-mahn)
- Nov 5, 2014 Rose's Alpha Bakers - Intro