Sous Vide Cheesecake in a Jar
Patricia @ ButterYum
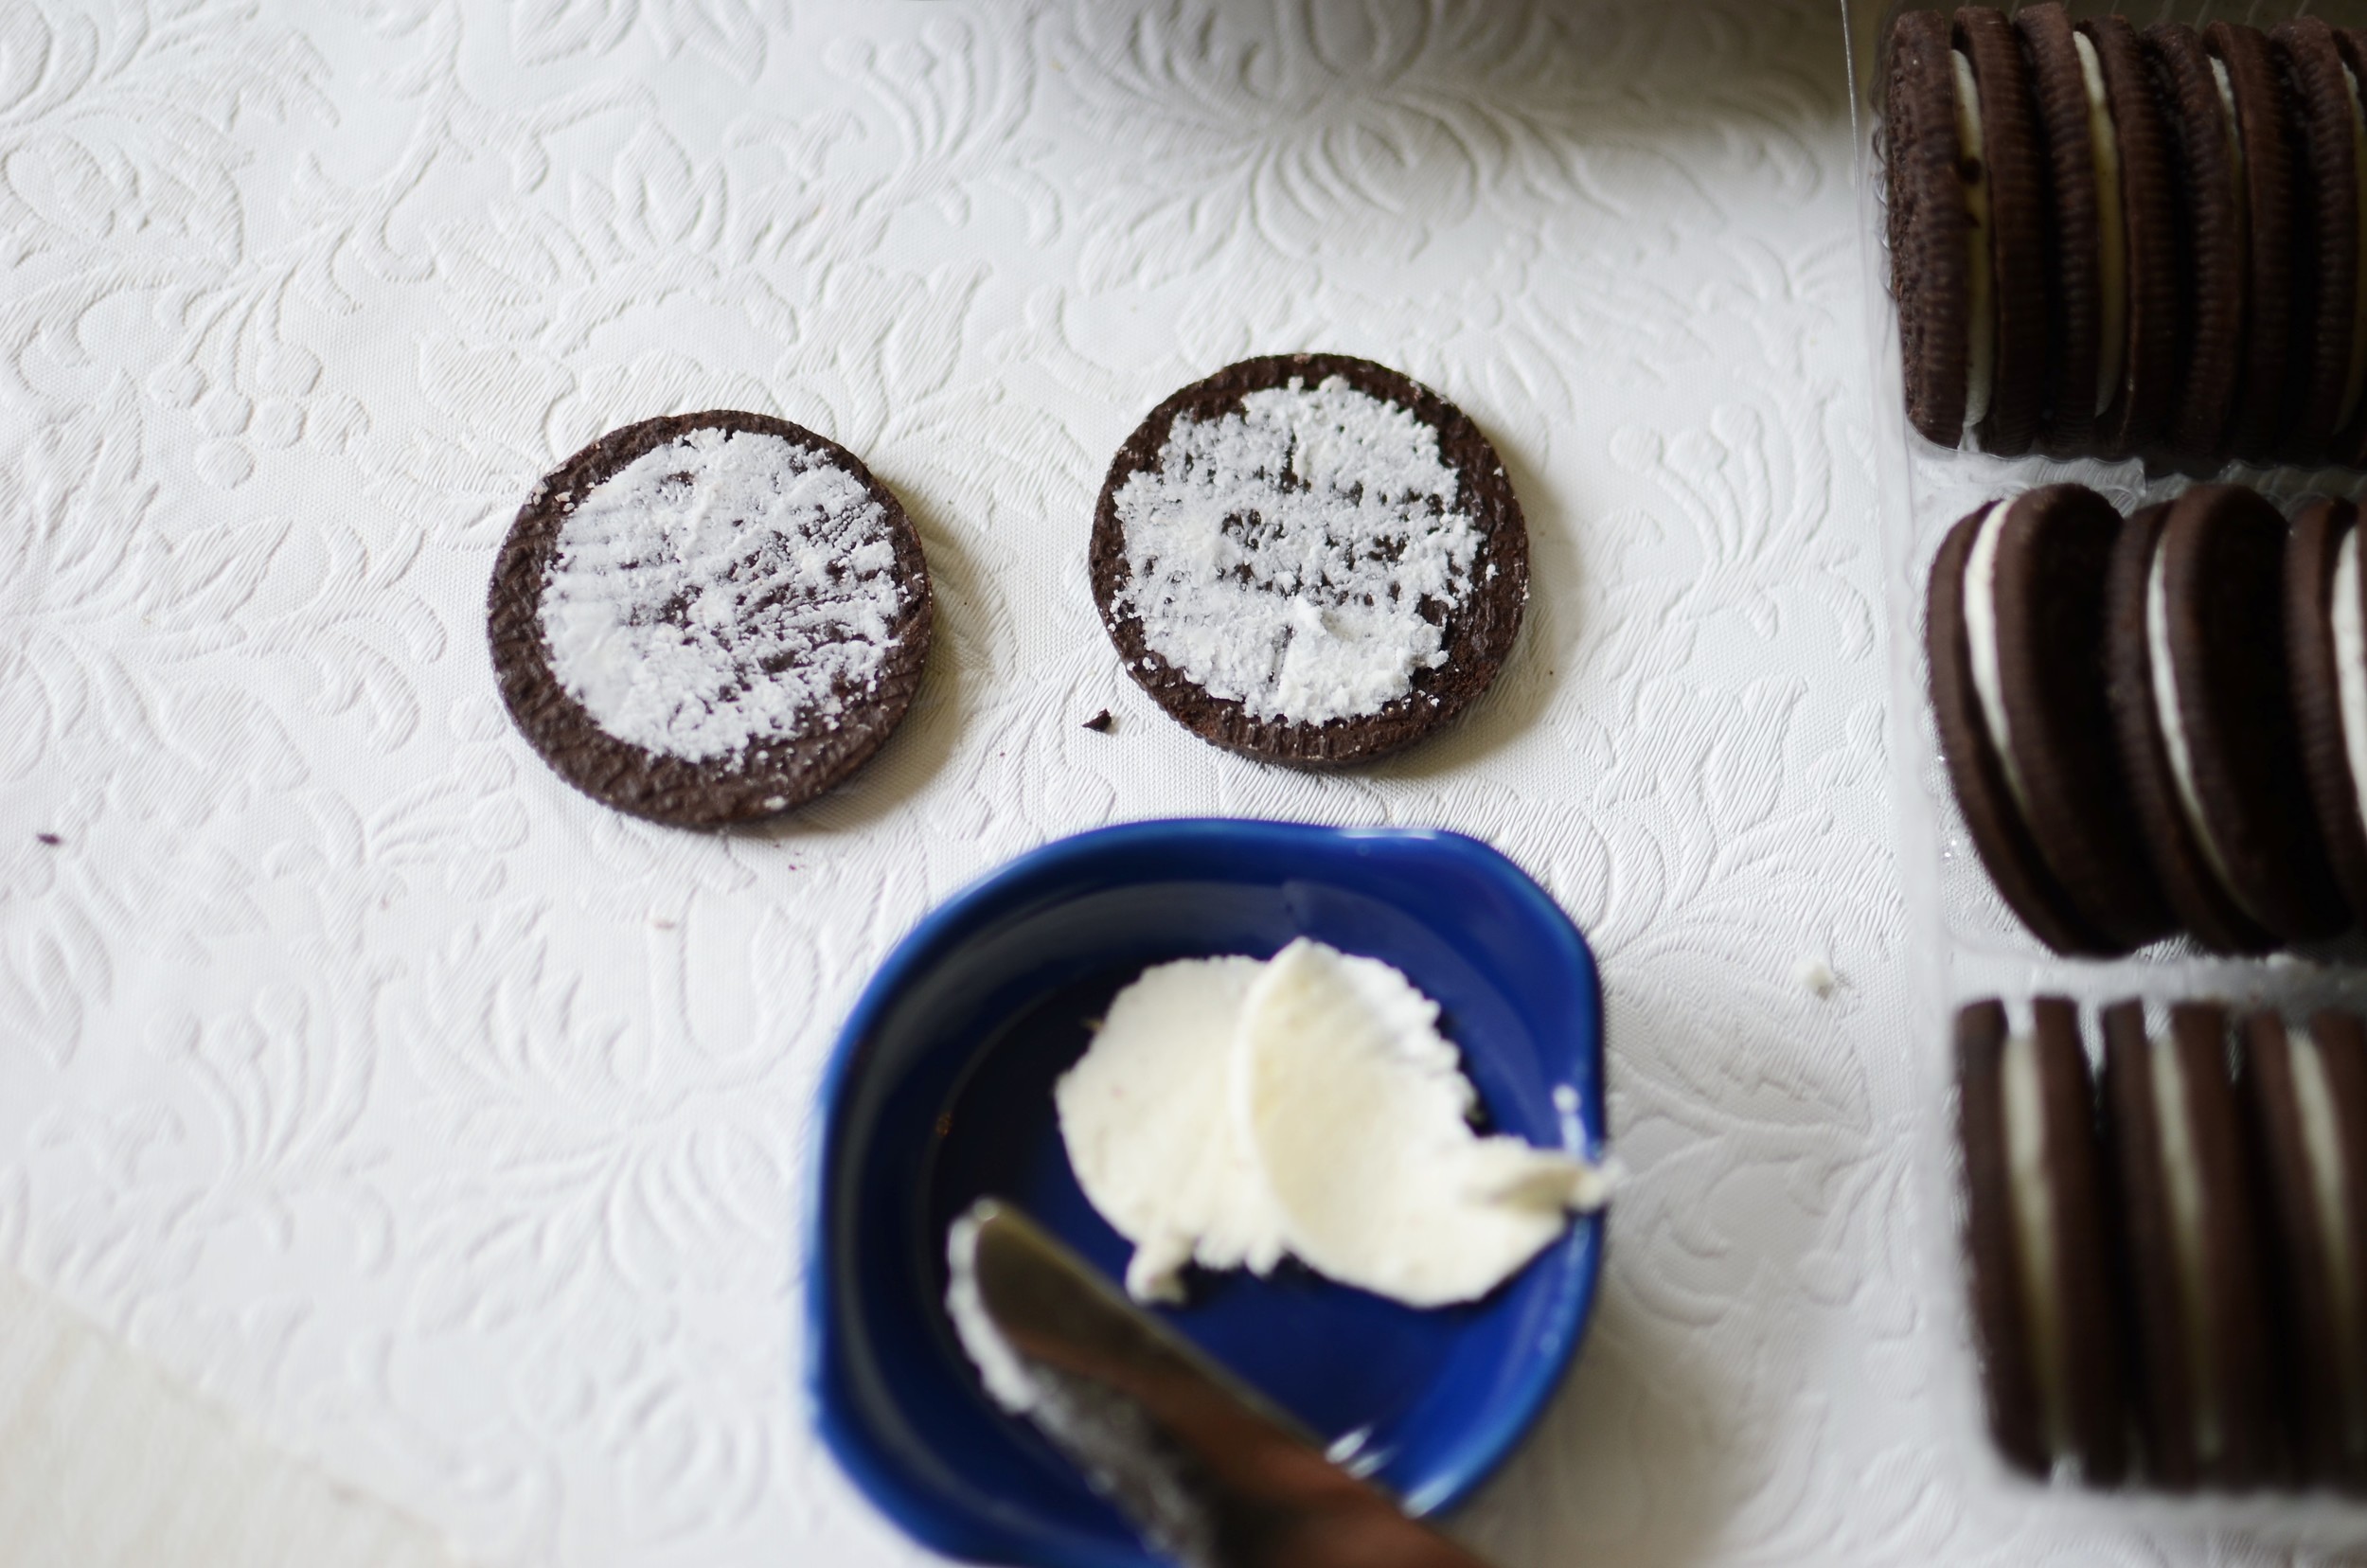
I've been having a blast playing with my new sous vide circulator. This week I have a great cheesecake recipe to share, but instead of being baked in a springform pan, it's cooked in tiny jam jars that are submerged in a hot water bath. How cool is that? I've omitted the graham cracker crust that usually lines the bottom of a cheesecake, but you could certainly add a thin layer to the bottom of your jars... or sprinkle crushed graham crackers on top just before serving.
Eating Keto? My recipe can easily be made keto-friendly by replacing the sugar with an equal amount of granulated splenda (I do not like the flavor erythritol imparts in this recipe). The keto stats for one serving are as follows: 4g carbs, 6g protein, 27g fat, 245g sodium, 280g calories.

For the cheesecake batter you'll need cream cheese, eggs, sugar (or splenda), and pure vanilla extract (use the good stuff!). Make sure the cream cheese and eggs are room temperature so leave them out on the counter for several hours before using.
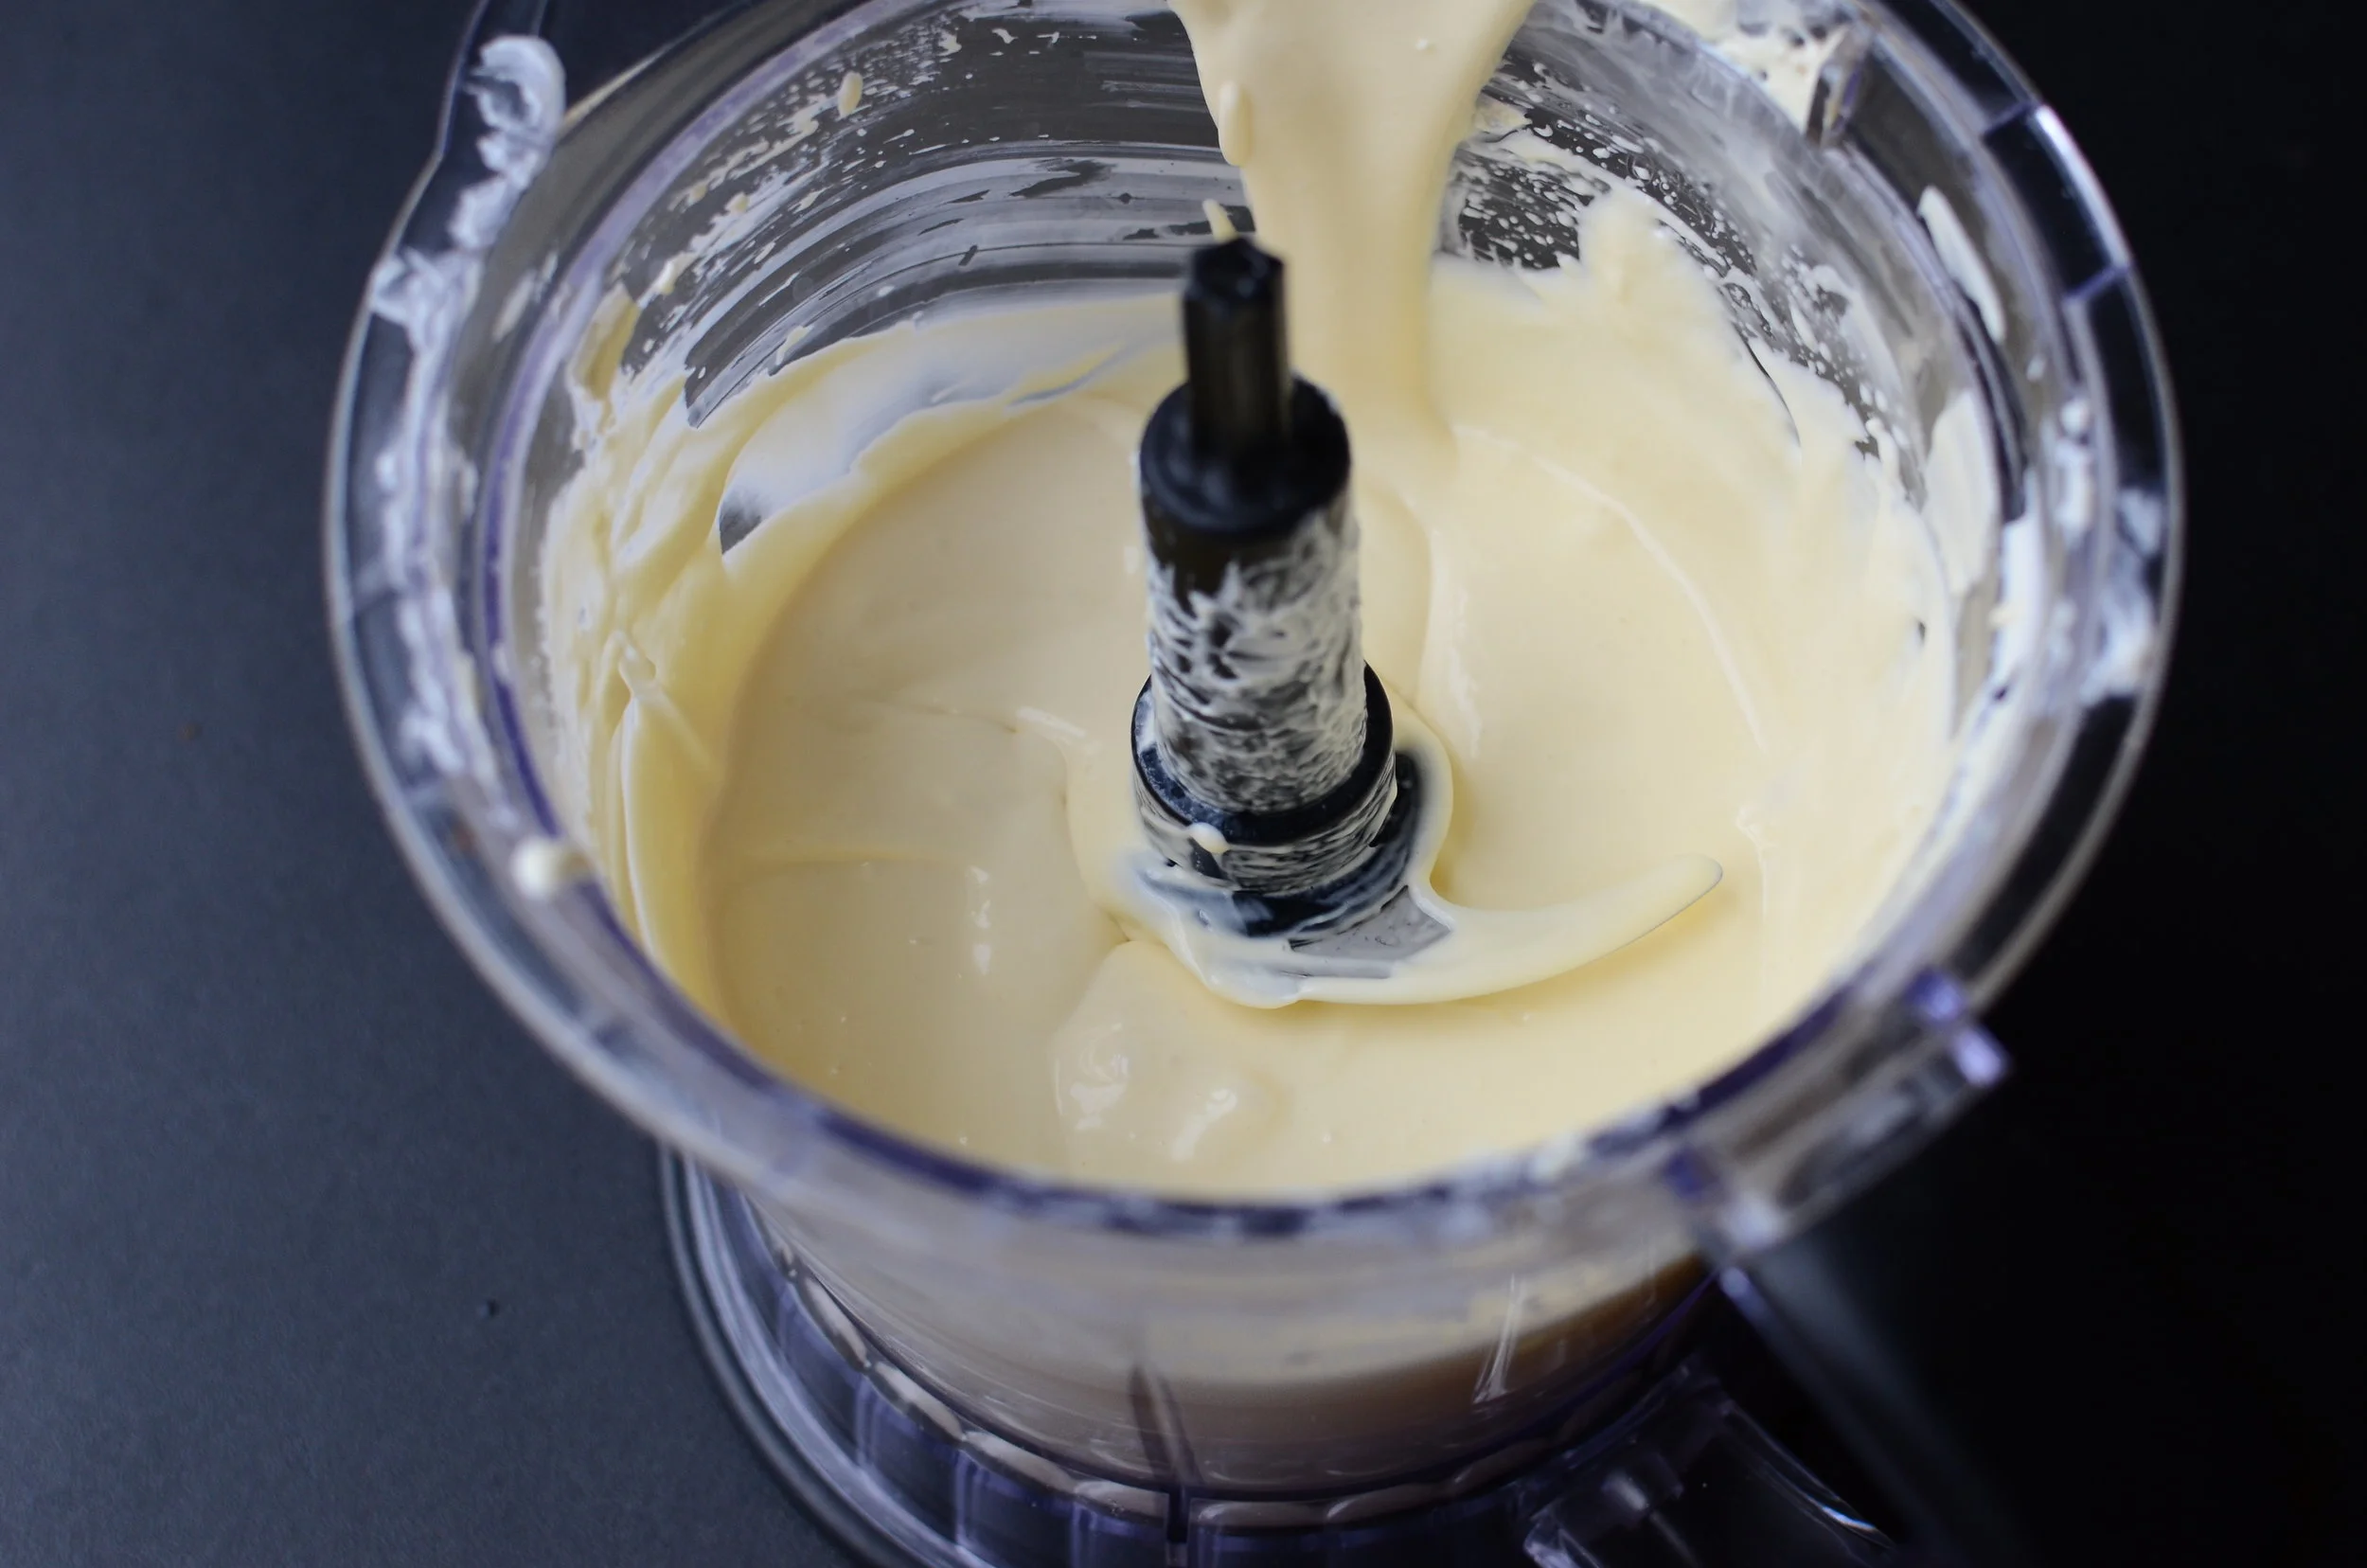
The amount of batter this recipe makes is small so I like to mix it in my small food processor (I love this thing). Process until completely smooth, scraping the sides of the bowl as necessary.

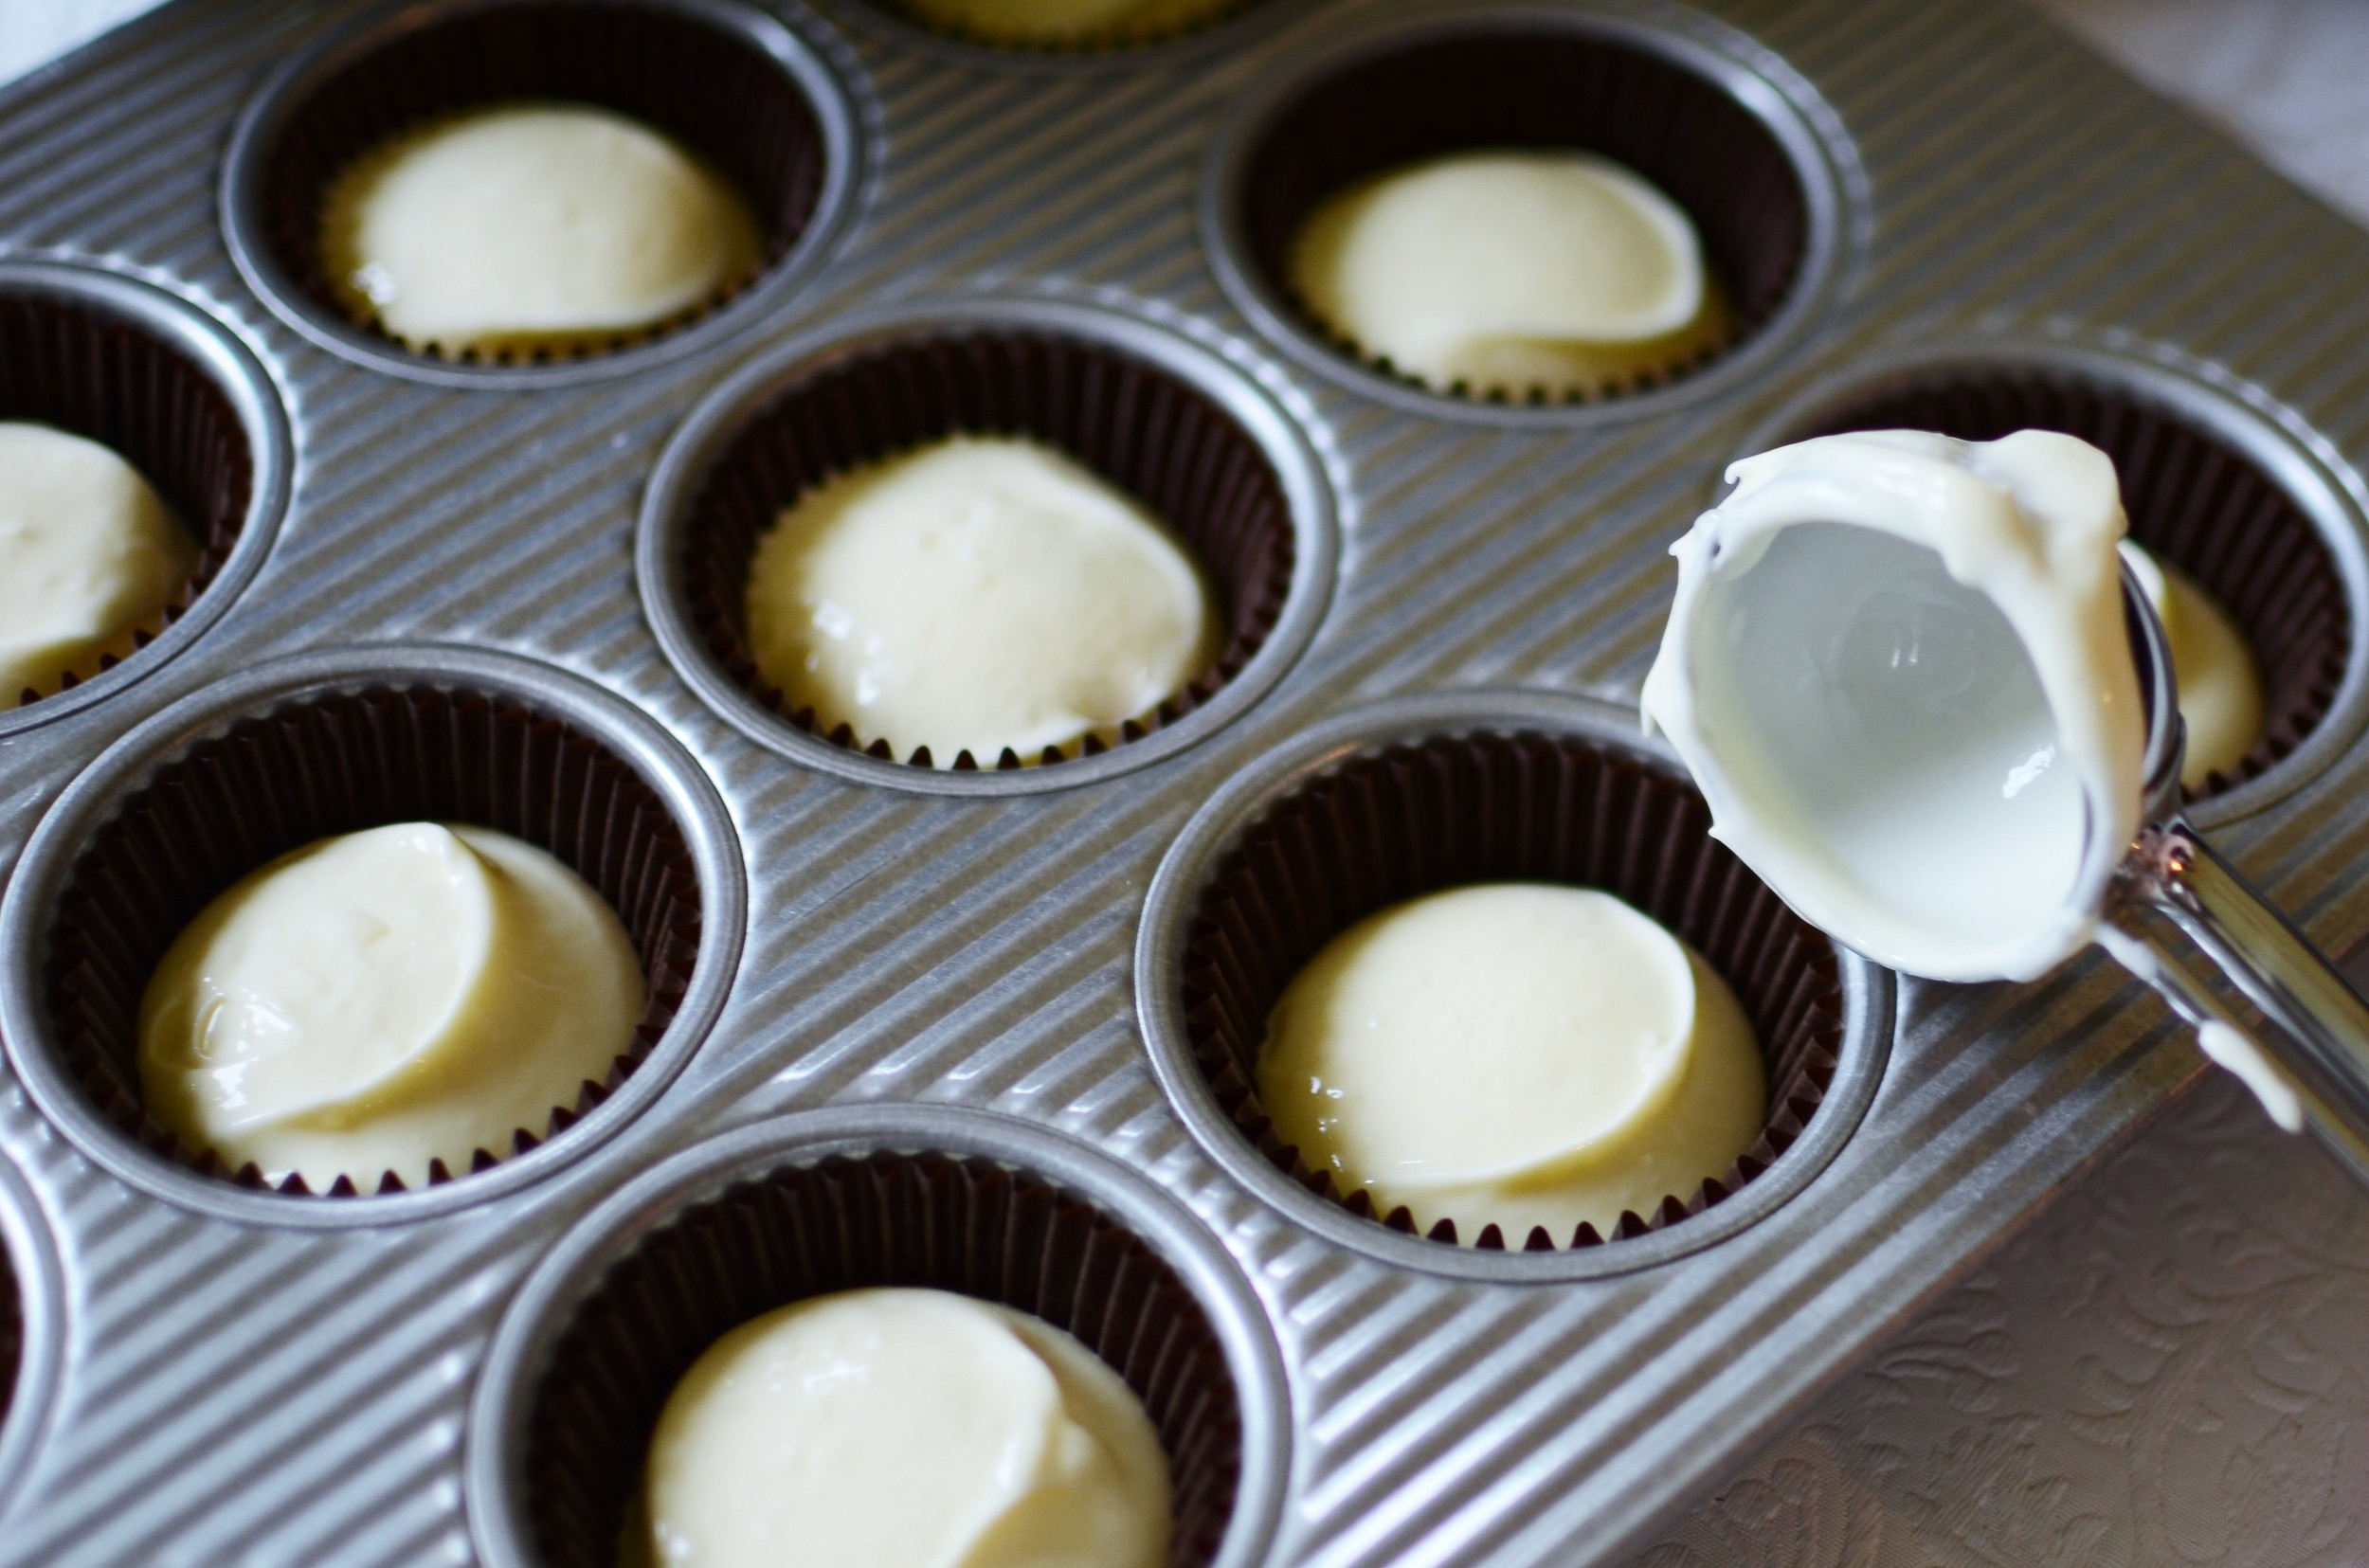
Divvy the batter evenly among eight 4-ounce canning jars (these are the ones I used). If you want to be super precise, you can weigh the amount of batter going into each jar (my favorite scale).
It's not time to close the jars yet, we still have one more step to do...

Now for the best part, the super yummy topping! To make the topping, whisk together sour cream, sugar (or granulated Splenda), and pure vanilla bean paste. You can use vanilla extract if you don't have vanilla paste, but trust me, the paste is amazing and you'll love seeing all the vanilla specks when you open those jars (this is the vanilla paste I can't live without).

Can you see all those tiny vanilla bean seeds? Heaven!
I guess I didn't get a photo of the topping all whisked together, but it only takes about 20 seconds to do.

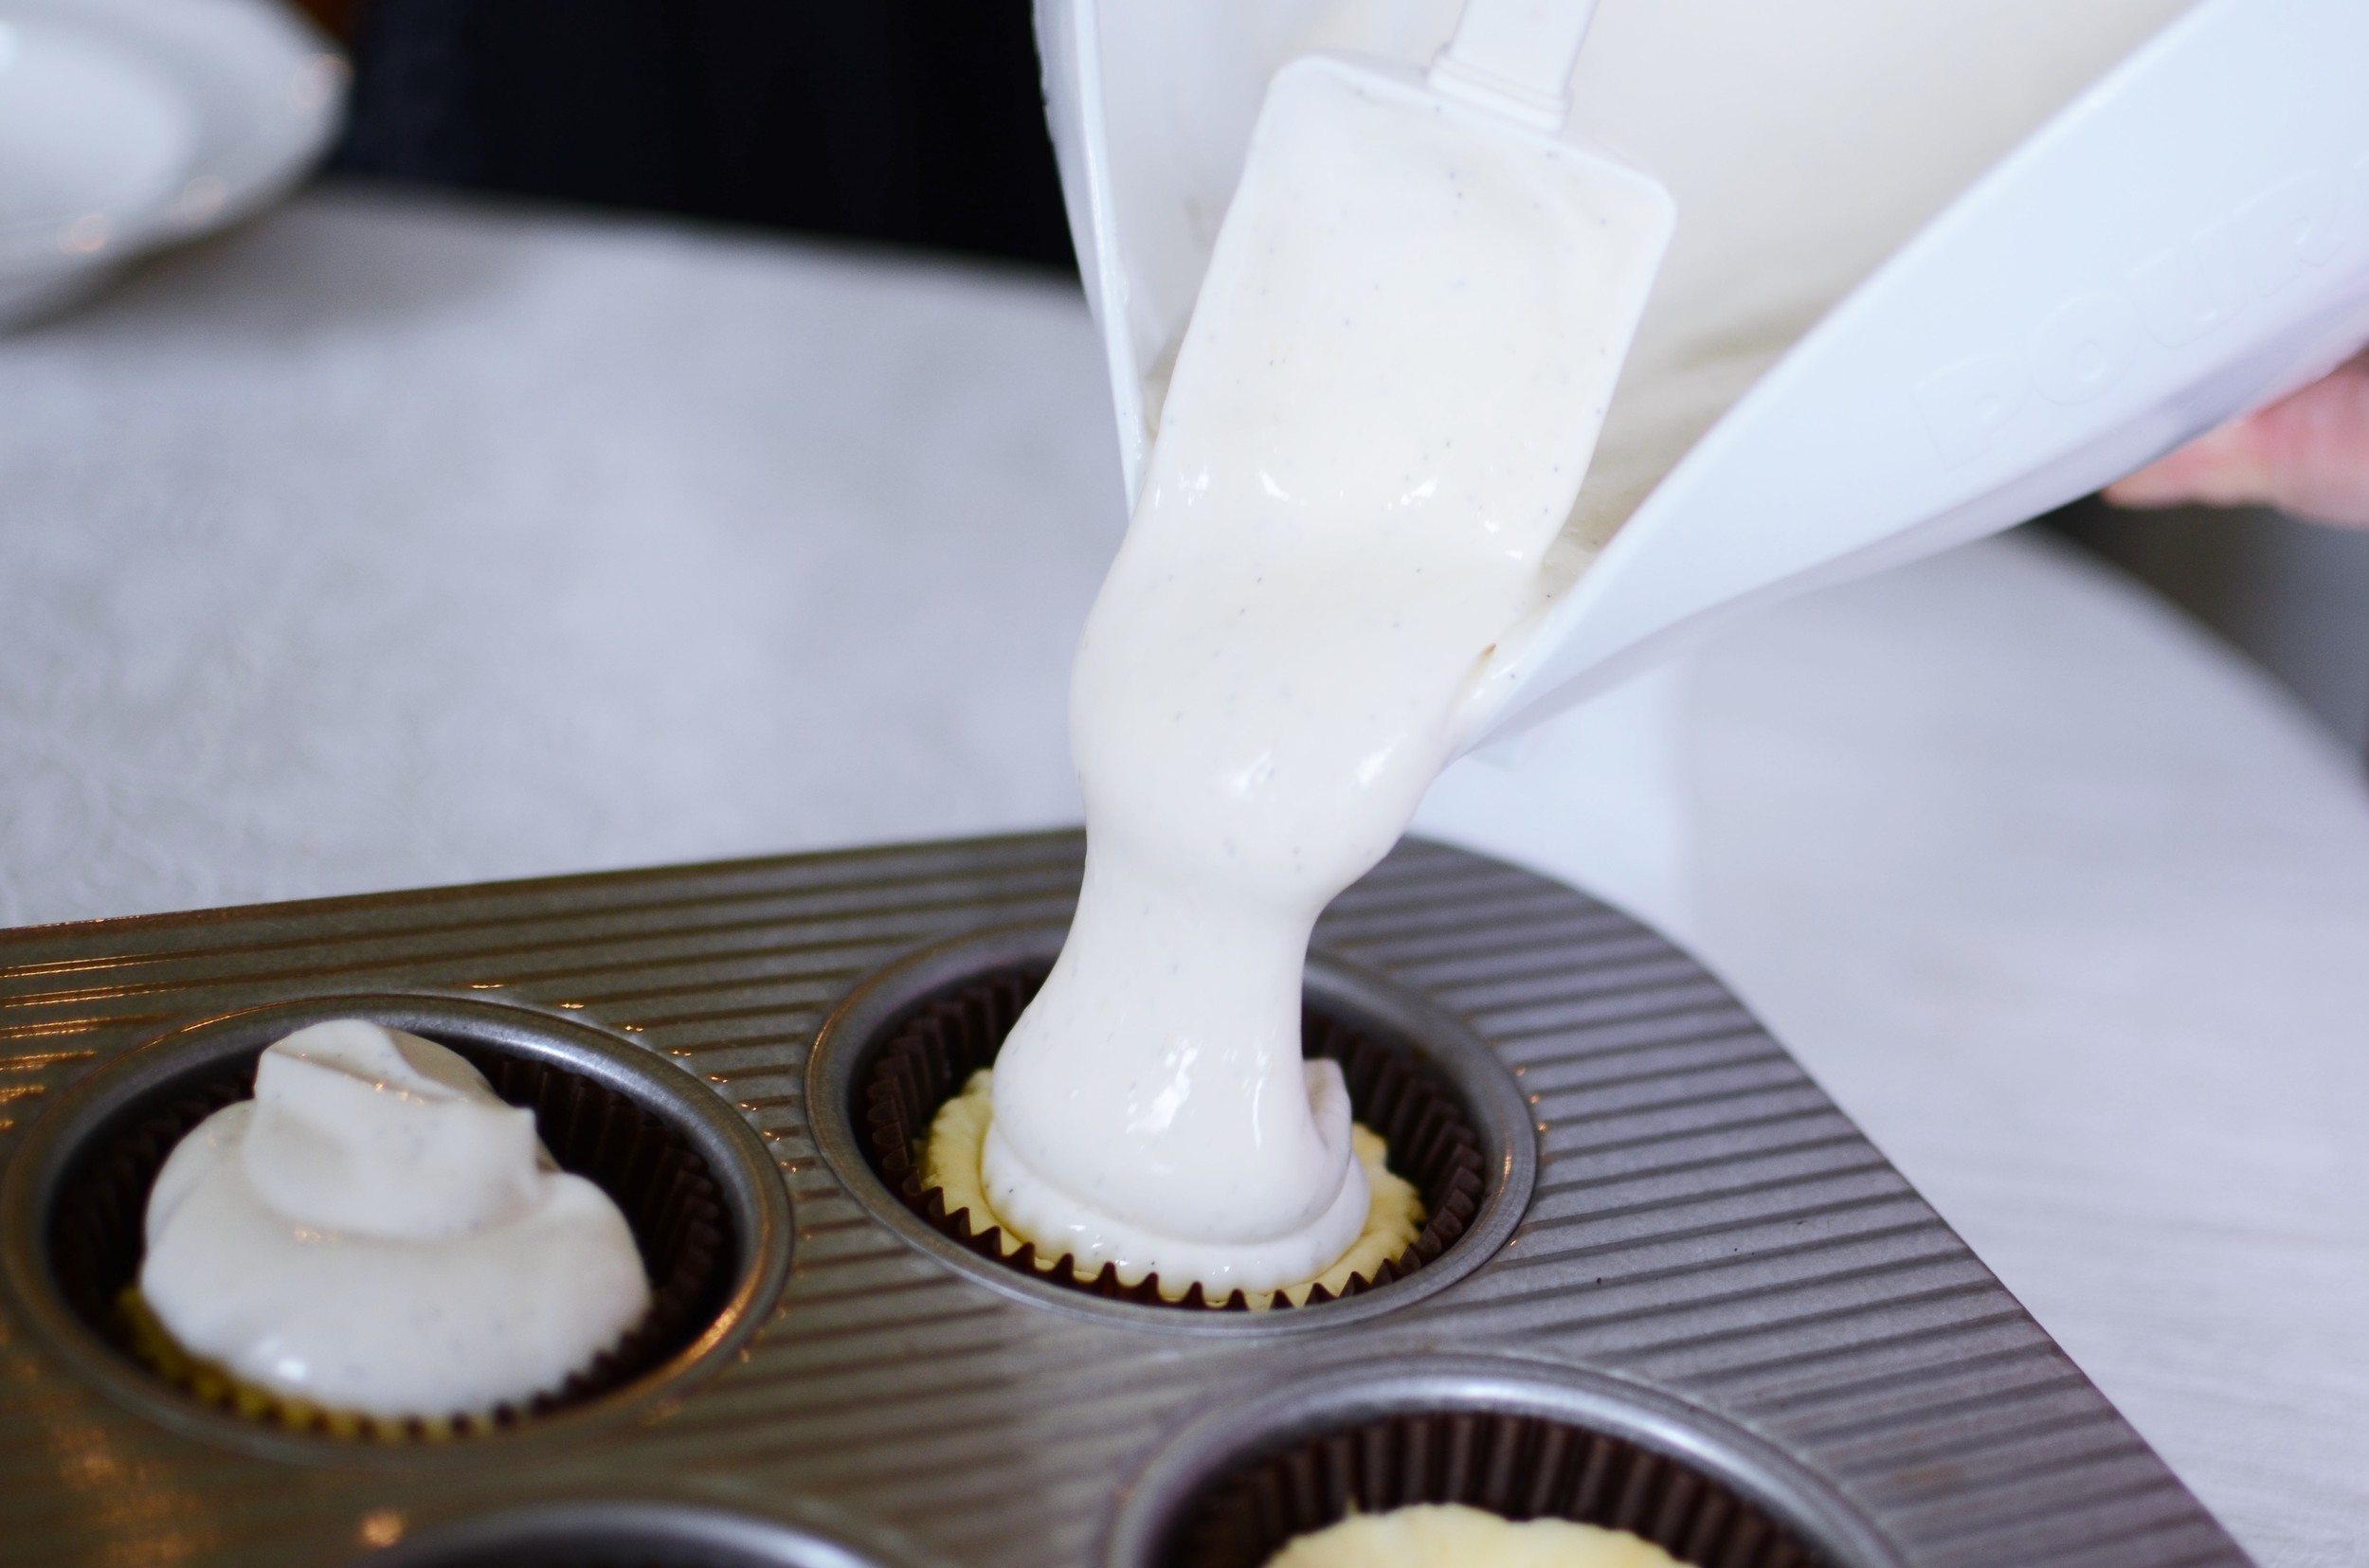
Evenly distribute the topping among the jars.

Close the jars "fingertip tight" like you would if you were canning/preserving. If the lids are too loose, water will get in the jars; and if the lids are too tight, the jars could explode so here's an easy way to know what "fingertip tight" is - place screw band on the jar and turn just until you feel resistance, then turn the band one-quarter turn more.
Place the jars in a heat-safe container large enough to hold all the jars and a sous vide circulator, and yes it's okay to stack the jars (I used an 8-quart stockpot in the photo above). Also, place the cooking vessel on a heat-proof surface away from children or pets. Add water to cover the jars, making sure the water level falls between the minimum and maximum levels indicated on your sous vide circulator.

Bathe the cheesecakes at 165F for 90 minutes. I've seen a few recipes that call for cooking to 175F, but I think the finished texture is a bit softer and more pleasing if you cook them to 165F.

After 90 minutes, carefully remove the jars from the hot water. As the jars cool, you may hear that familiar popping sound as a vacuum forms under each lid - such a satisfying noise! Once the jar lids have popped (and don't worry if they don't), remove the screw bands and allow them to dry (if you leave the screw bands on the jars, they may rust). Allow the jars to sit on the counter for about an hour, then chill for at least 3 or 4 hours before serving (or up to 5 days).
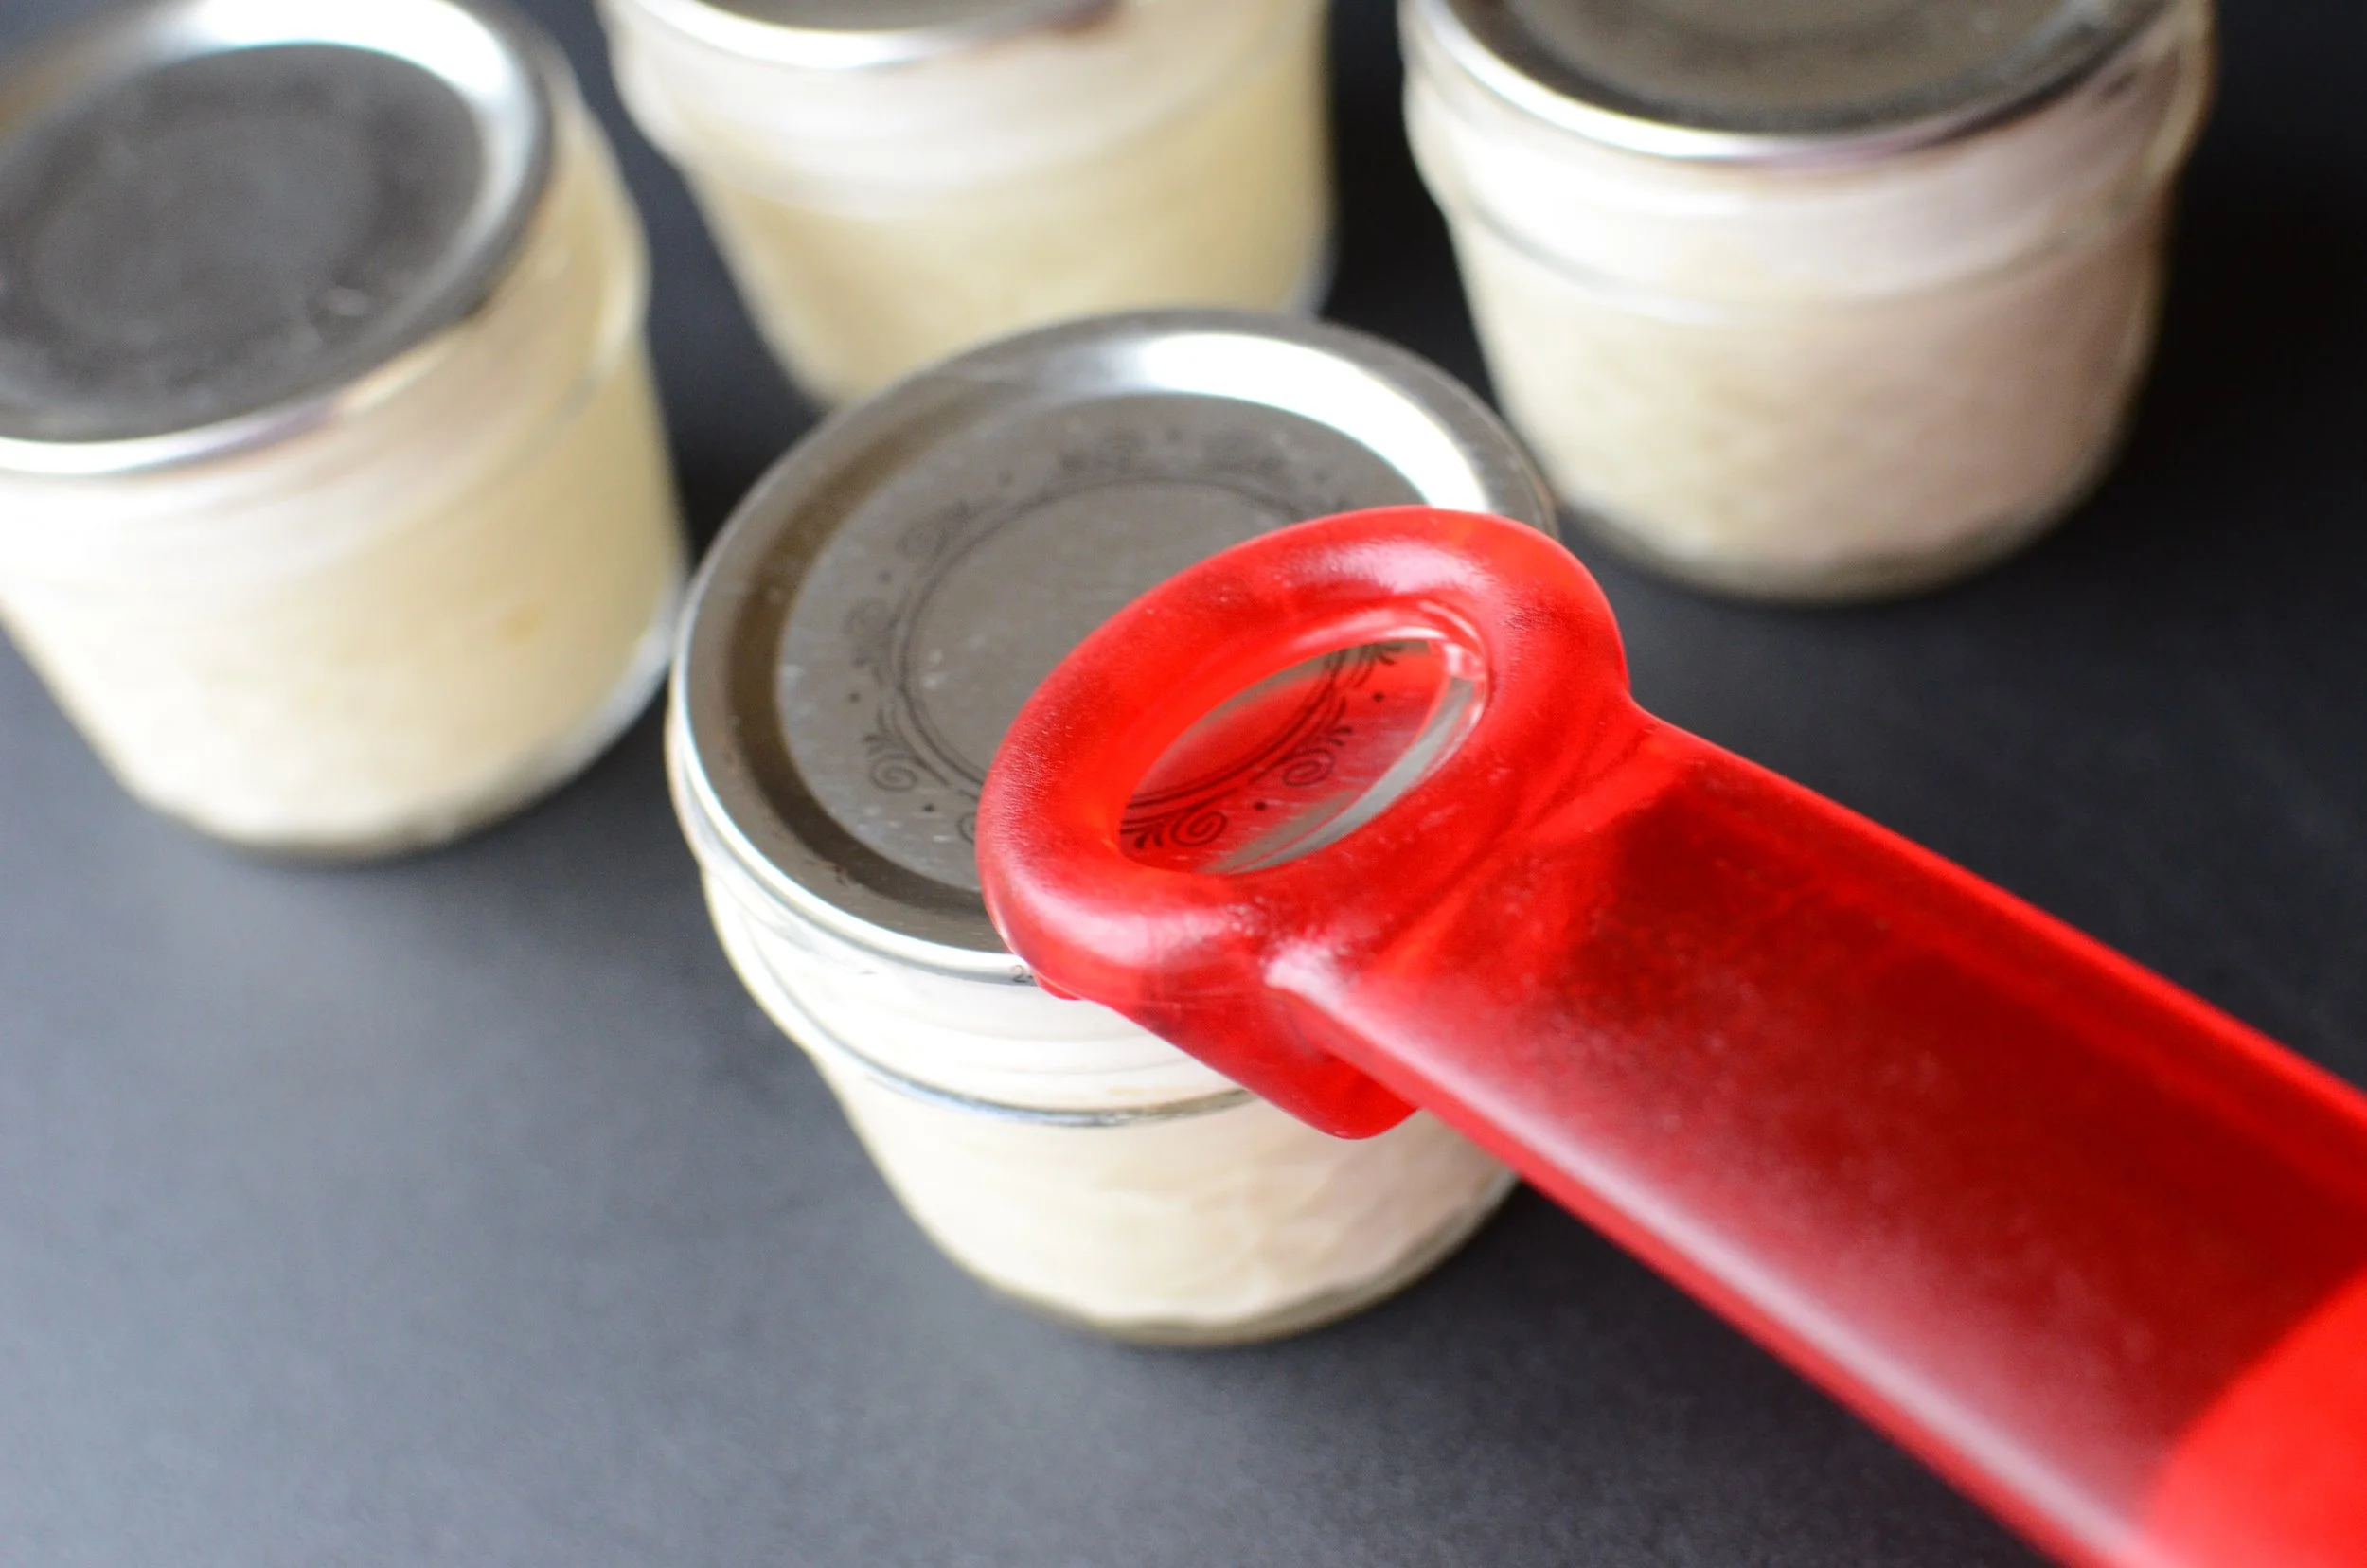
Serve these little guys directly from the jar. I use a JarKey to easily release the vacuum sealed lids - if you're gentle, I promise you'll be able to reuse the lids again and again.
I wrote a short post about the JarKey a number of years ago - here's a link if you're interested in seeing it.
Note: reusing lids is not recommended when canning/preserving for long-term storage, but we're not doing that here so it's fine to reuse the lids.

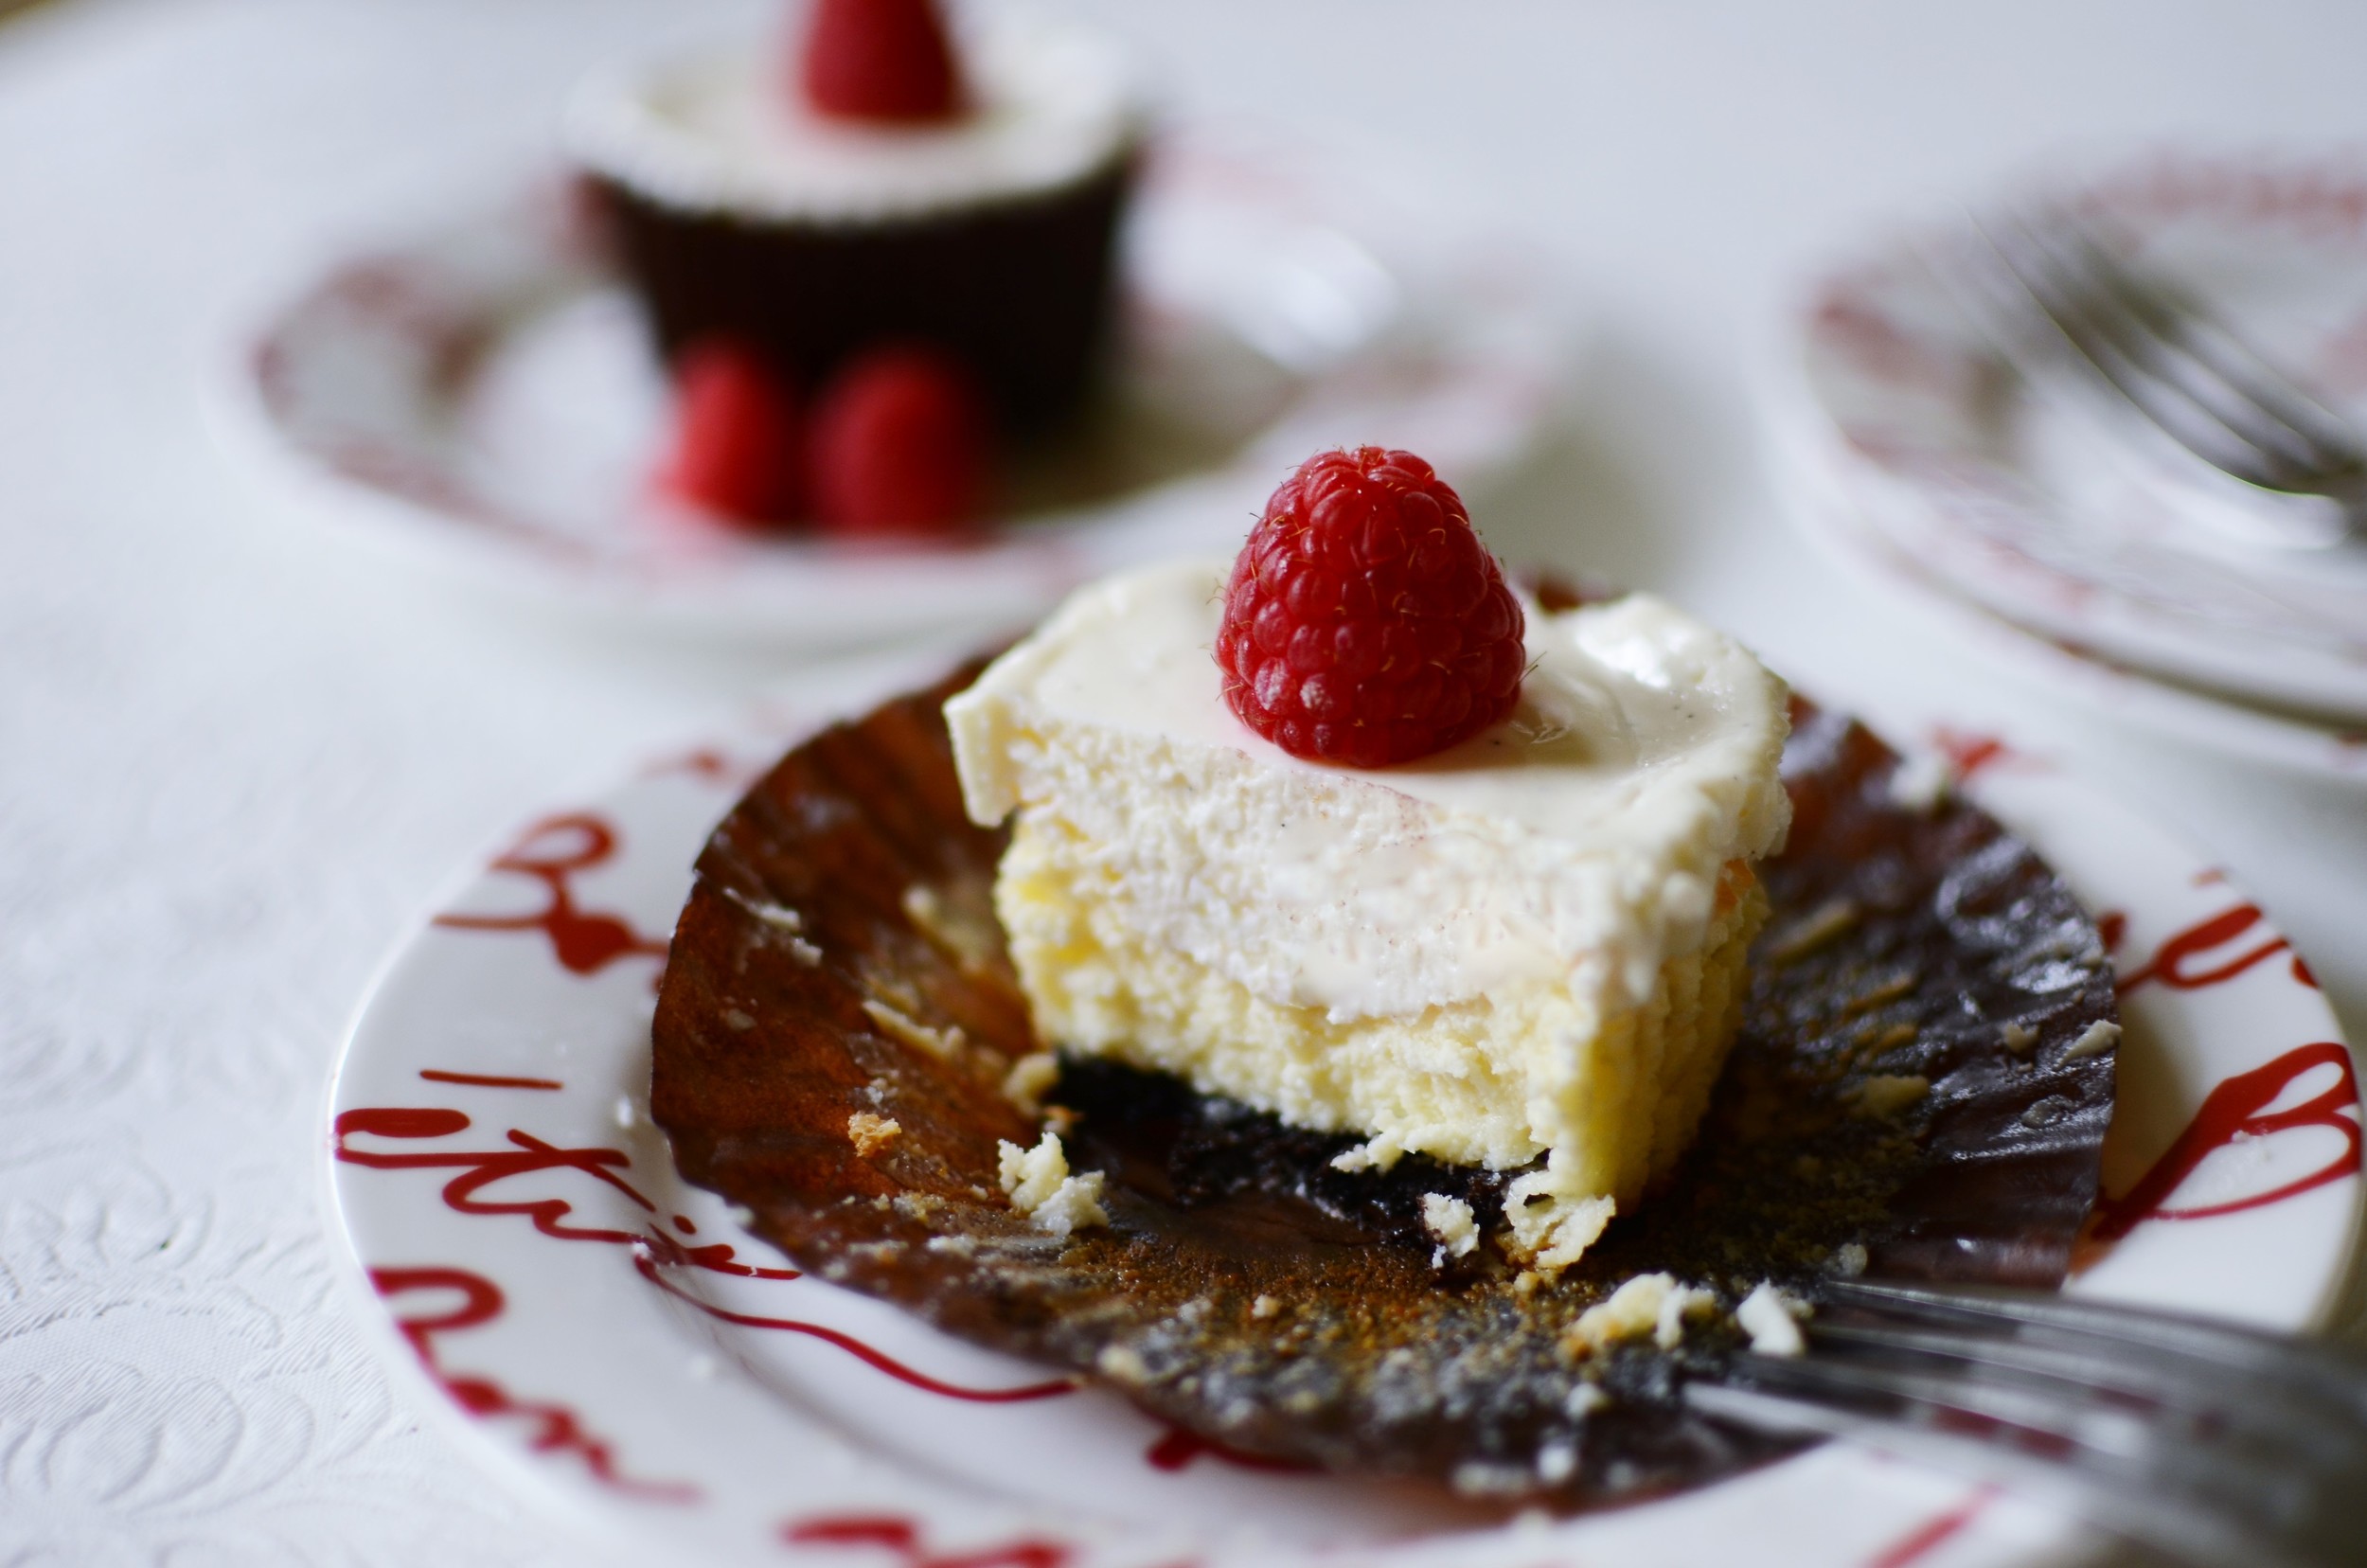
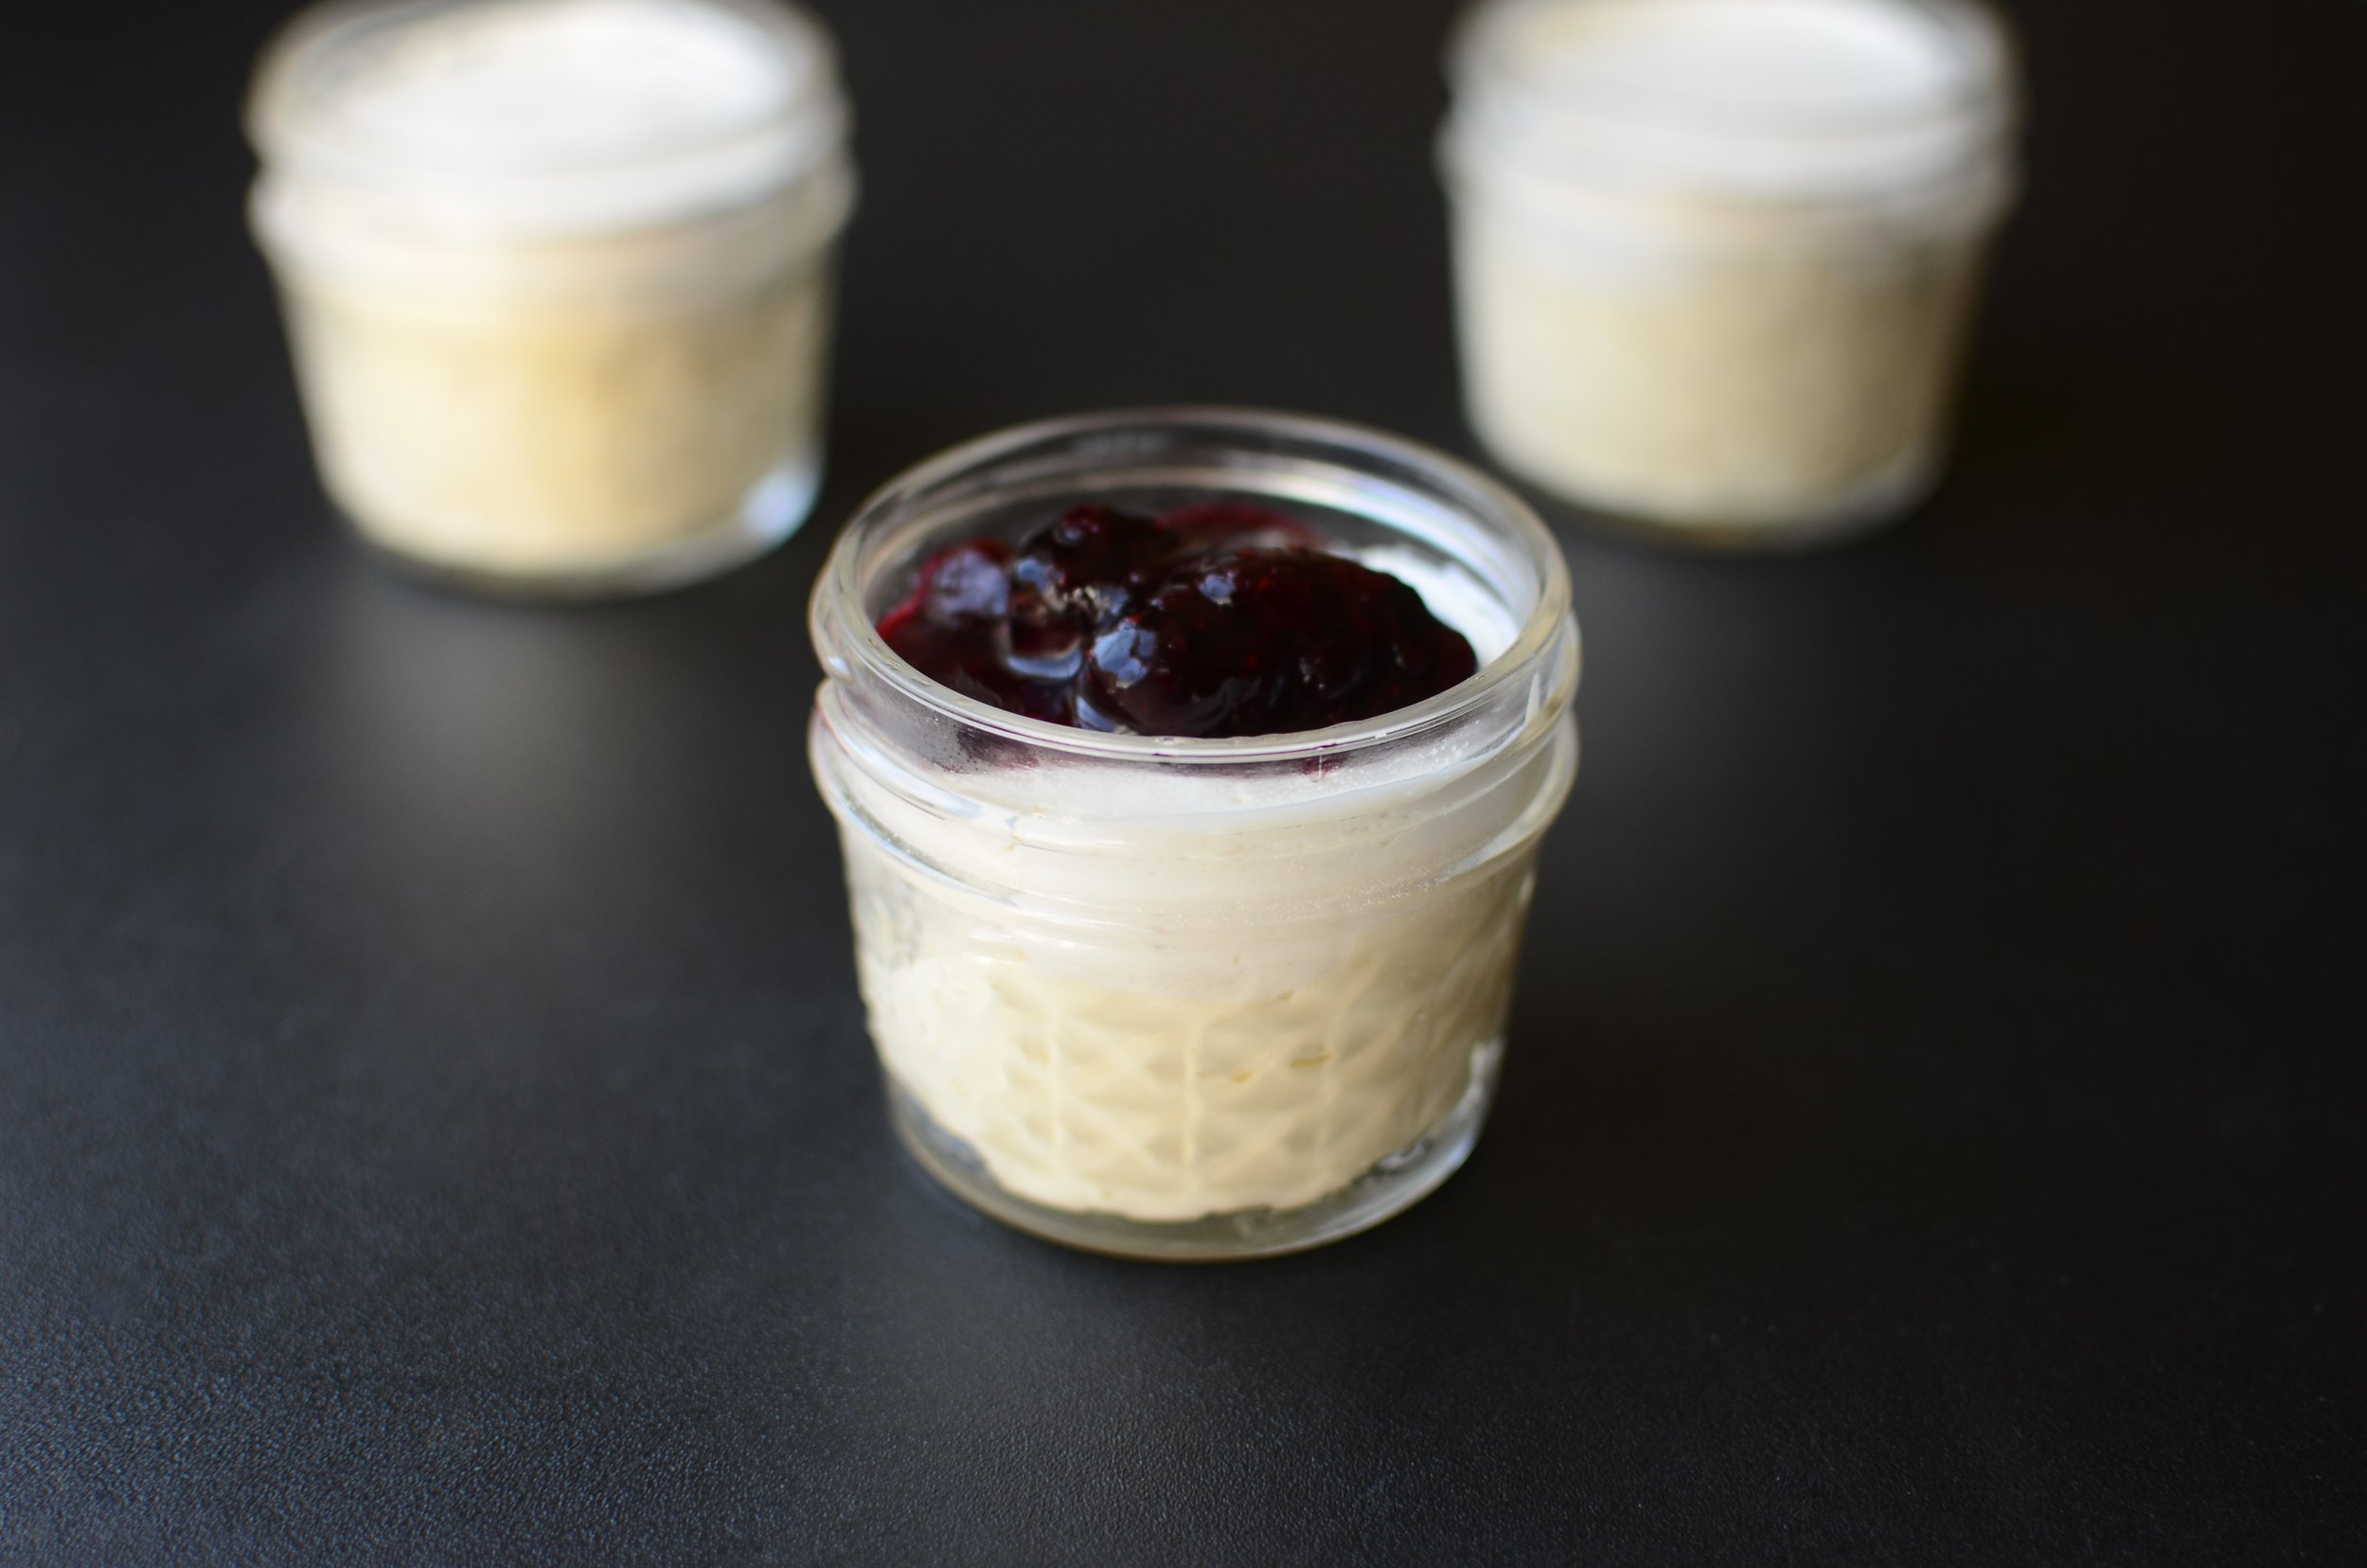
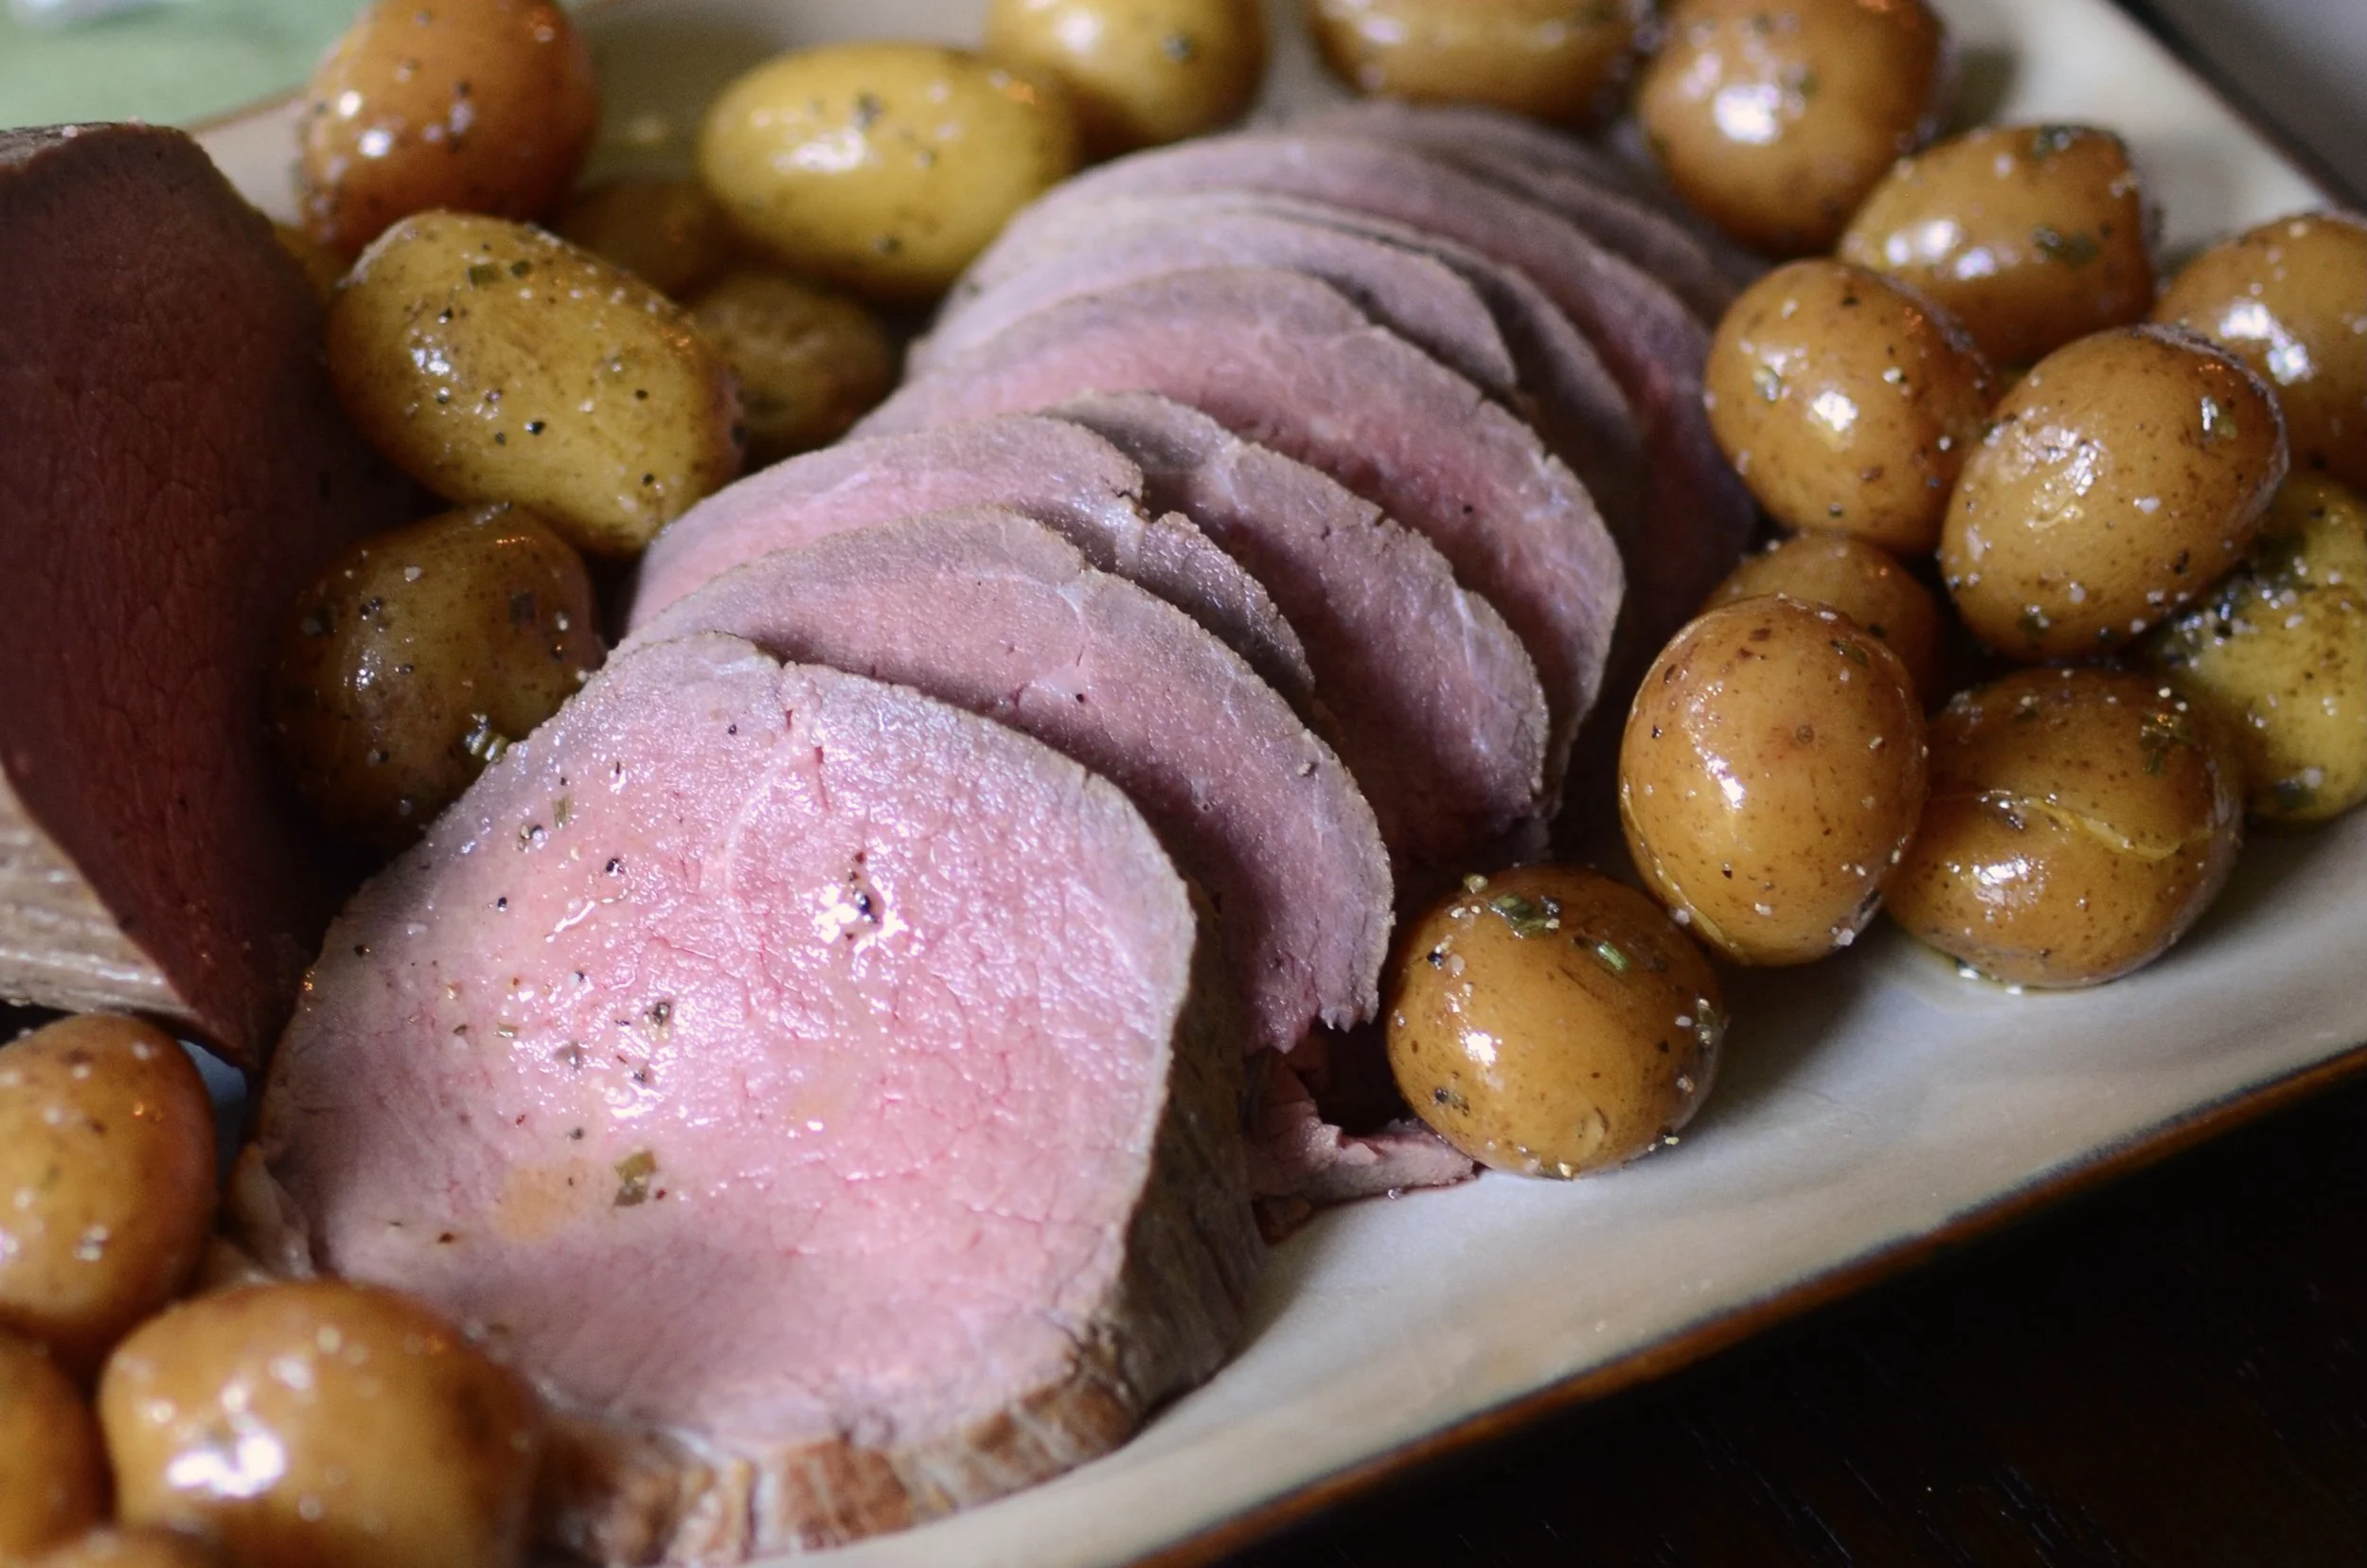
Aren't they cute? And they're easy to store (stack them in the fridge), easy to serve (no messy cutting), and easy to transport (tuck one into your lunch bag). They're great as is, or you can add a little fruit topping - my favorite is blueberry - I make a quick sauce by thawing 1 tablespoon of frozen blueberries in the microwave for 10-20 seconds until soft and mushy, then I allow them to cool and thicken for a minute or two - no sugar or thickeners needed.

Delish!


Items used to make this recipe:
(affiliate links)
sous vide circulator https://amzn.to/3FGqv9i
digital scale https://amzn.to/3HHcdTW
4-ounce jam jars https://amzn.to/3suFydZ
small food processor https://amzn.to/3smhM3I
vanilla bean paste https://amzn.to/3HhfWXZ
pure vanilla extract https://amzn.to/3ovS9fE
JarKey https://amzn.to/3oufUER
Sous Vide Cheesecakes in a Jar
makes 8 servings
Ingredients
Cheesecake Layer:
16 ounces cream cheese, room temperature
2 large eggs, room temperature
2/3 cup granulated sugar
1 teaspoon pure vanilla extract
Creamy Topping:
8 ounces sour cream
1/4 cup granulated sugar
1/2 teaspoon vanilla bean paste (or pure vanilla extract)
Directions
In the bowl of a food processor, combine cream cheese, eggs, 2/3 cup sugar, and pure vanilla extract until completely smooth, scraping down sides of bowl as needed. Alternatively, you can mix by hand, but be careful not to incoporate as little air as possible.
Evenly distribute cheesecake batter among eight 4-ounce jam jars.
In a small mixing bowl, whisk sour cream, 1/4 sugar, and vanilla bean paste; pour evenly over cheesecake mixture.
Top jars with canning lids, followed by screw bands that are tightened "fingertip tight" (see notes below).
Place jars in a heat-safe container large enough to hold all the jars and a sous vide circulator (it's ok to stack the jars) and place the container on a heat-proof surface away from children or pets.
Add water to cover the jars, making sure the water level falls between the minimum and maximum levels indicated on your sous vide circulator.
Cook the cheesecakes for 90 minutes at 165F, then remove from water and cool for 1 hour (remove screw bands to prevent the lids from rusting).
Chill cheesecakes for at 3 or 4 hours before serving (or up to 5 days).
Notes
Recipe can be made Keto-friendly by replacing sugar with an equal amount of granulated splenda (may also substitute erythritol following manufacturer's suggested equivalent).
To tighten jars "fingertip tight" - place screw band on jar and turn just until you feel resistance, then turn band one-quarter turn more.