Galaxy Mirror Glaze Cake(s)
Patricia @ ButterYum
Recently I was asked to demonstrate a mirror glaze cake technique (aka galaxy glaze technique) at a cake show and I thought perhaps all of my readers would enjoy learning about it too. As you'll see, this technique is sticky and fun and very unpredictable so you never know exactly what you're going to end up with. Let's get started.
Important:
This technique starts with a frozen chocolate mousse cake - you can also include fruit and/or actual cake as well (which I'll be showing you). Plan ahead - there's a lot of freezer time needed for this technique.
Also, this is going to be a very long post so I'll try condense photos as much as possible.
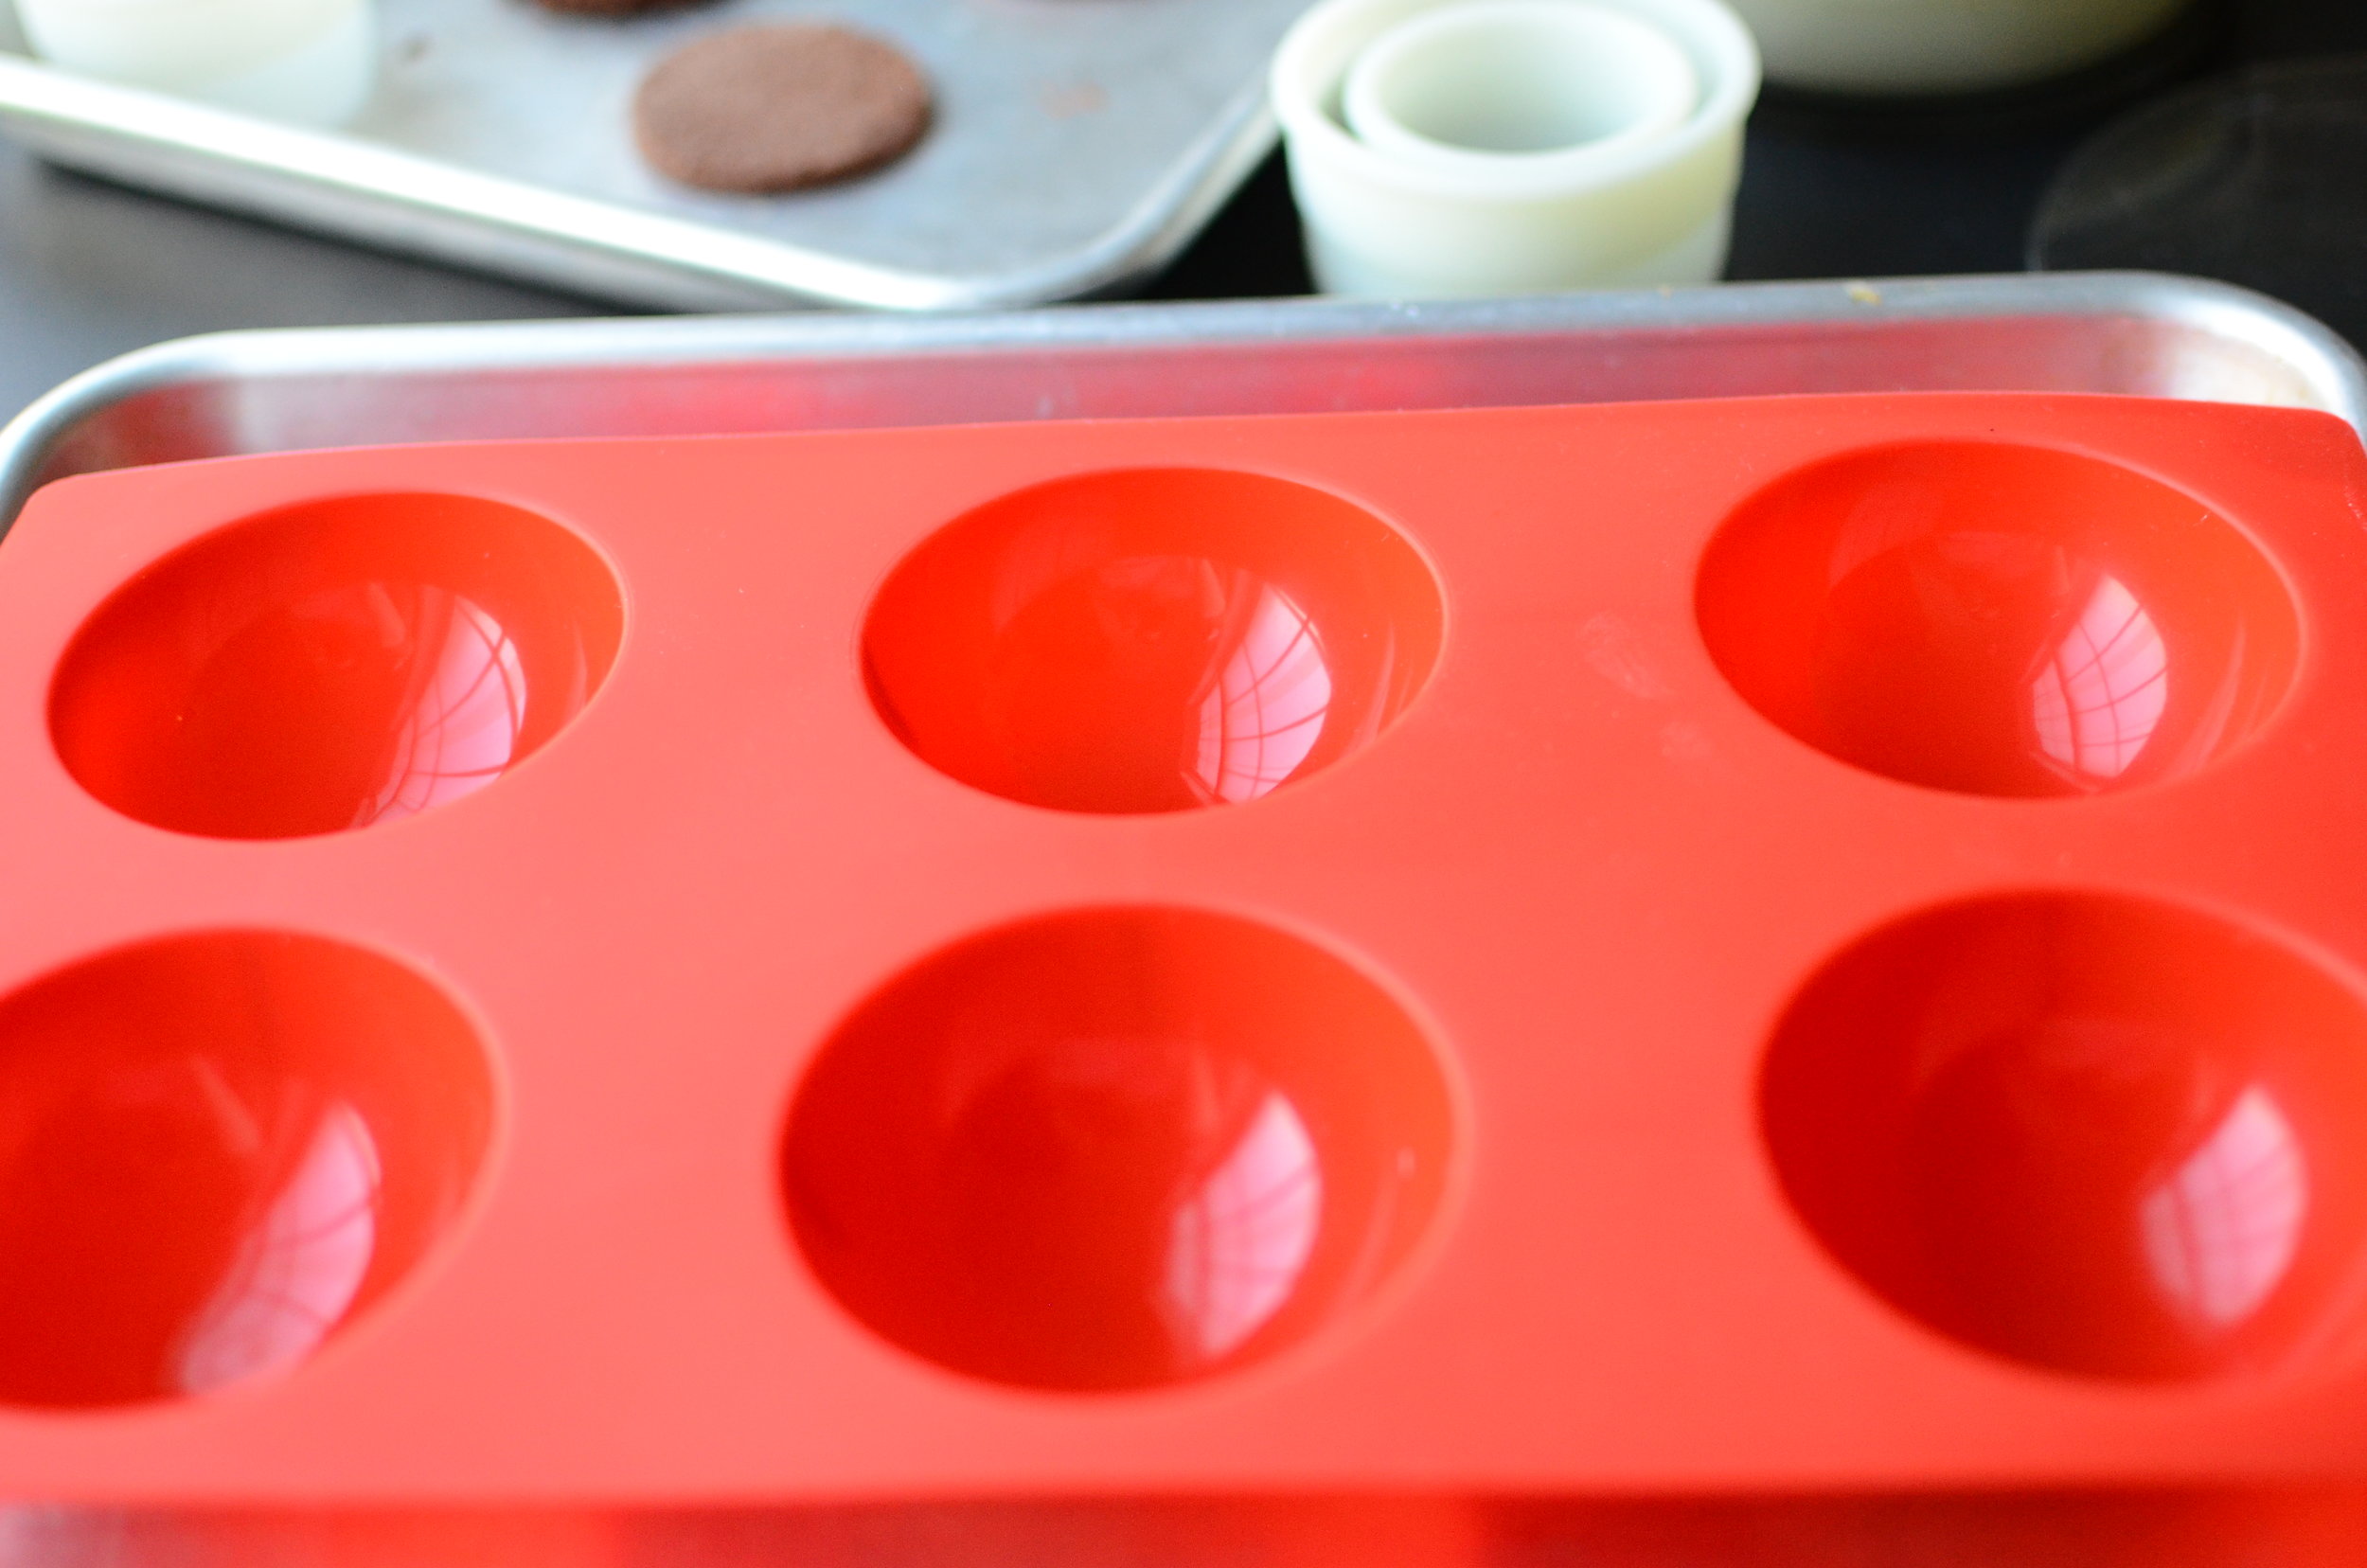
You can get special silicone half-sphere molds, but for now I'll show you how to use a 9-inch silicone springform pan, and I'll bake an 8-inch layer of cake to go inside the cheesecake pan.
If you're in a hurry, you can make smaller individual size servings which will freeze much faster (this is the pan I like to use for individual servings). When making the individual size servings, I use half of the chocolate mousse and glaze ingredients, and skip the cake layer and white chocolate mousse.

Before I show you how I make the chocolate cake layer, I want to tell you that I always coat my baking pans with Baker's Joy (a oil/flour nonstick baking spray), and I line the bottom of the pans with a layer of parchment paper (I buy precut rounds). Also, to ensure a cake my cakes rise evenly without a big hump in the middle, I always wrap my pans with moistened insulated baking strips.

To make the cake, start by combining dutch-processed cocoa powder with boiling hot water.
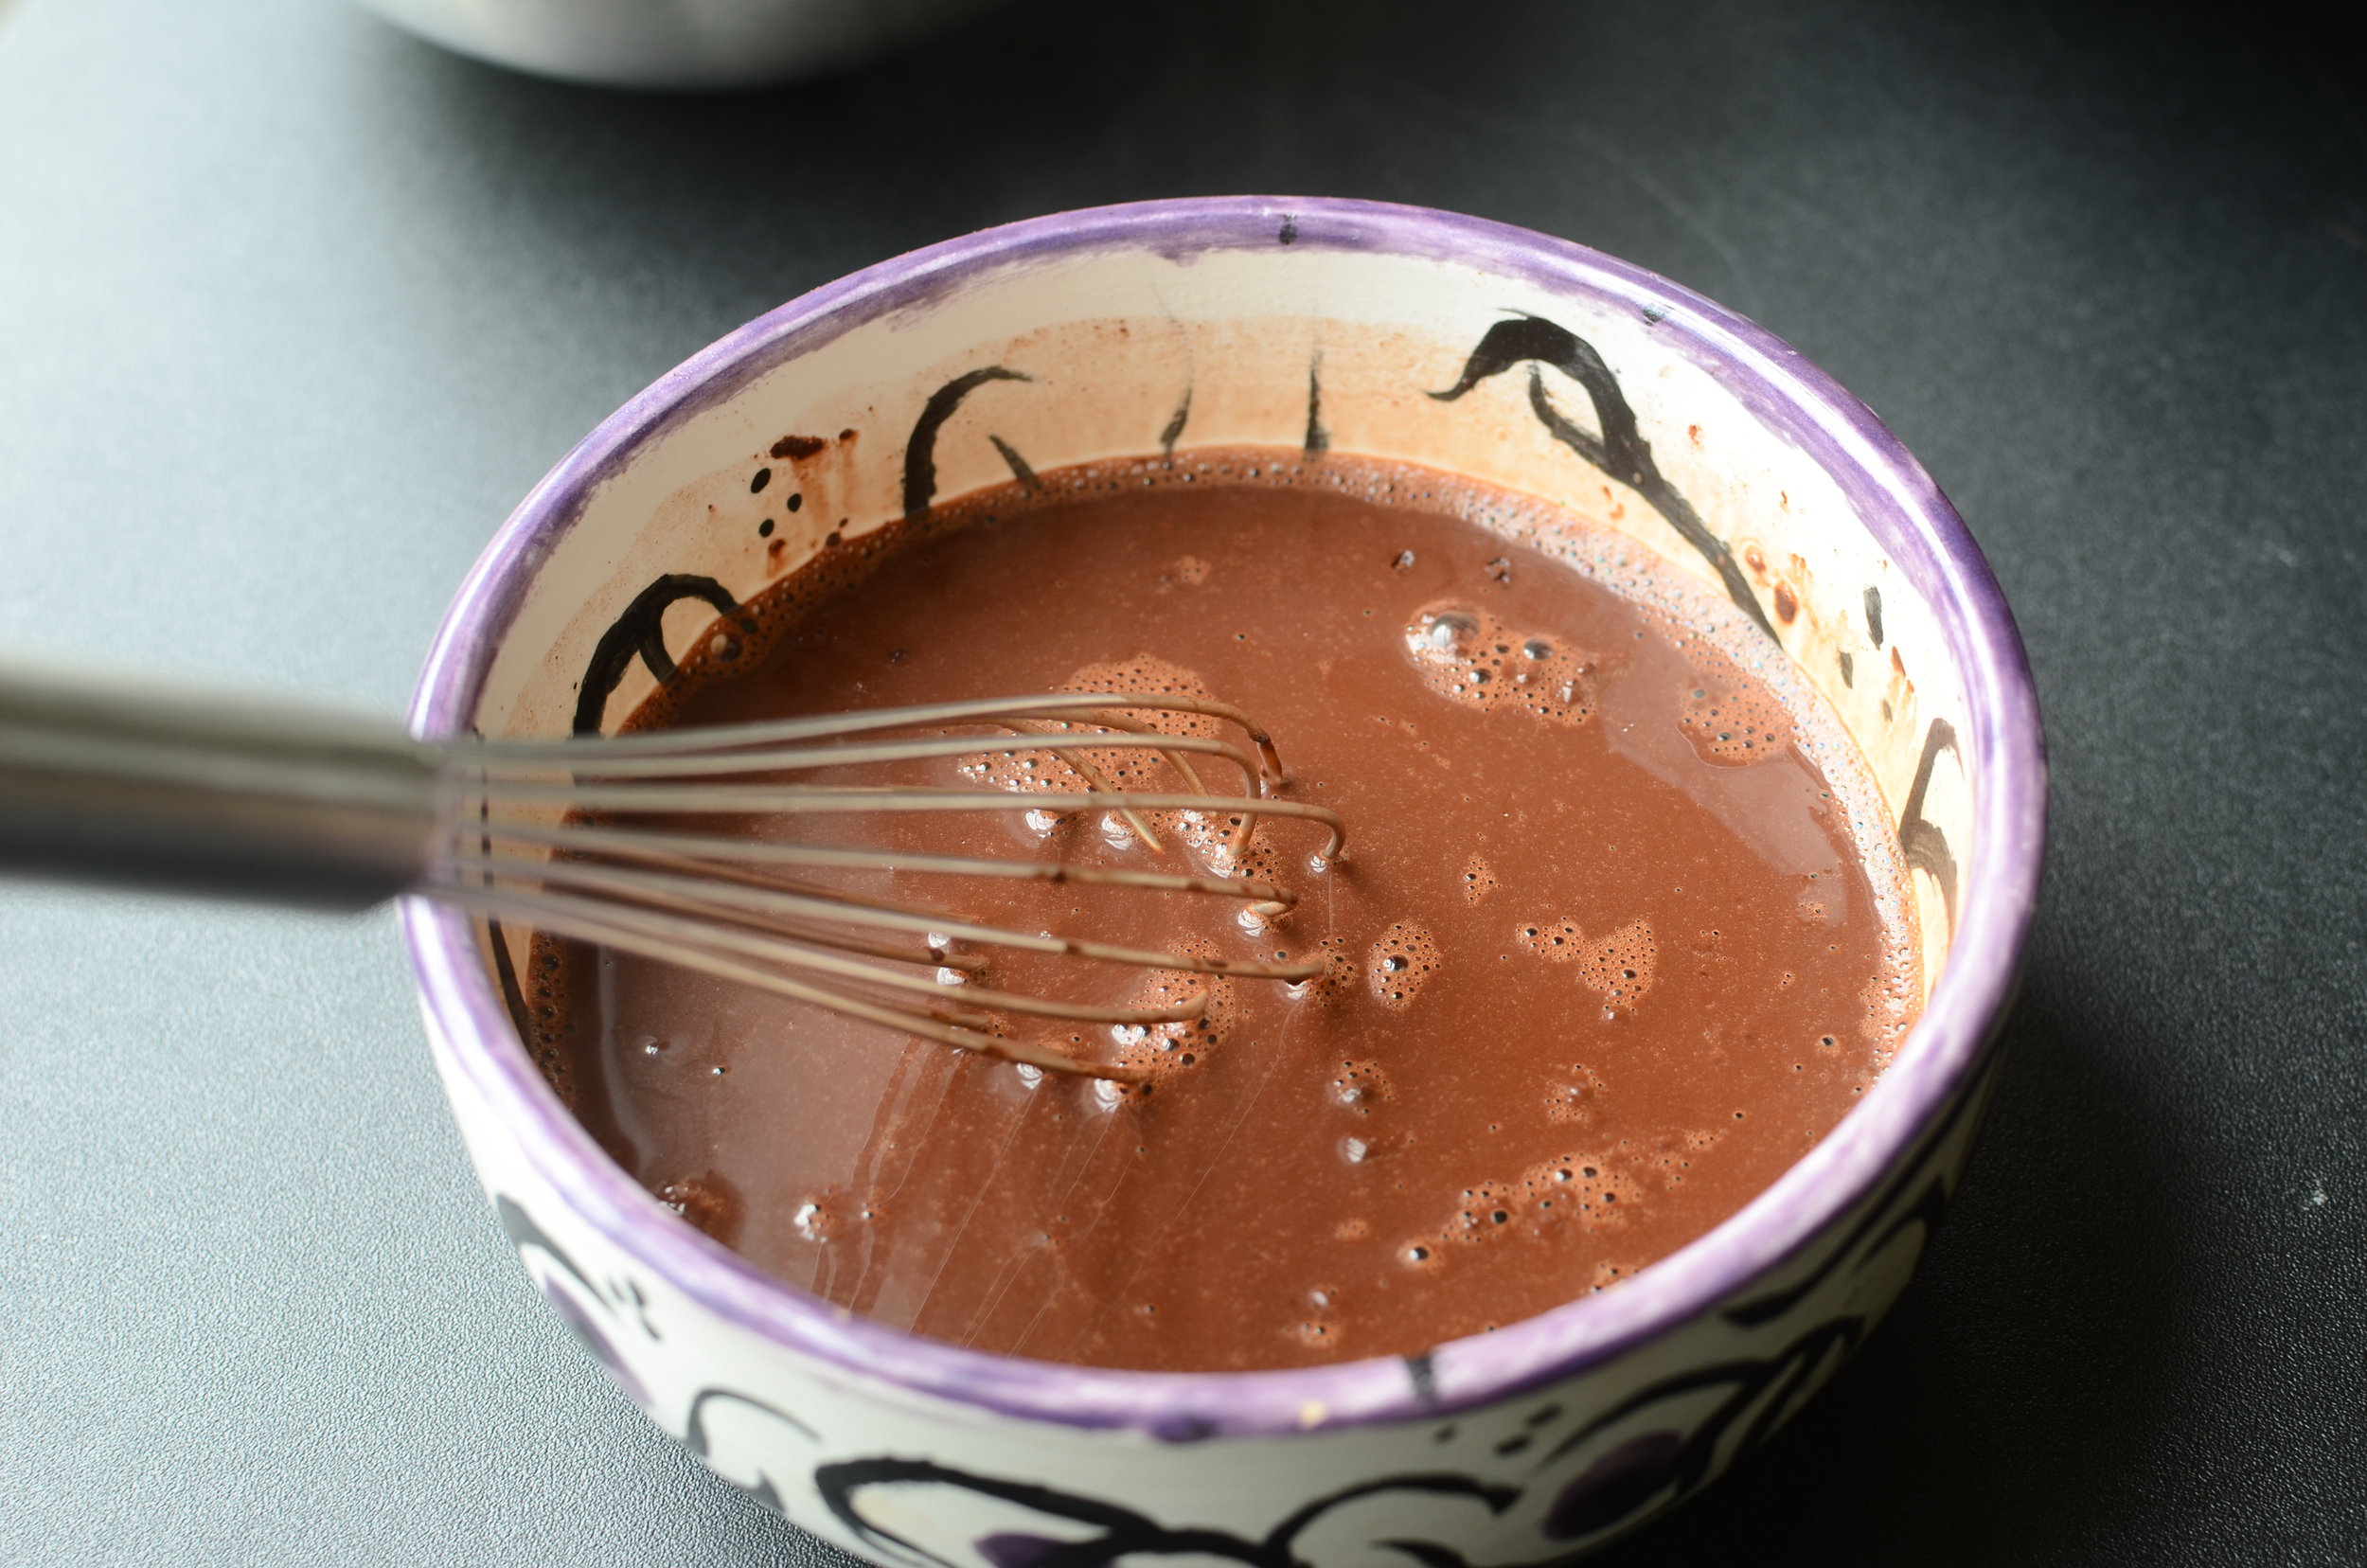
Whisk well to eliminate clumps.

Set aside until needed.

In a small bowl, whisk together sugar, egg, and vanilla.
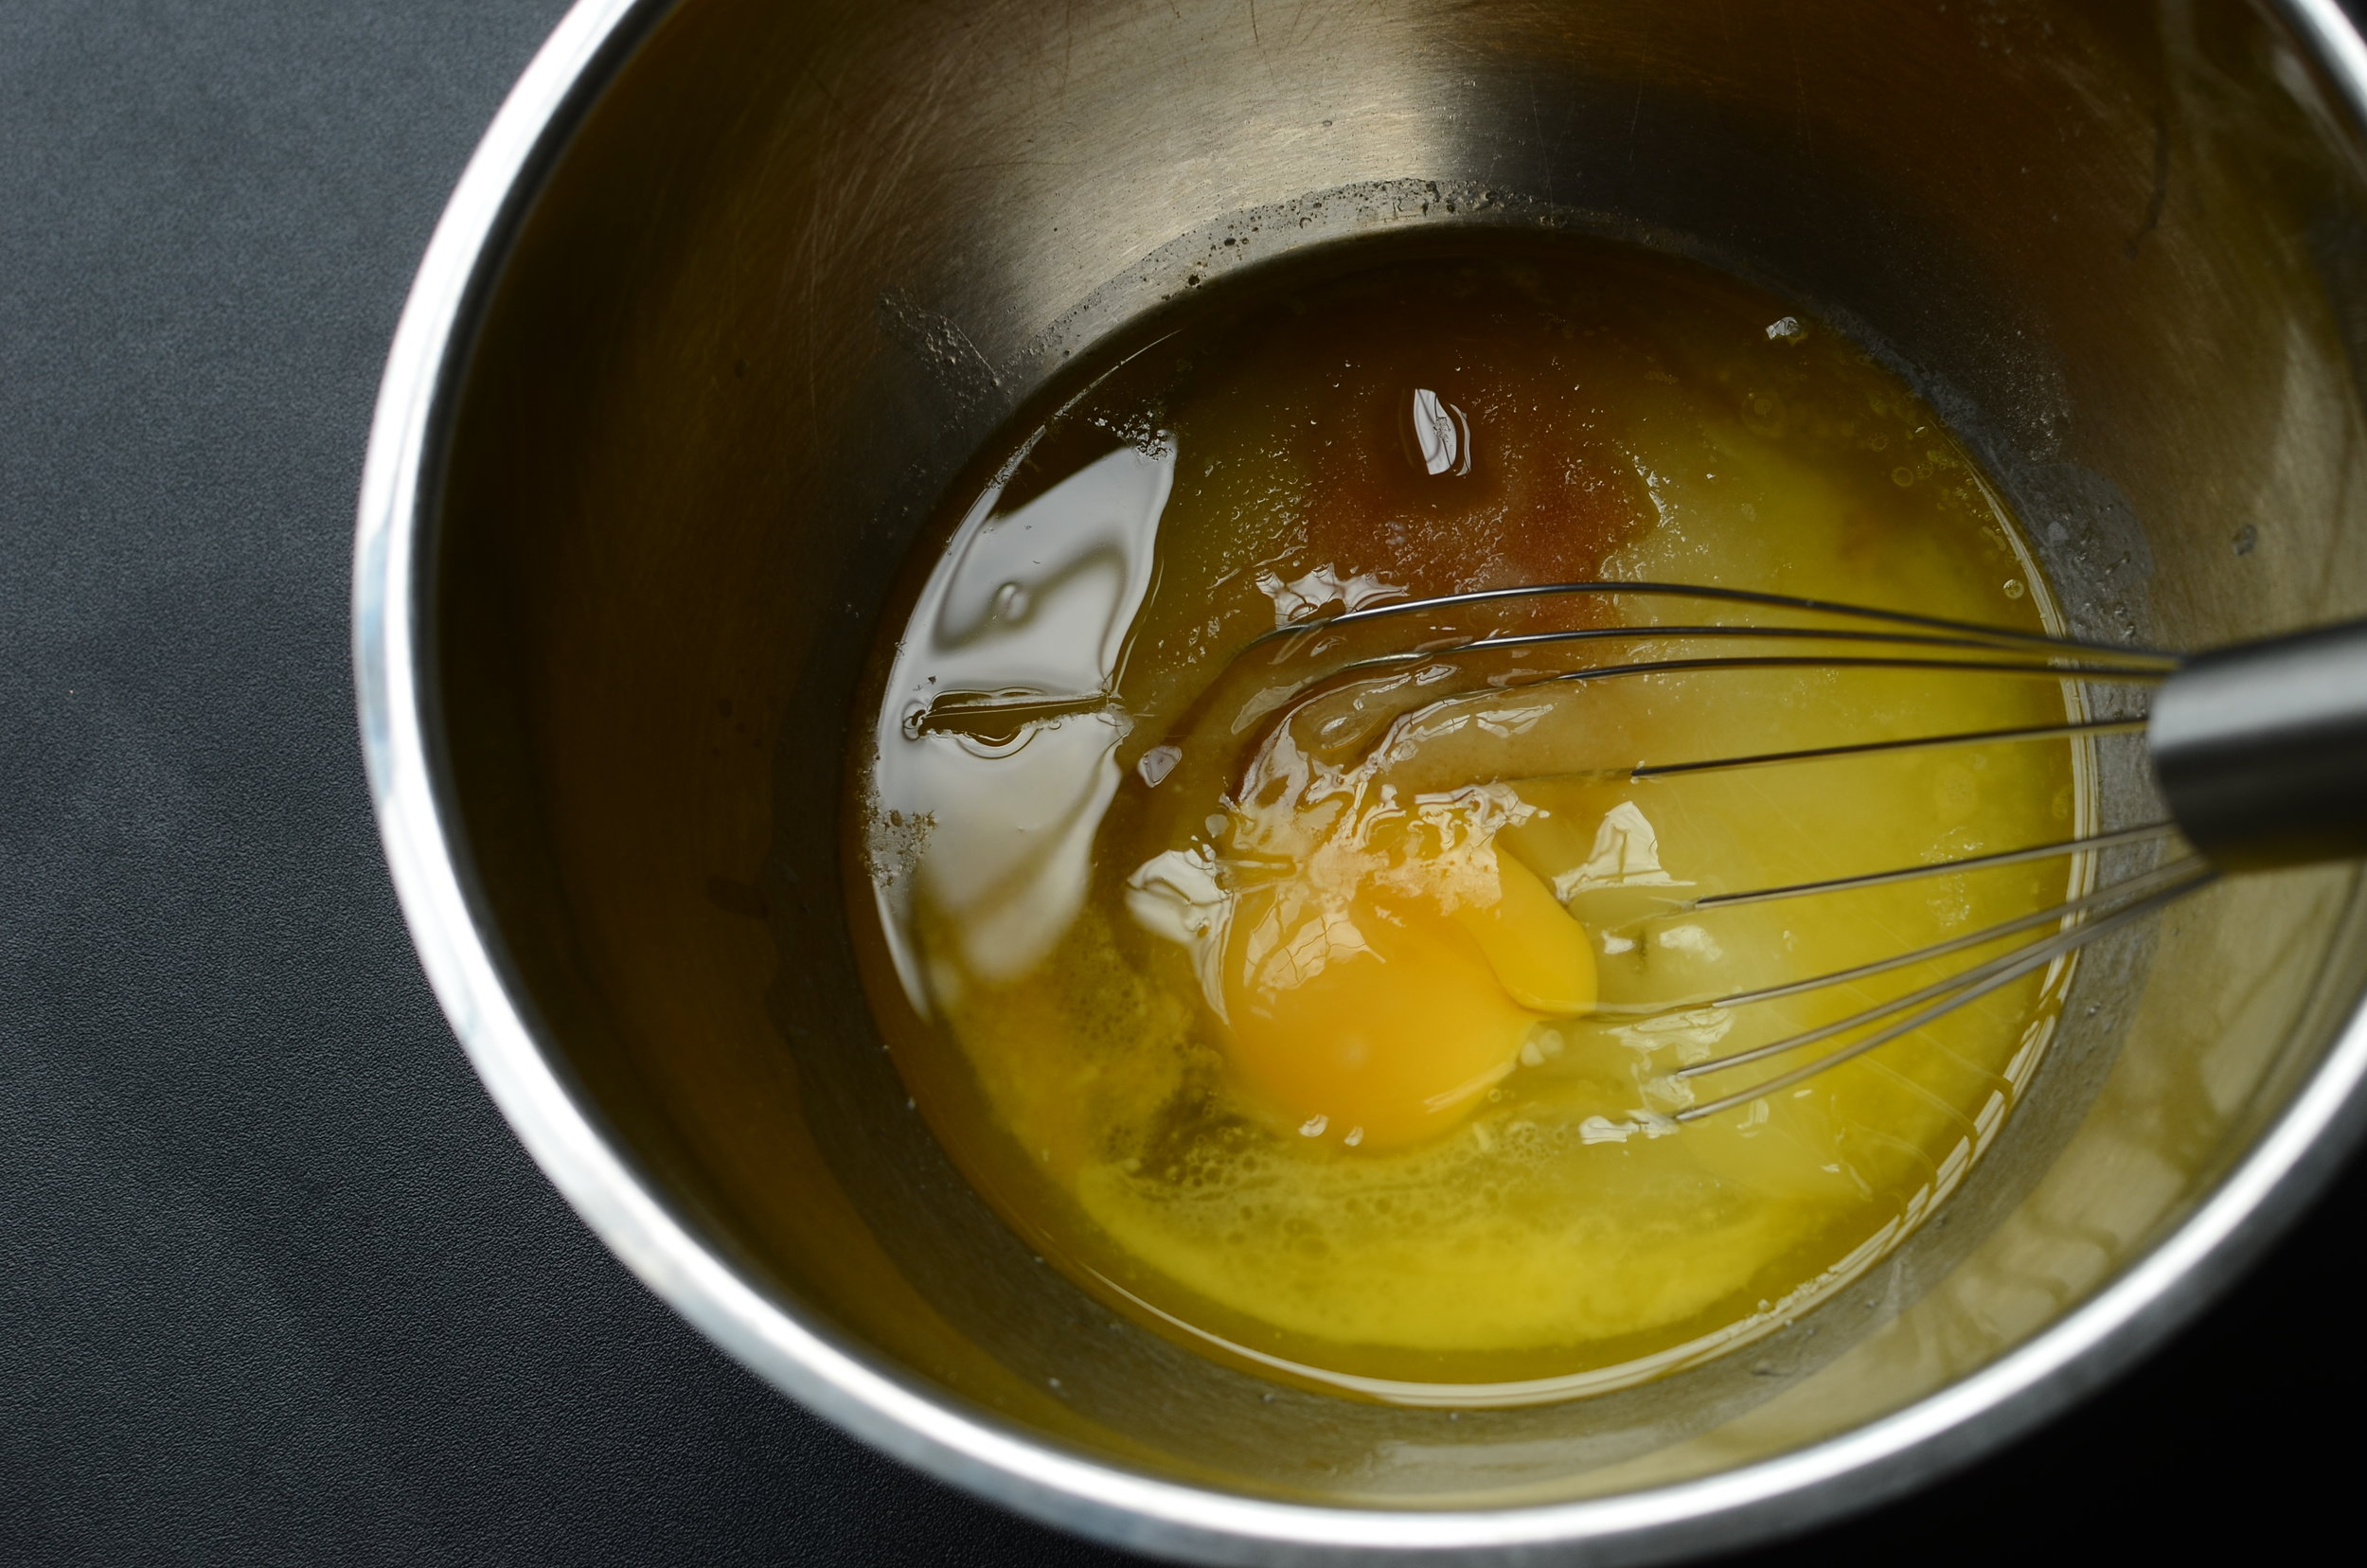
Whisk whisk, whisk.

Done.

Add the flour, baking soda, and salt.

Whisk to combine.

Add the reserved cocoa mixture and mix well.

Pour batter into prepared cake pan and bake until a toothpick inserted near the middle comes out clean.

Here's another trick that will help ensure an evenly baked cake...

Insert an Ateco heating core (they're great for really wet cake batters like this one, and I always use them for cakes that are over 9 inches in diameter).

See how perfectly even that cake rose in the pan? No hump in the center thanks to the insulated cake strips, and no fallen center thanks to the heating core. Pure perfection!

Allow the cake to cool in the pan for 10 minutes, then turn it out. If you prepped your pan with Baker's Joy and parchment paper, it should release without any trouble. Peel the parchment paper off and pull out the heating core. Allow the cake to cool completely (I like to pop it in the fridge at this point - it'll cool fast and chilled cake is always easier to handle than warm cake).

Time to make white chocolate mousse. To begin, we'll make white chocolate ganache by pouring scalding hot cream over really good quality white chocolate that's been chopped into small pieces. Let this mixture sit for several minute, then gently whisk until fully incorporated.


Pour the ganache through a sieve to remove any unmelted bits of white chocolate. Allow the mixture to sit at room temperature for several hours (or overnight) to "set" (firm up).
DO NOT cover the hot mixture with plastic wrap because condensation will form on the plastic and will drip down onto the ganache which can make the chocolate seize (turn grainy). If you must cover the hot chocolate mixture, use a clean kitchen towel which will absorb the steam given off by the hot ganache.
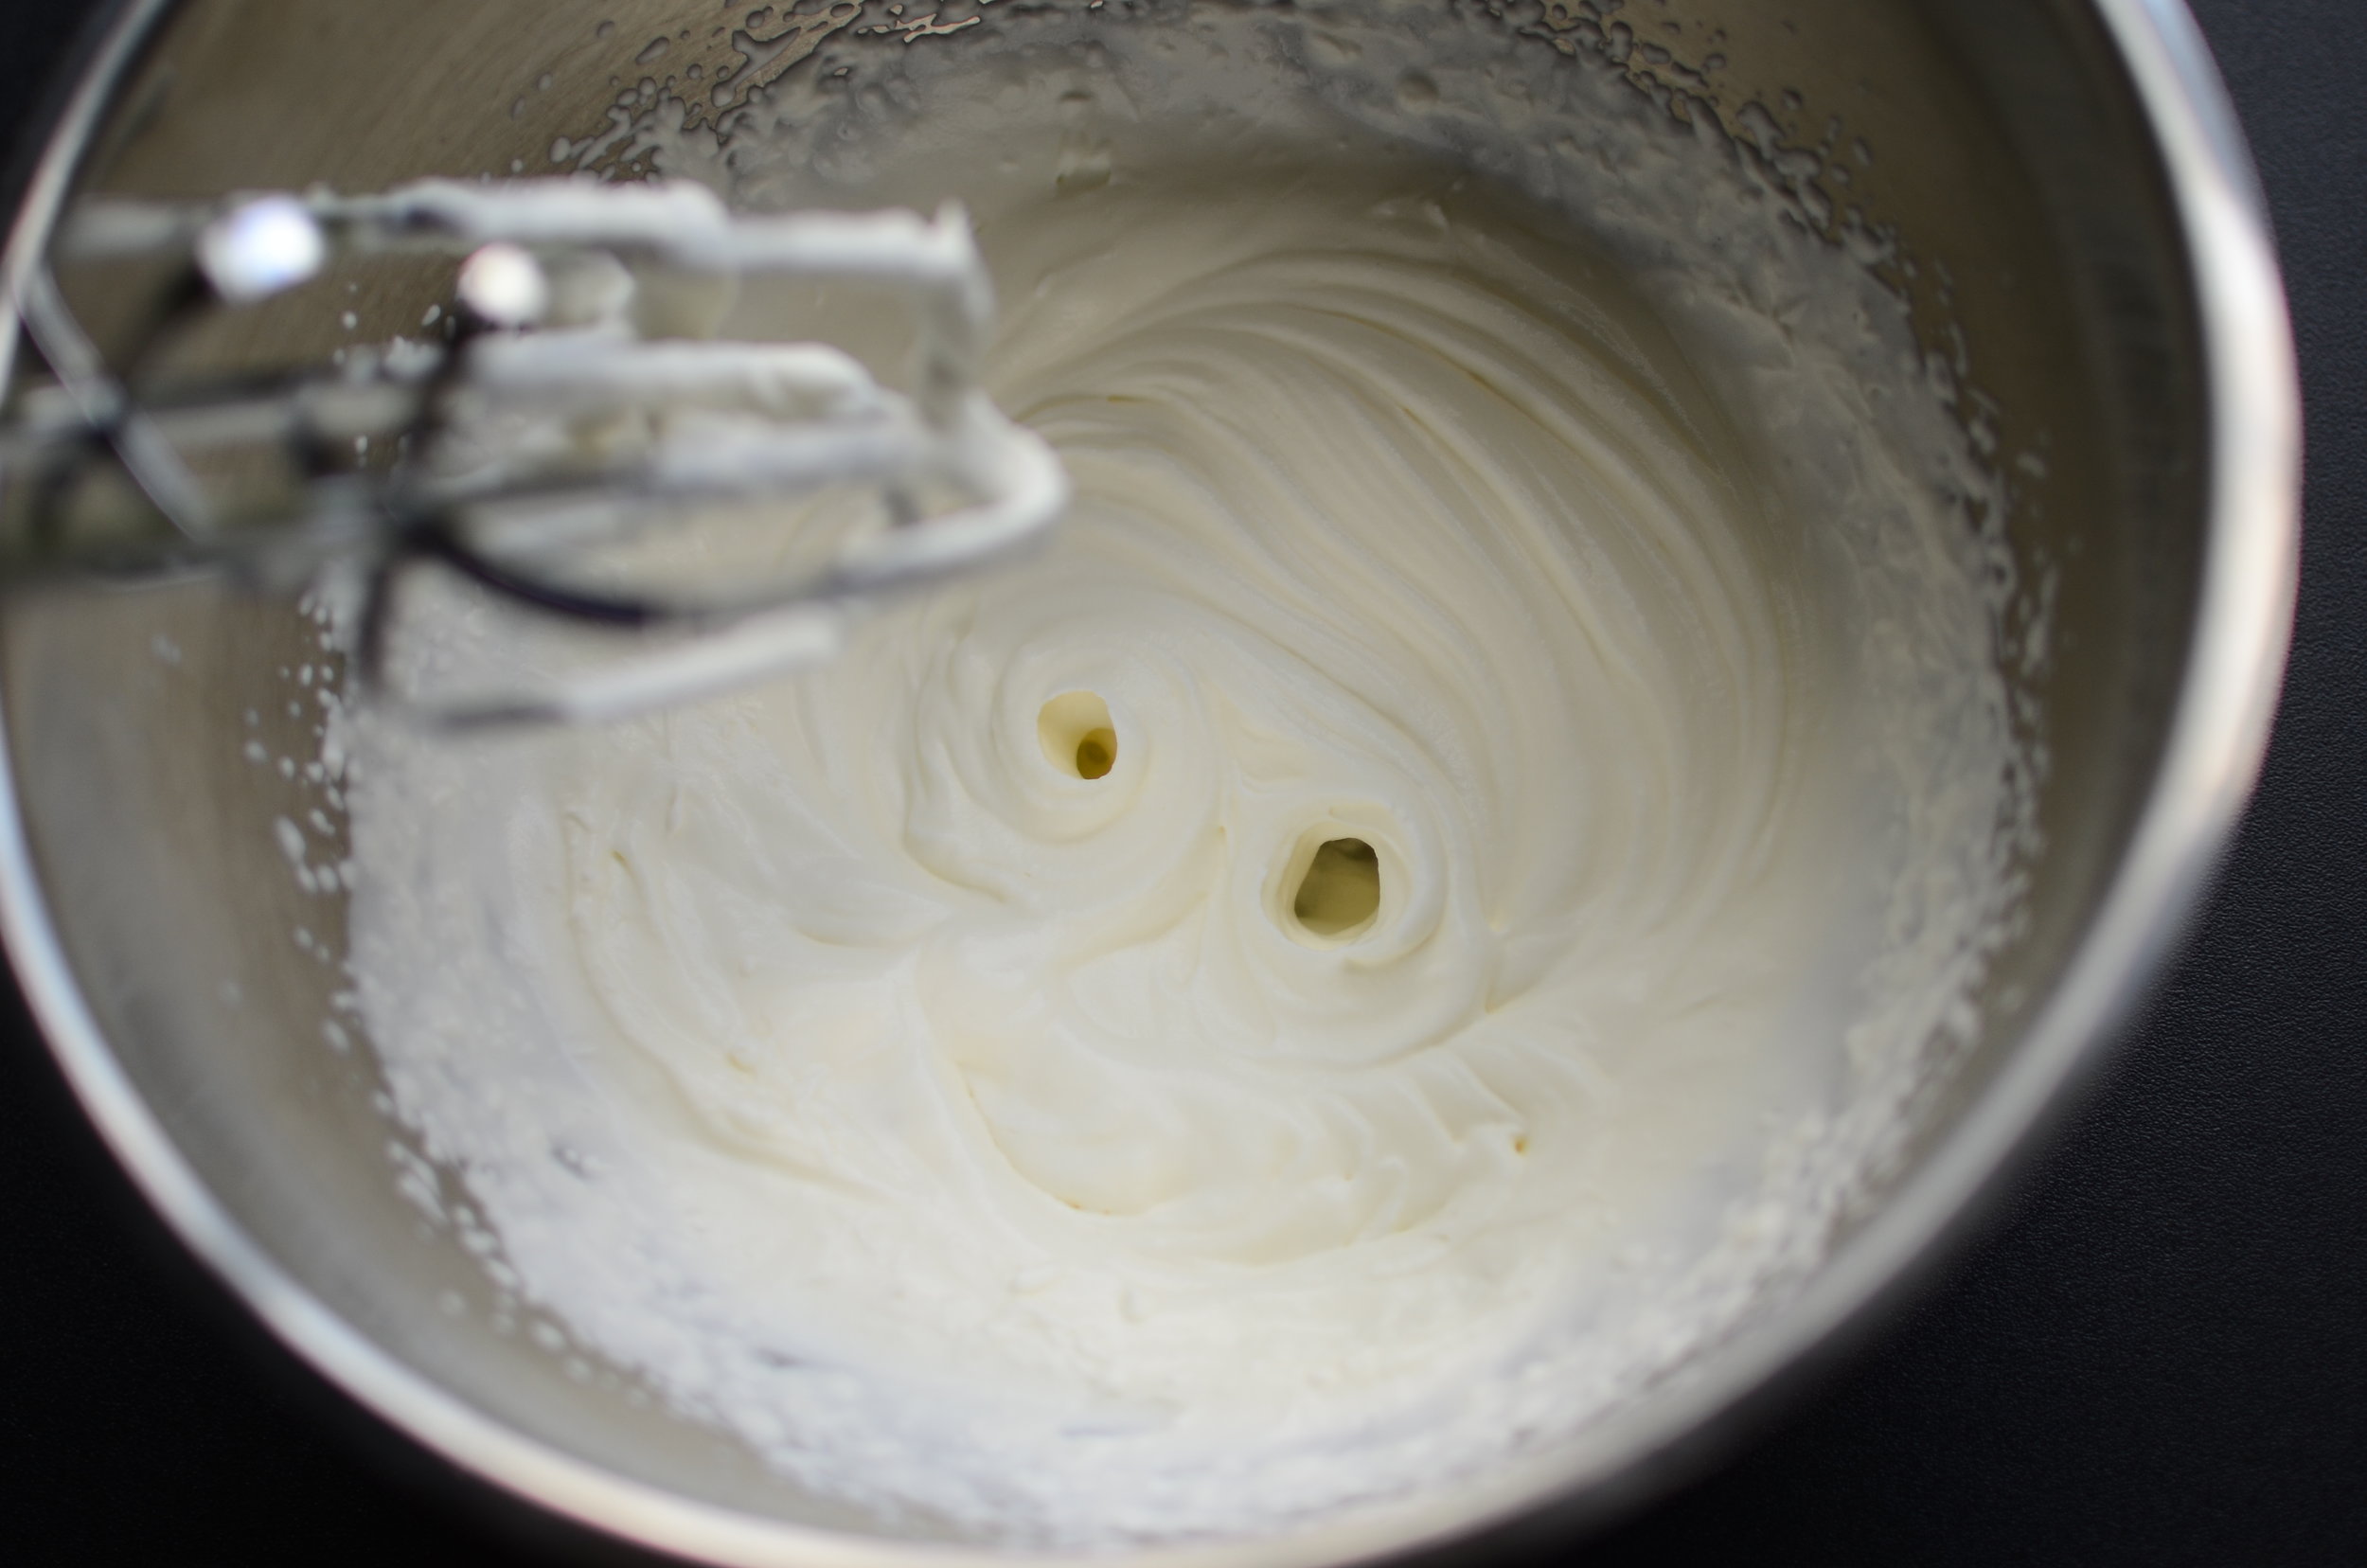
When the white chocolate has "set", whip cold heavy cream until stiff peaks form....

Then fold the whipped cream and white chocolate ganache together until combined.

Next, place the chilled cake layer on a silpat lined sheet pan and wrap well with an adjustable cake ring.

Make sure the adjustable cake ring is tight, then add a layer of fresh raspberries.

Pour just enough white chocolate mousse over the berries to cover them.

Freeze for several hours until the white chocolate mousse is frozen enough to remove the adjustable cake ring.

Before we transfer the cake/white chocolate mousse to the silicone springform pan, the base of the pan needs to be lined with plastic wrap. You could also use parchment paper.

YPlace the partially frozen chocolate cake topped with raspberries and white chocolate mousse in the center of the springform pan. There should be about 1/2-inch space between the cake and the springform pan walls. We're going to fill that space with chocolate mousse.

The chocolate mousse is made the same way as the white chocolate mousse - make the ganache by combining scalding heavy cream with chopped chocolate (use high quality like the ones at the bottom of this post). Allow the ganache to cool for several hours to "set" (firm up).

Then carefully fold it with some whipped cream.
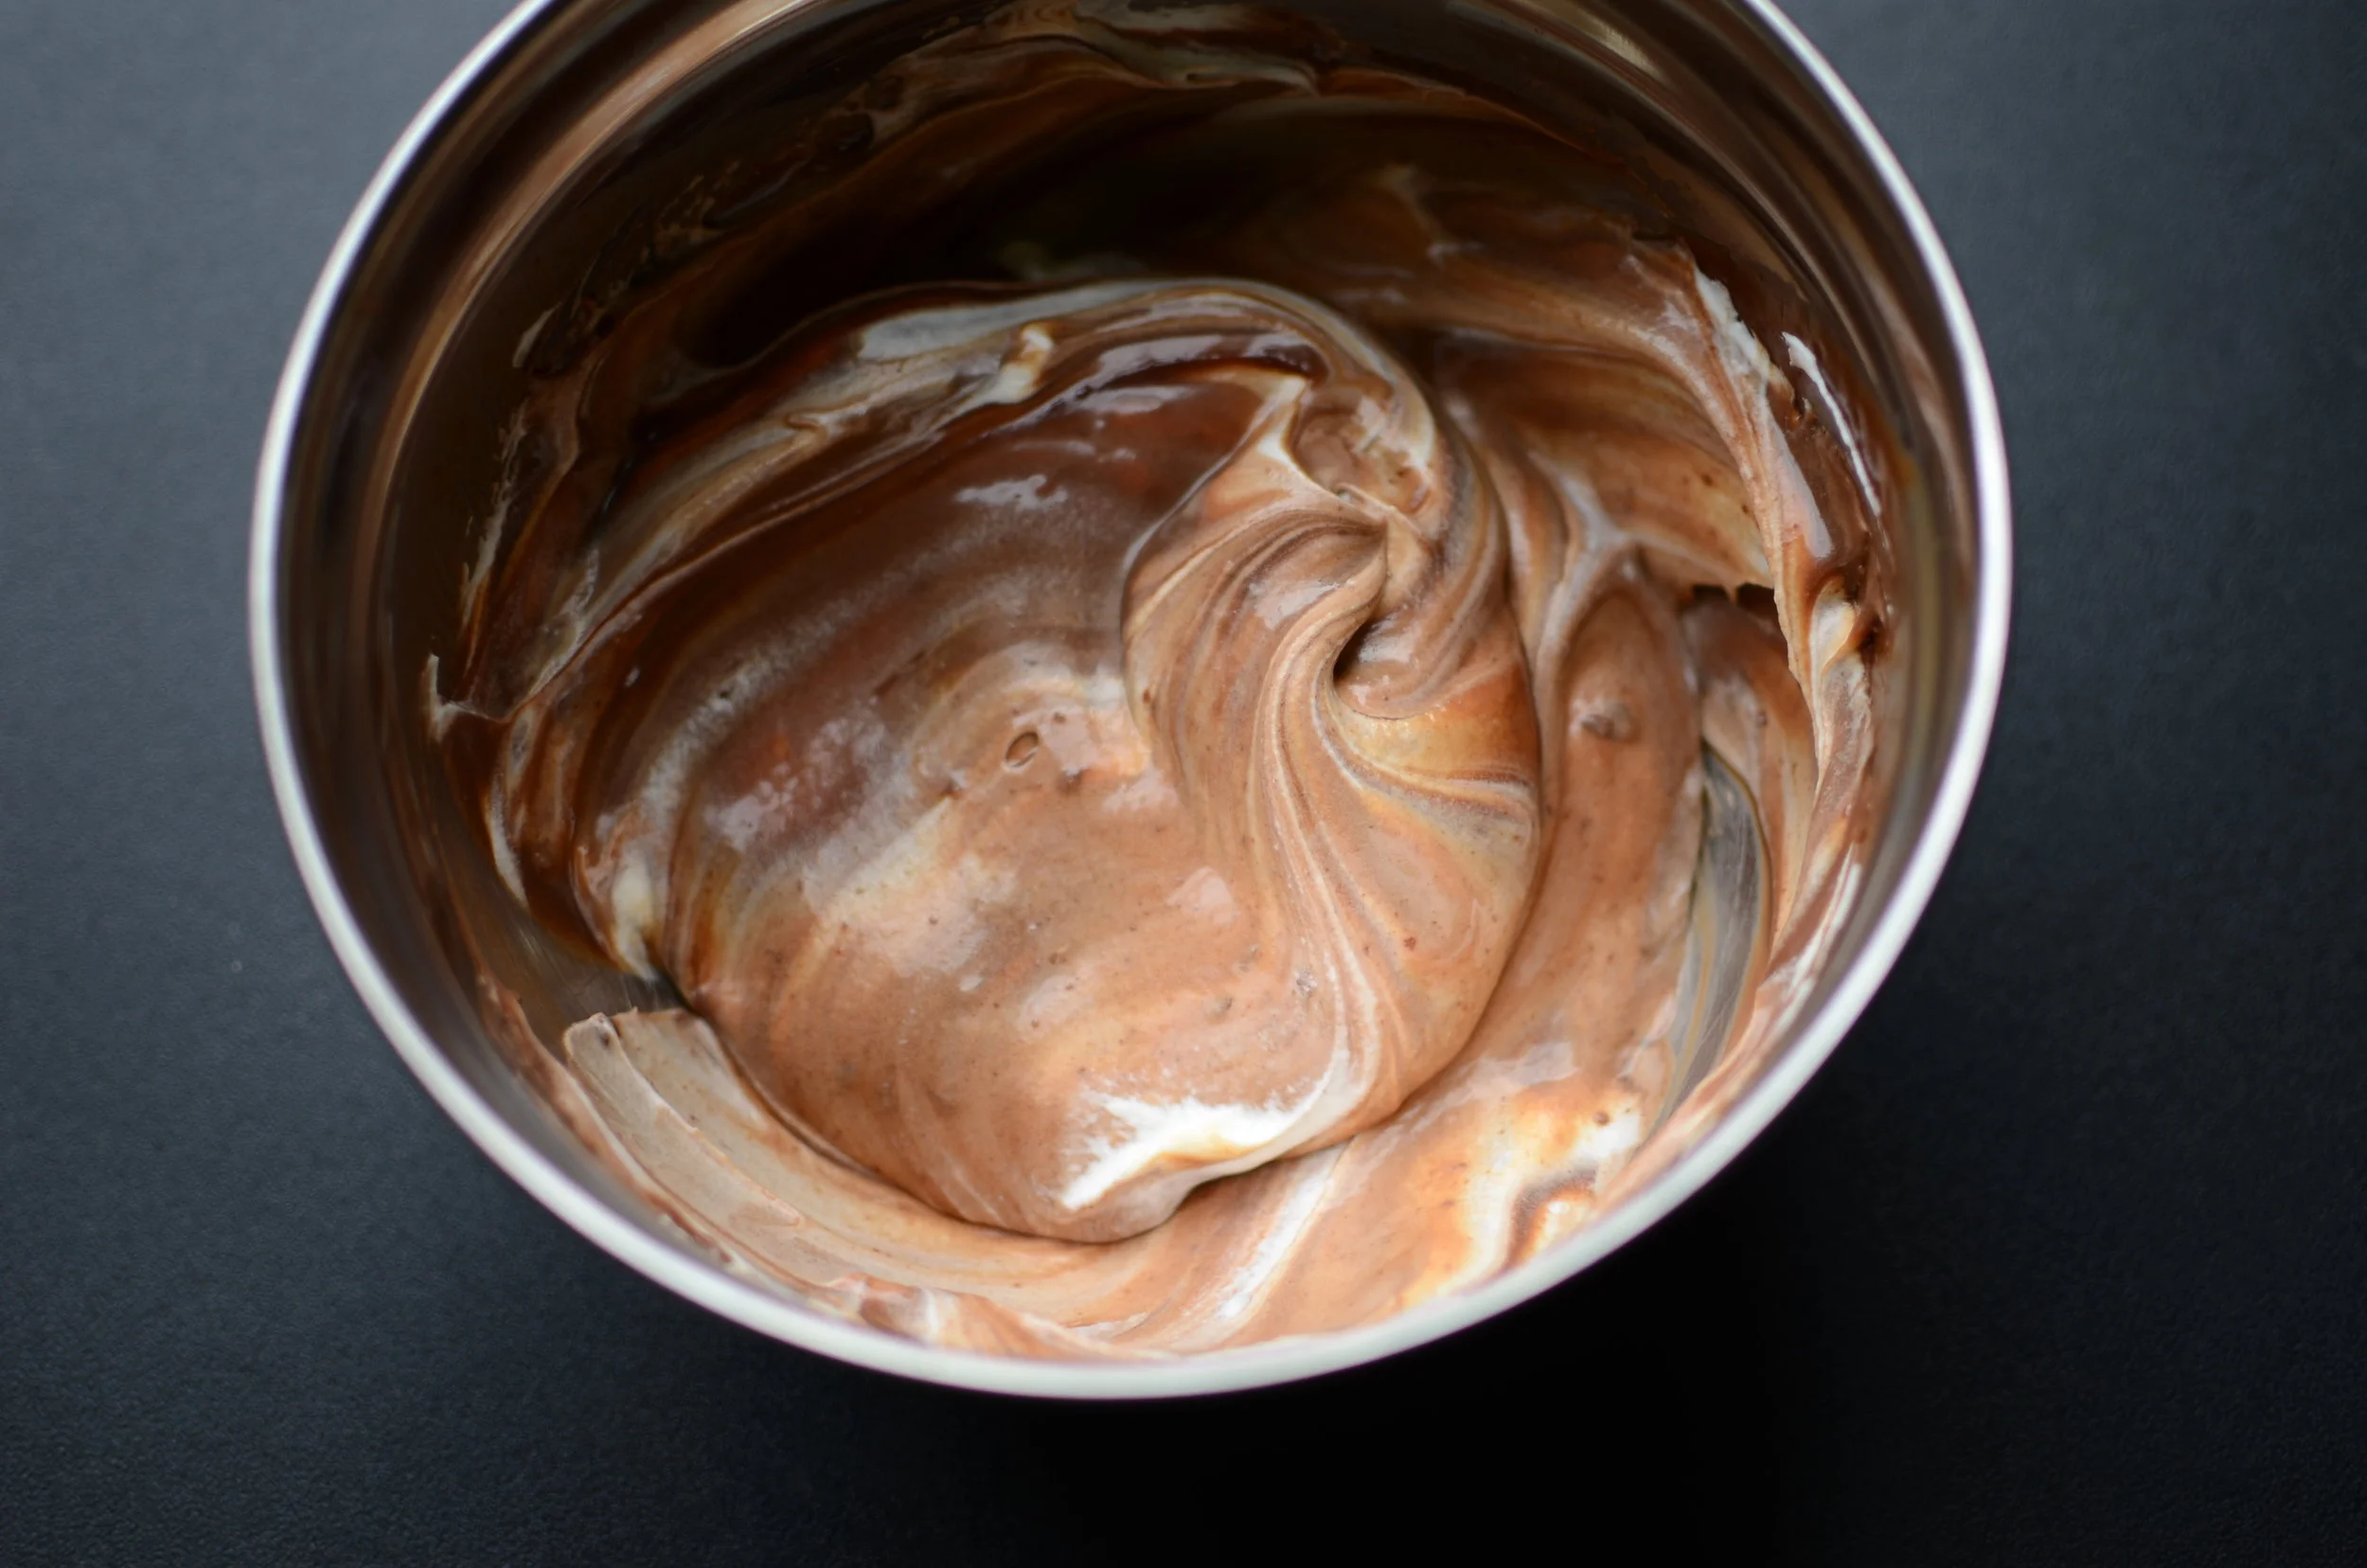
Continue folding until the chocolate and cream are completely incorporated (this photo shows that we're not quite there yet).

I like to use a disposable pastry bag to squeeze the chocolate ganache down into that 1/2-inch space. Be careful to not allow any air gaps.

Once the 1/2-inch gap is filled, pour the remaining ganache on top of the white chocolate layer to fill the pan completely and use a very long spatula to smooth to top flush with the top of the springform pan.

Freeze until frozen solid (notice how easily the silicone pan releases from the frozen mouse cake pictured on the right). If you only have a metal springform pan, be sure to line the base with plastic wrap or parchment paper, and line the sides with food-grade acetate (like these) - the acetate will release easily from the frozen mousse (the metal pan will not).
Now for the really fun part - we get to make the galaxy glaze (aka mirror glaze). Here's how.
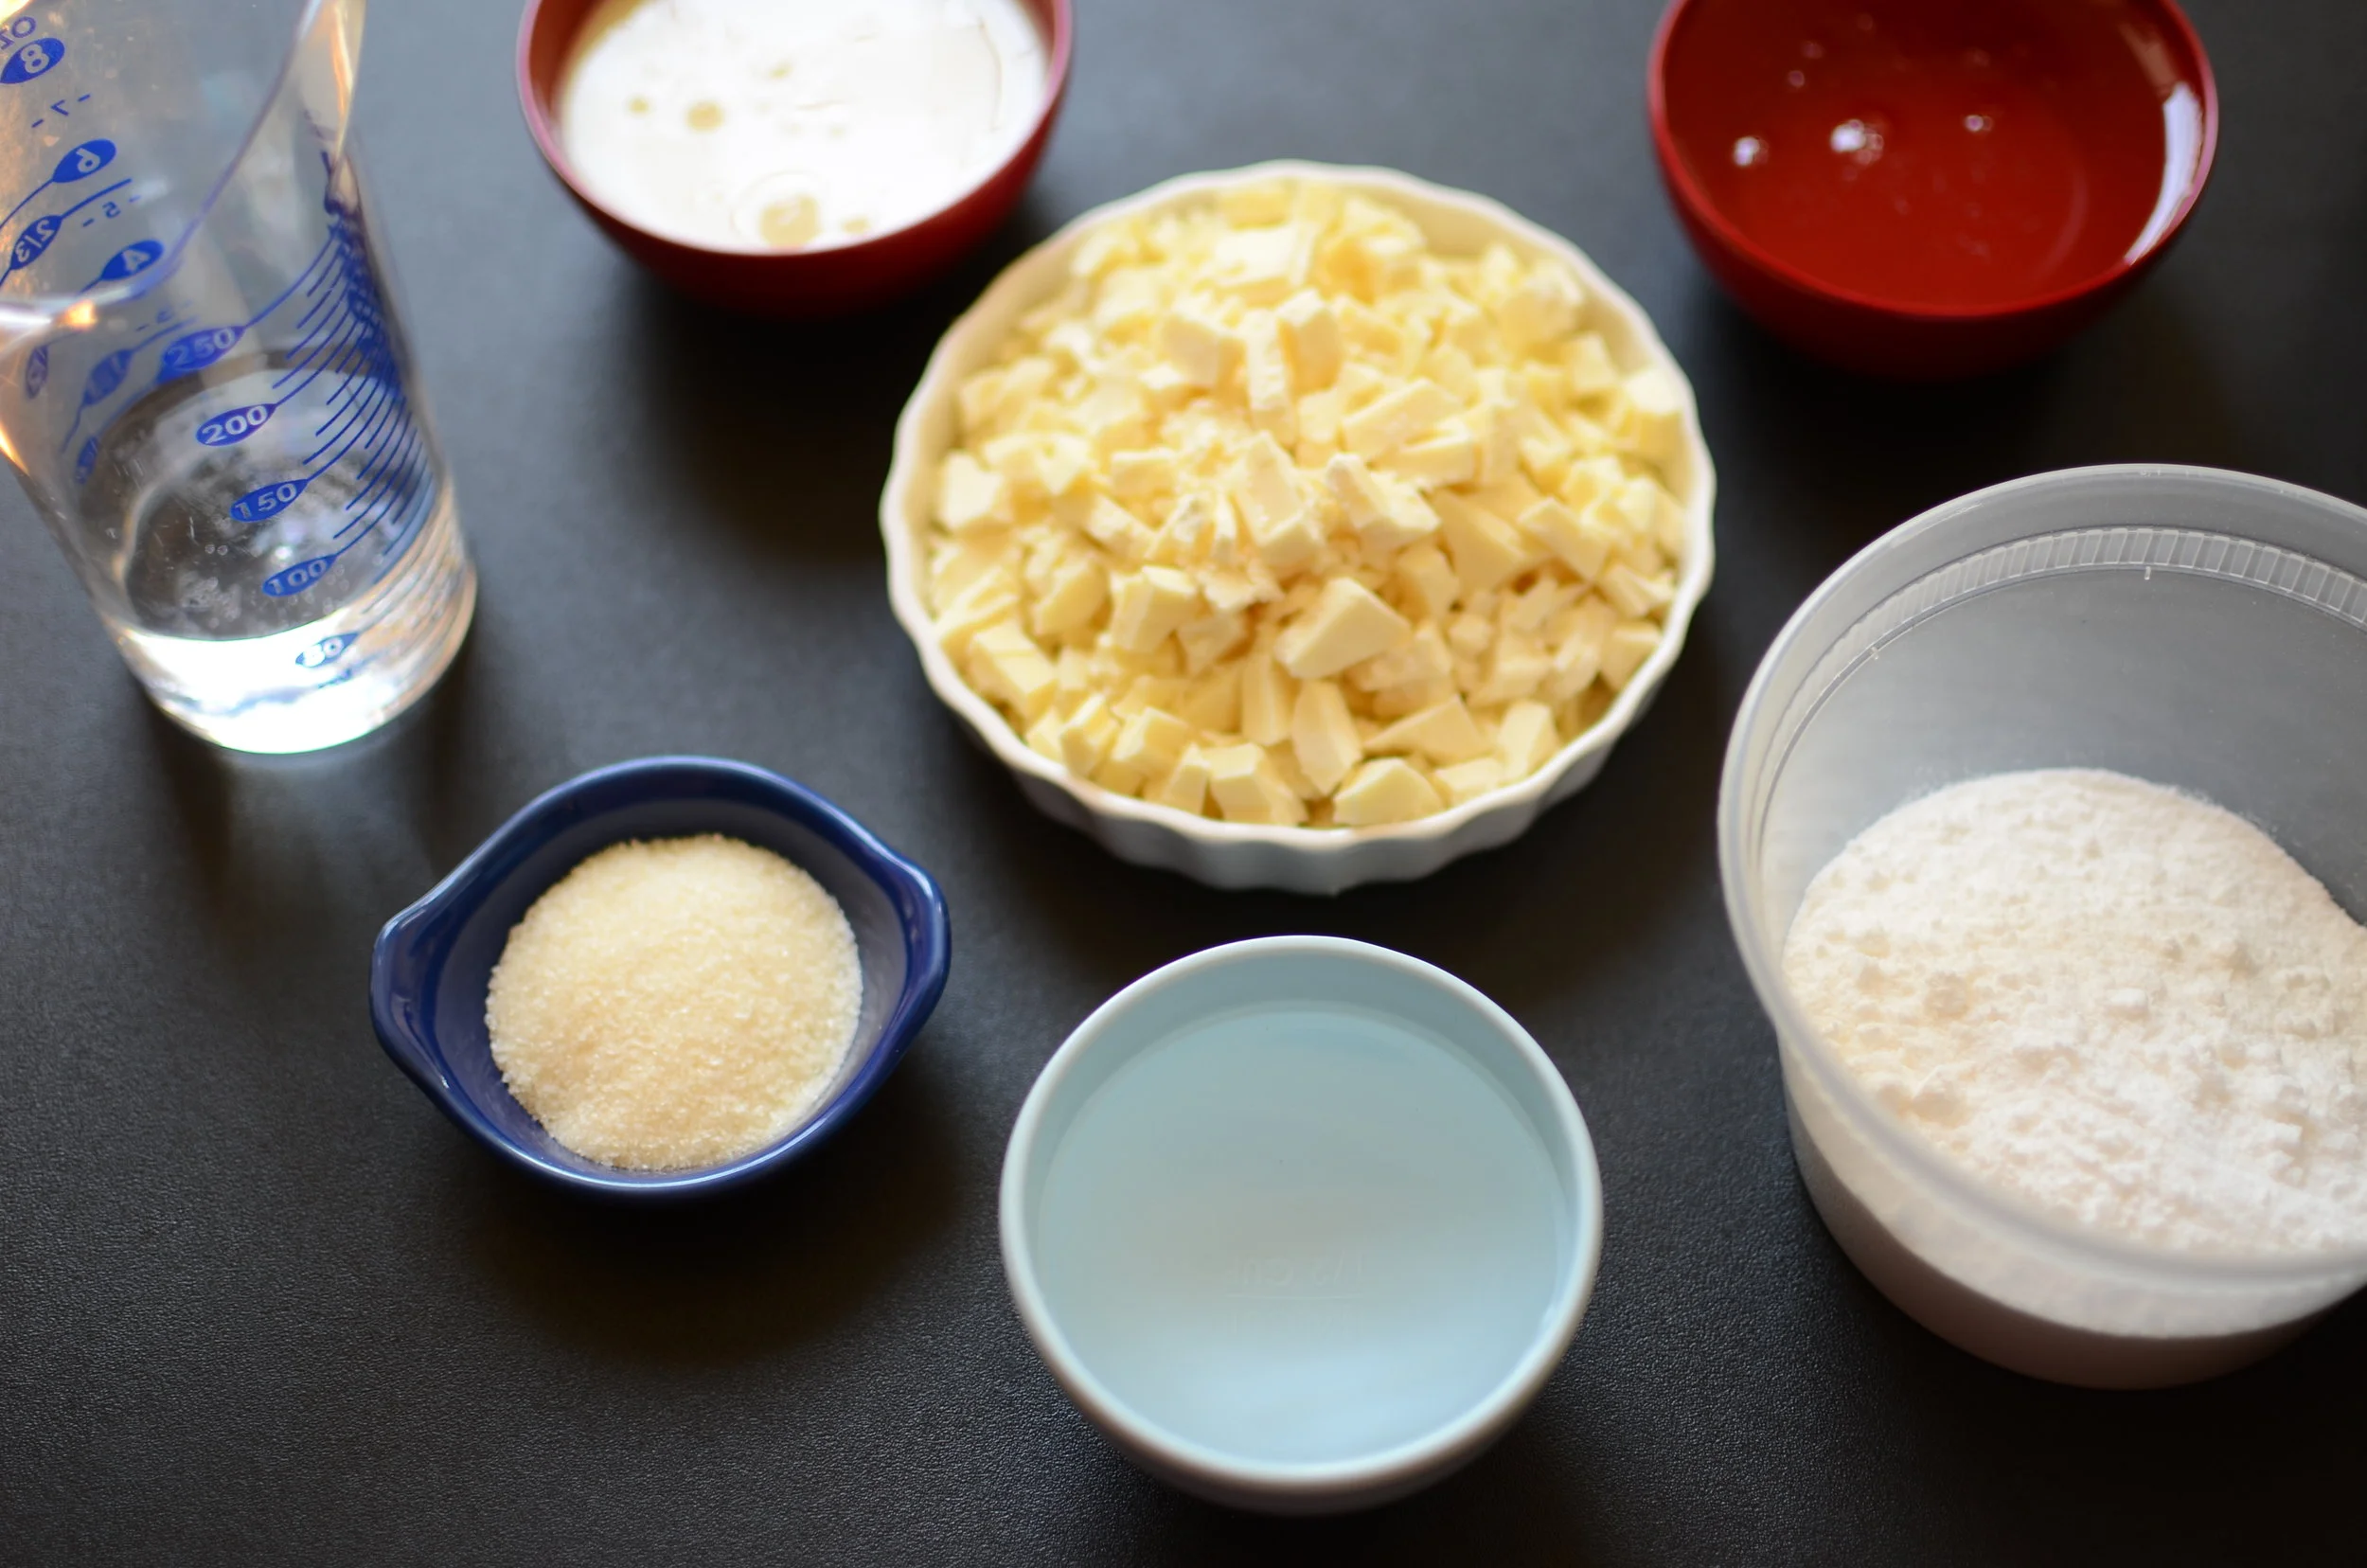
Gather the ingredients for the glaze: water, granulated gelatin, superfine sugar, light corn syrup, sweetened condensed milk, and chopped high quality white chocolate.

Stir the granulated gelatin and water together and allow the gelatin to hydrate for 10 minutes.
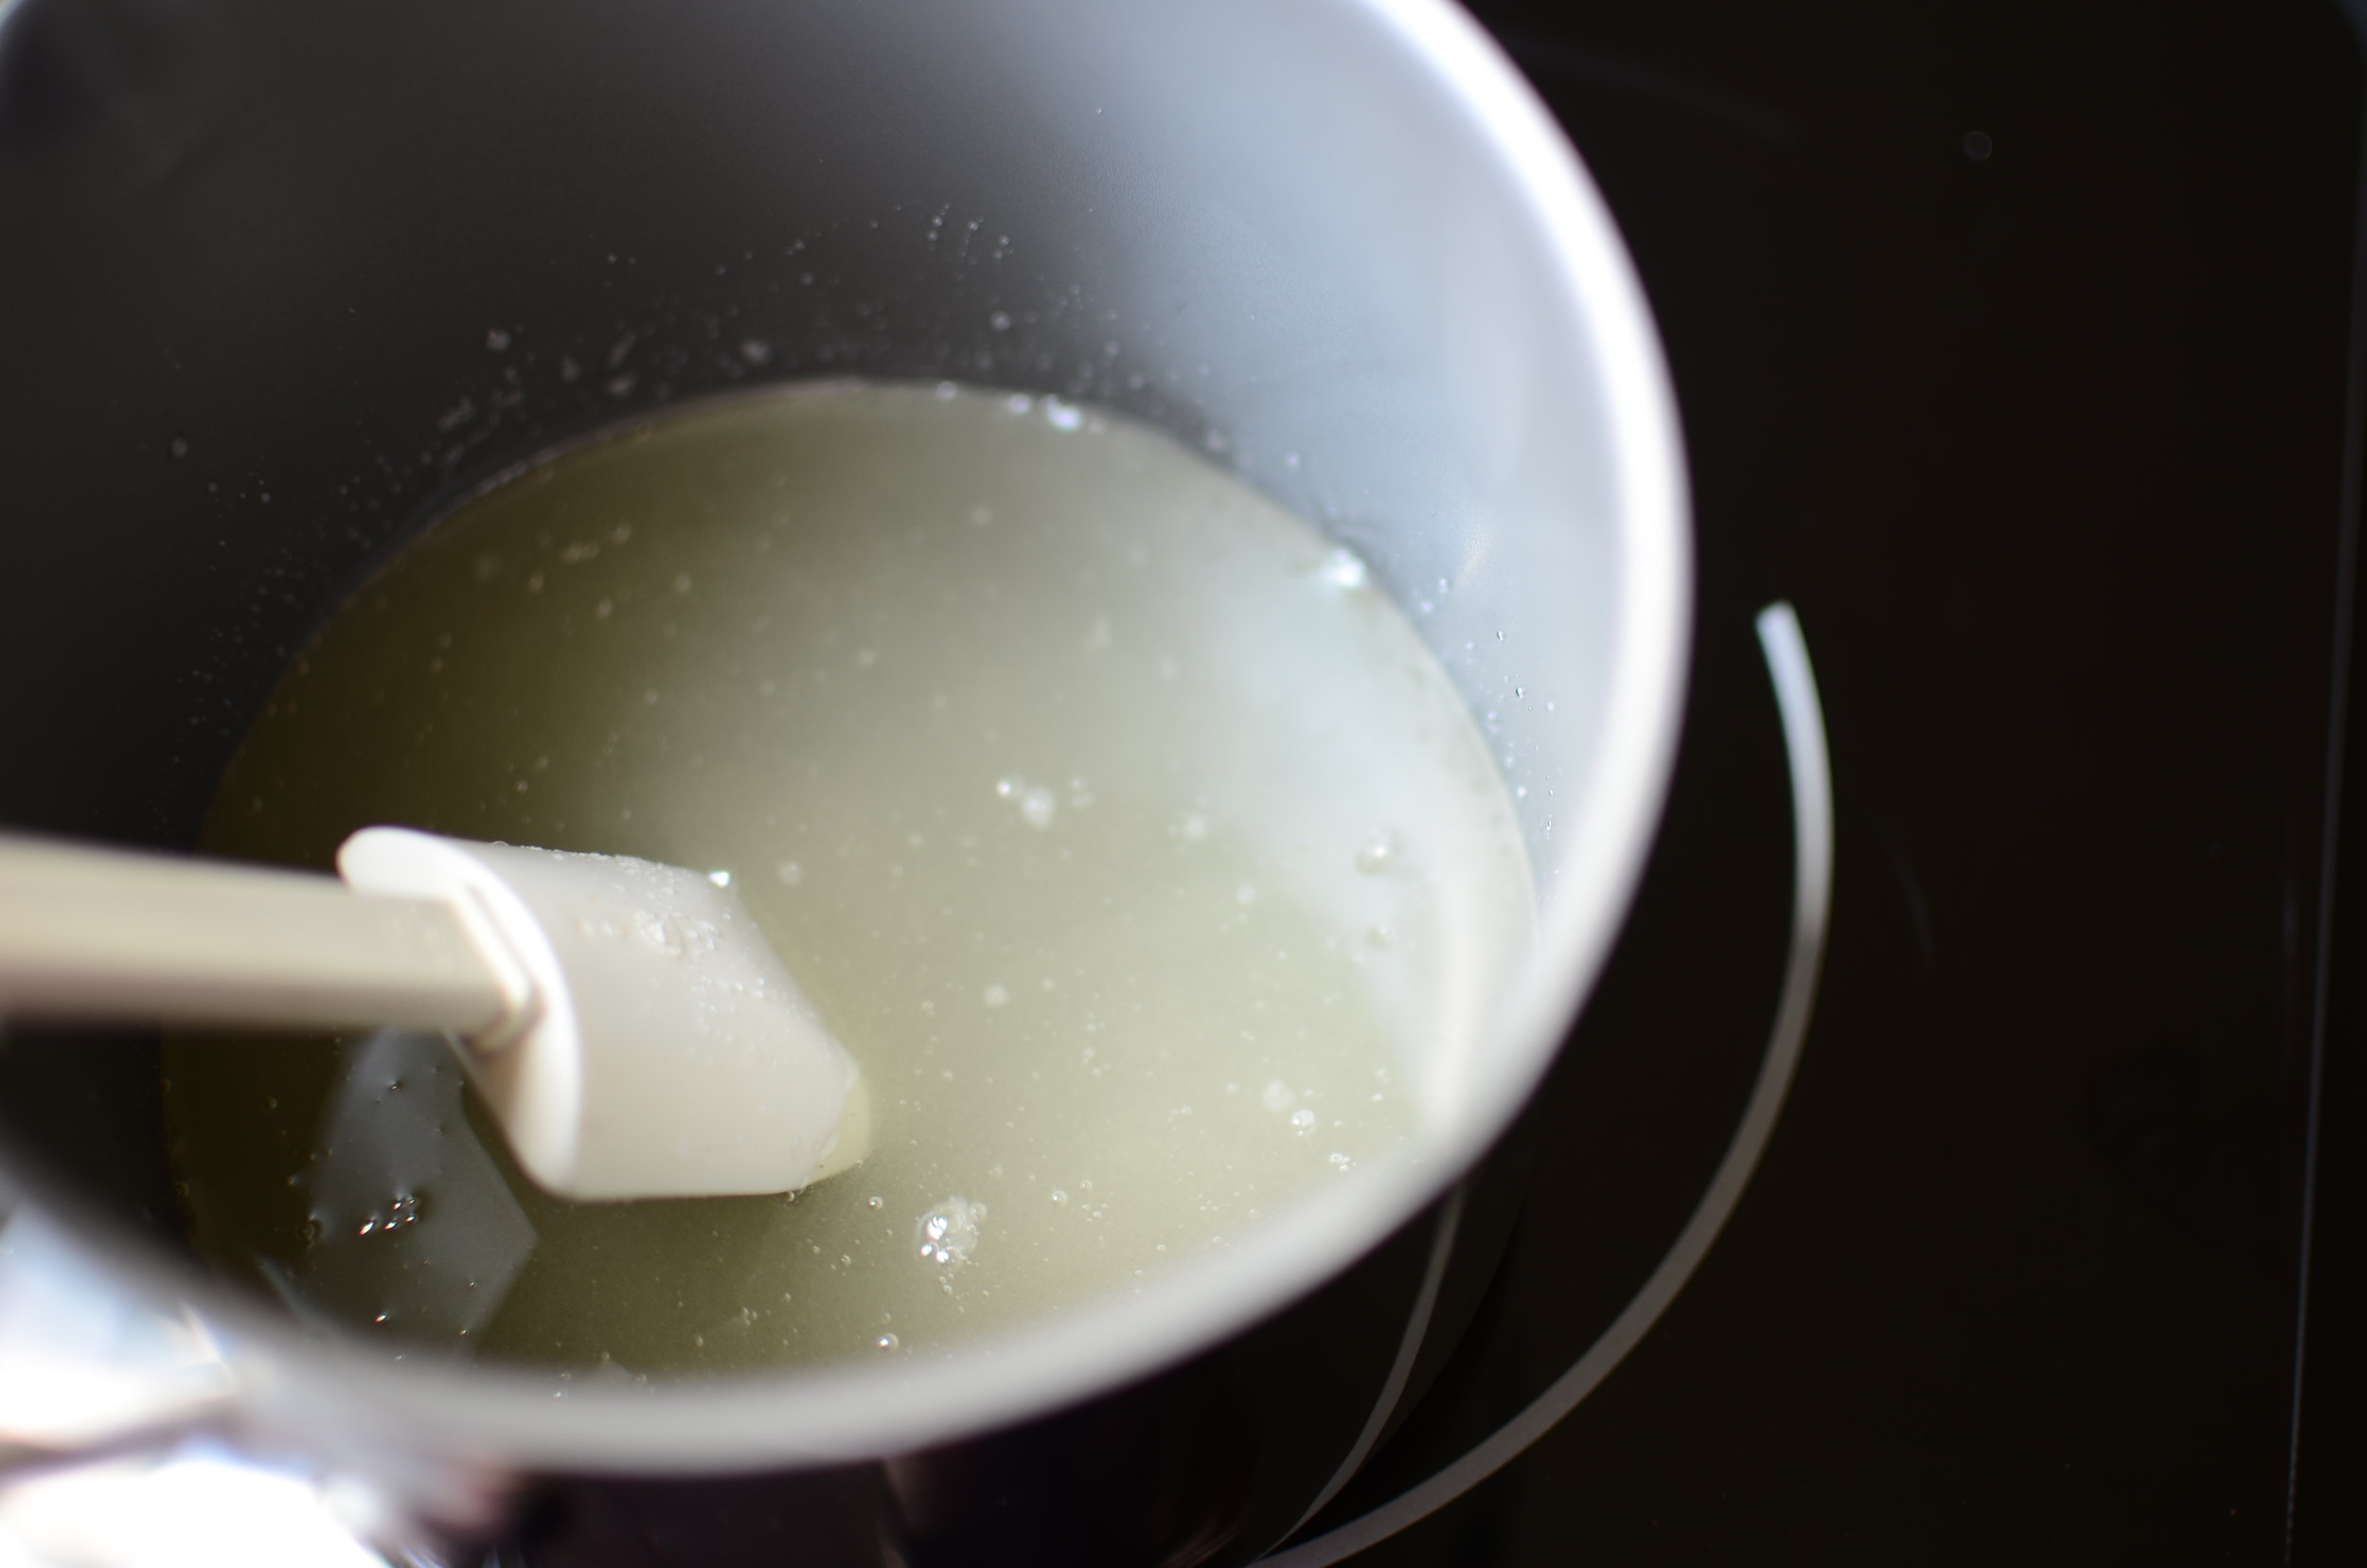
In a nonstick saucepan over medium-high heat, cook the superfine sugar, water, and light corn syrup together.
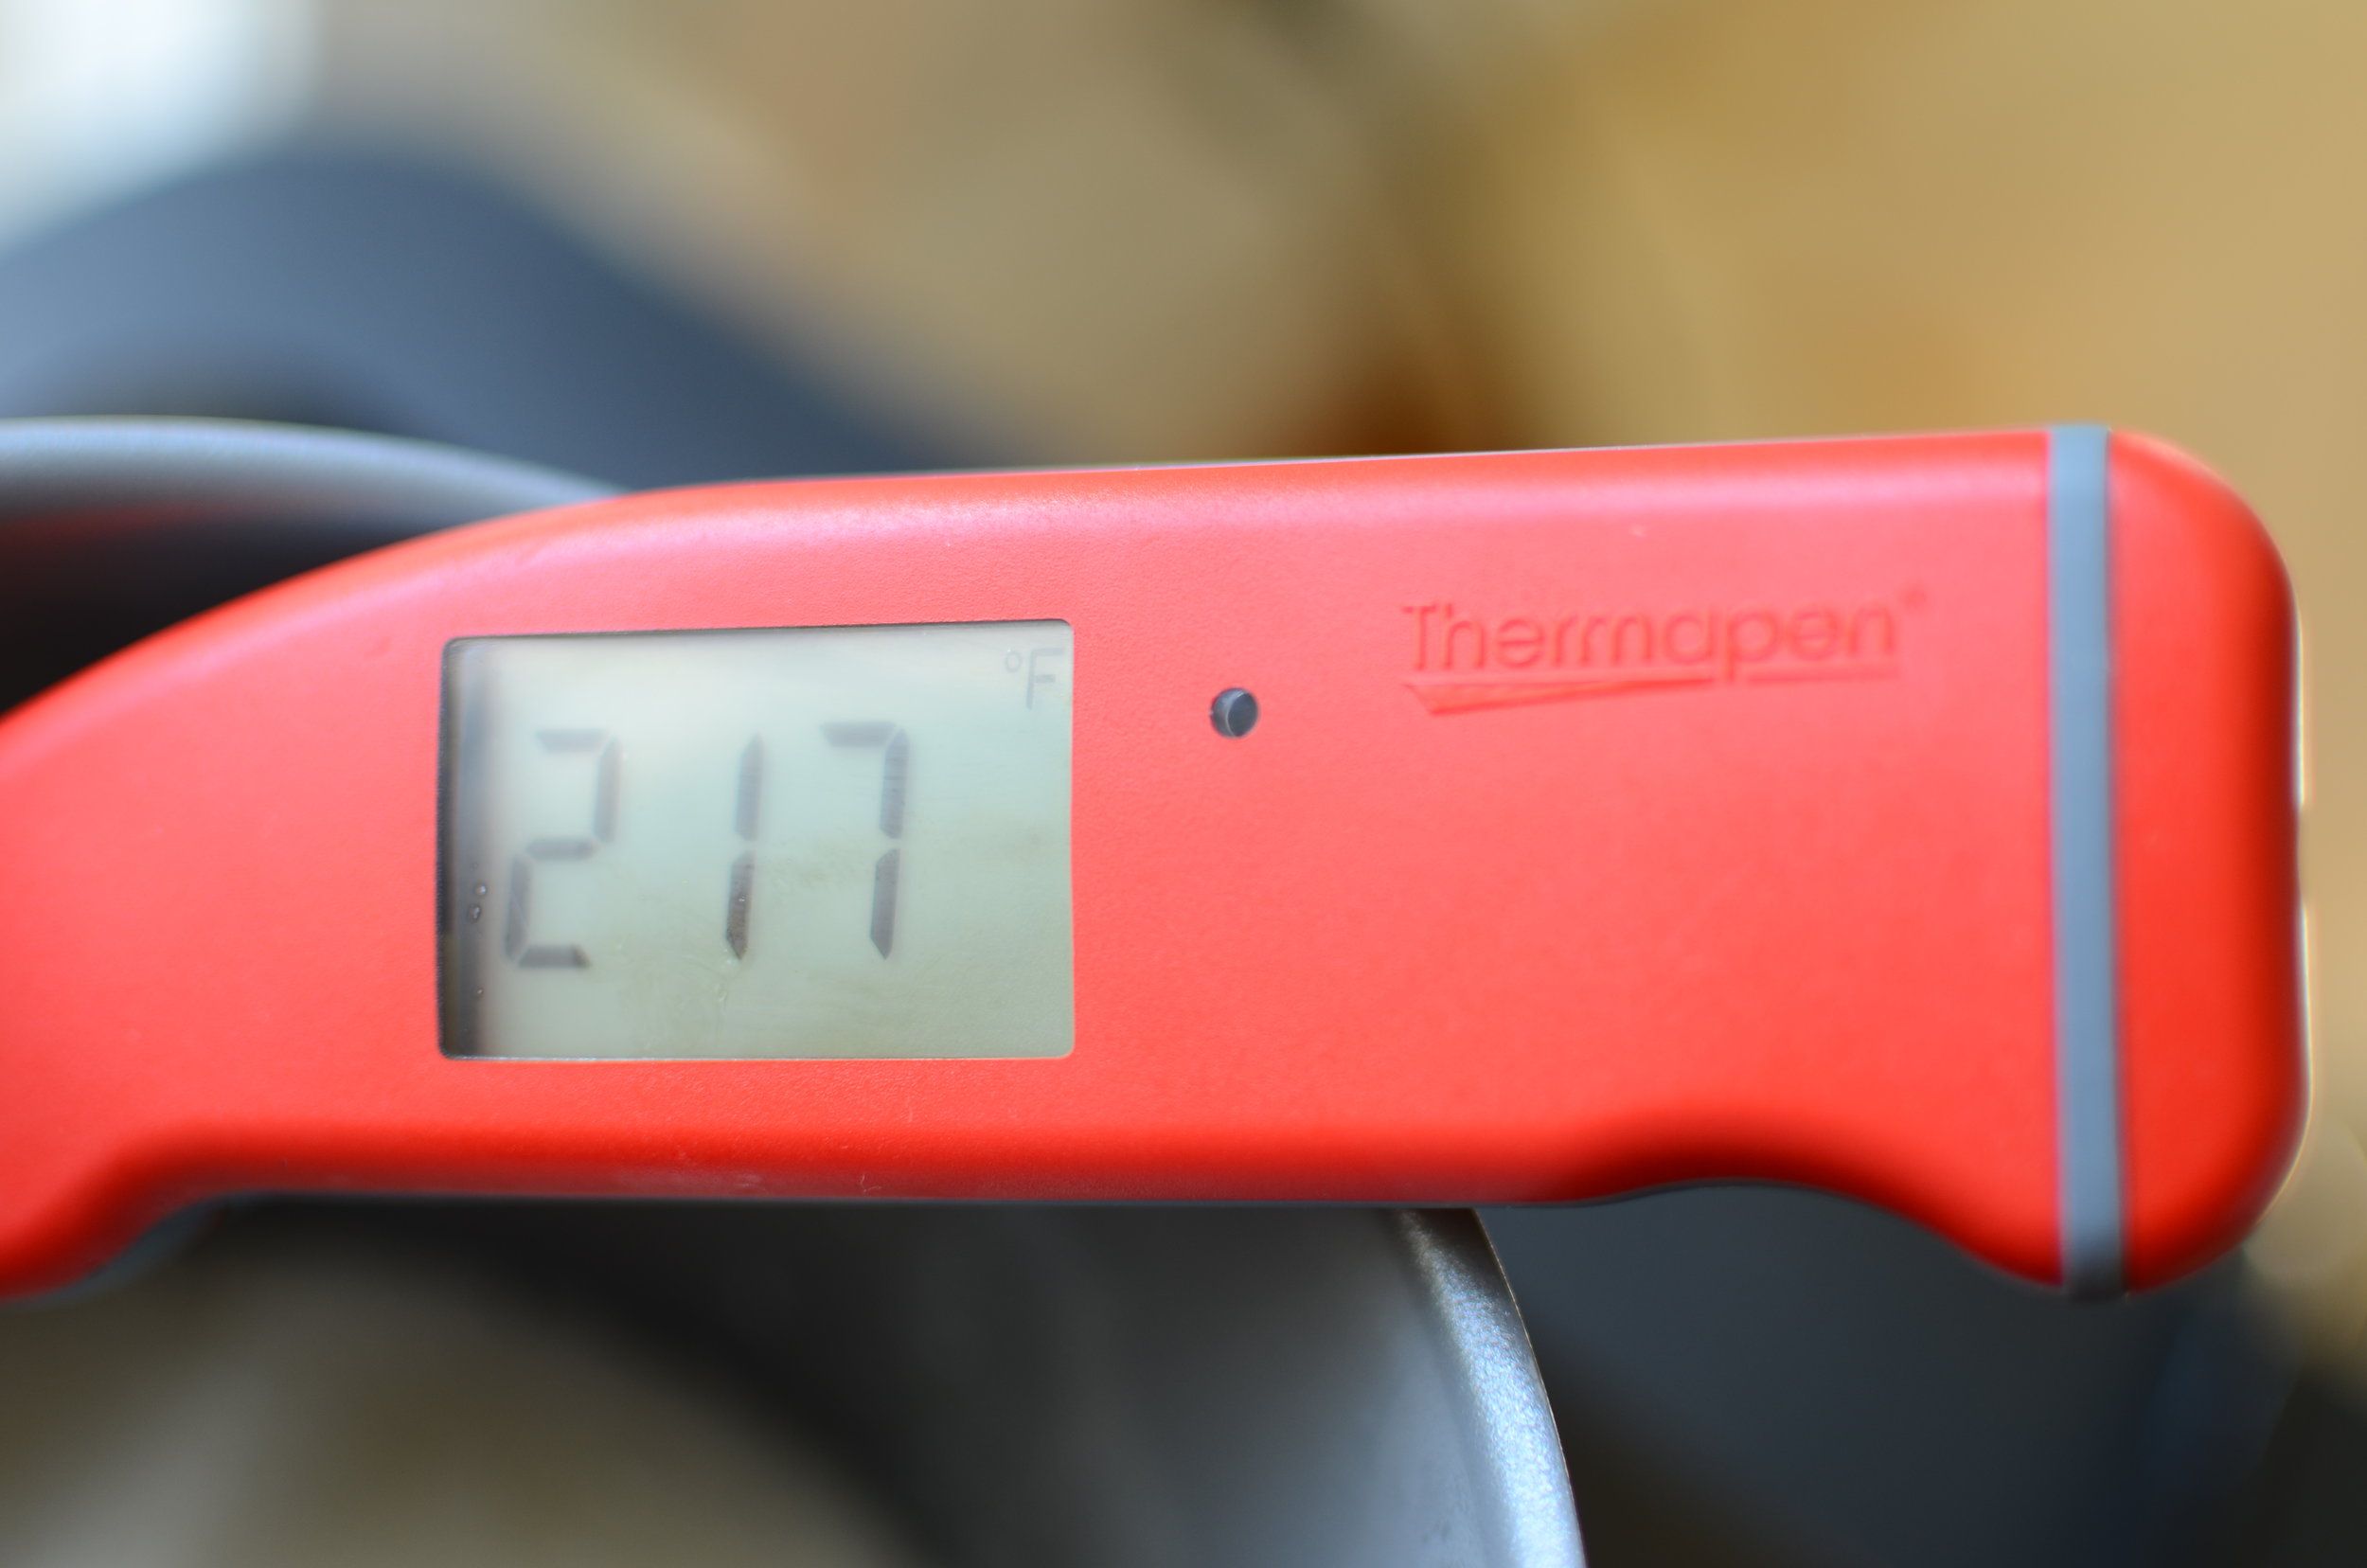
Heat the mixture, stirring occasionally, until it reaches 217F (right around the time it starts to boil).

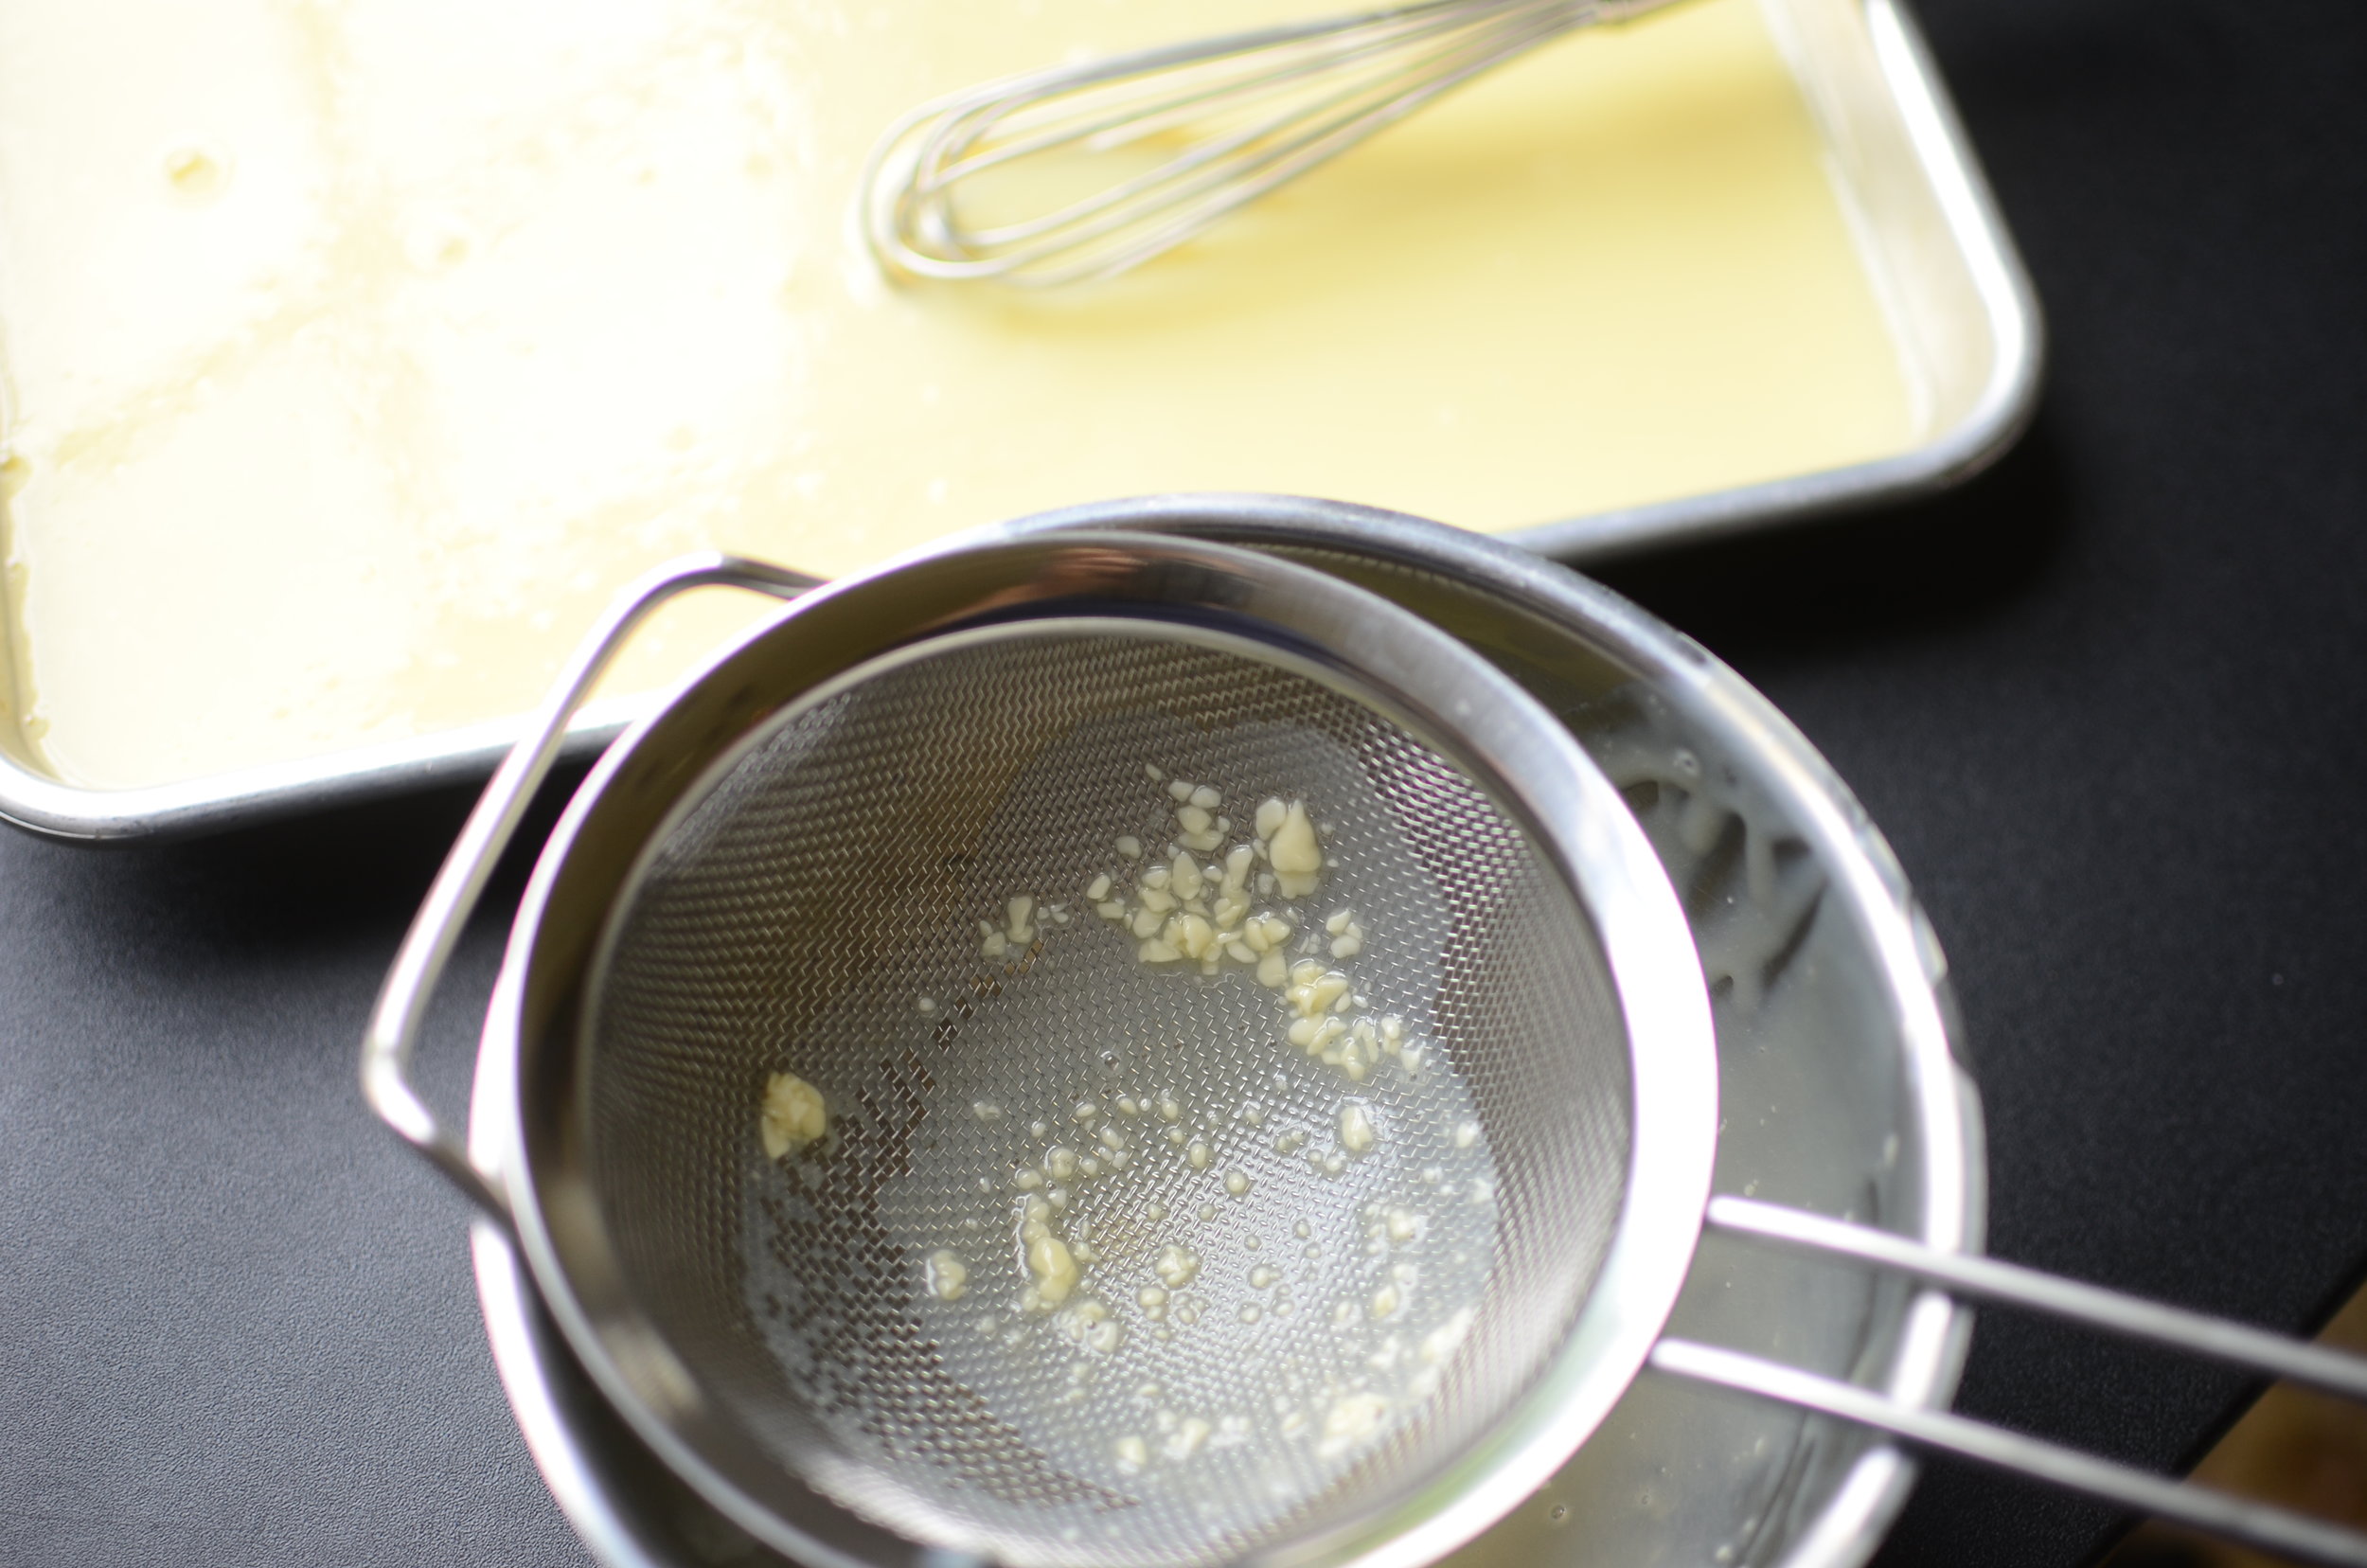
Immediately remove the mixture from the heat and stir in the hydrated gelatin until it dissolves.

You'll know the gelatin has dissolved when there are no more granules stuck to the bottom or sides of the pan.

Add the sweetened condensed milk.
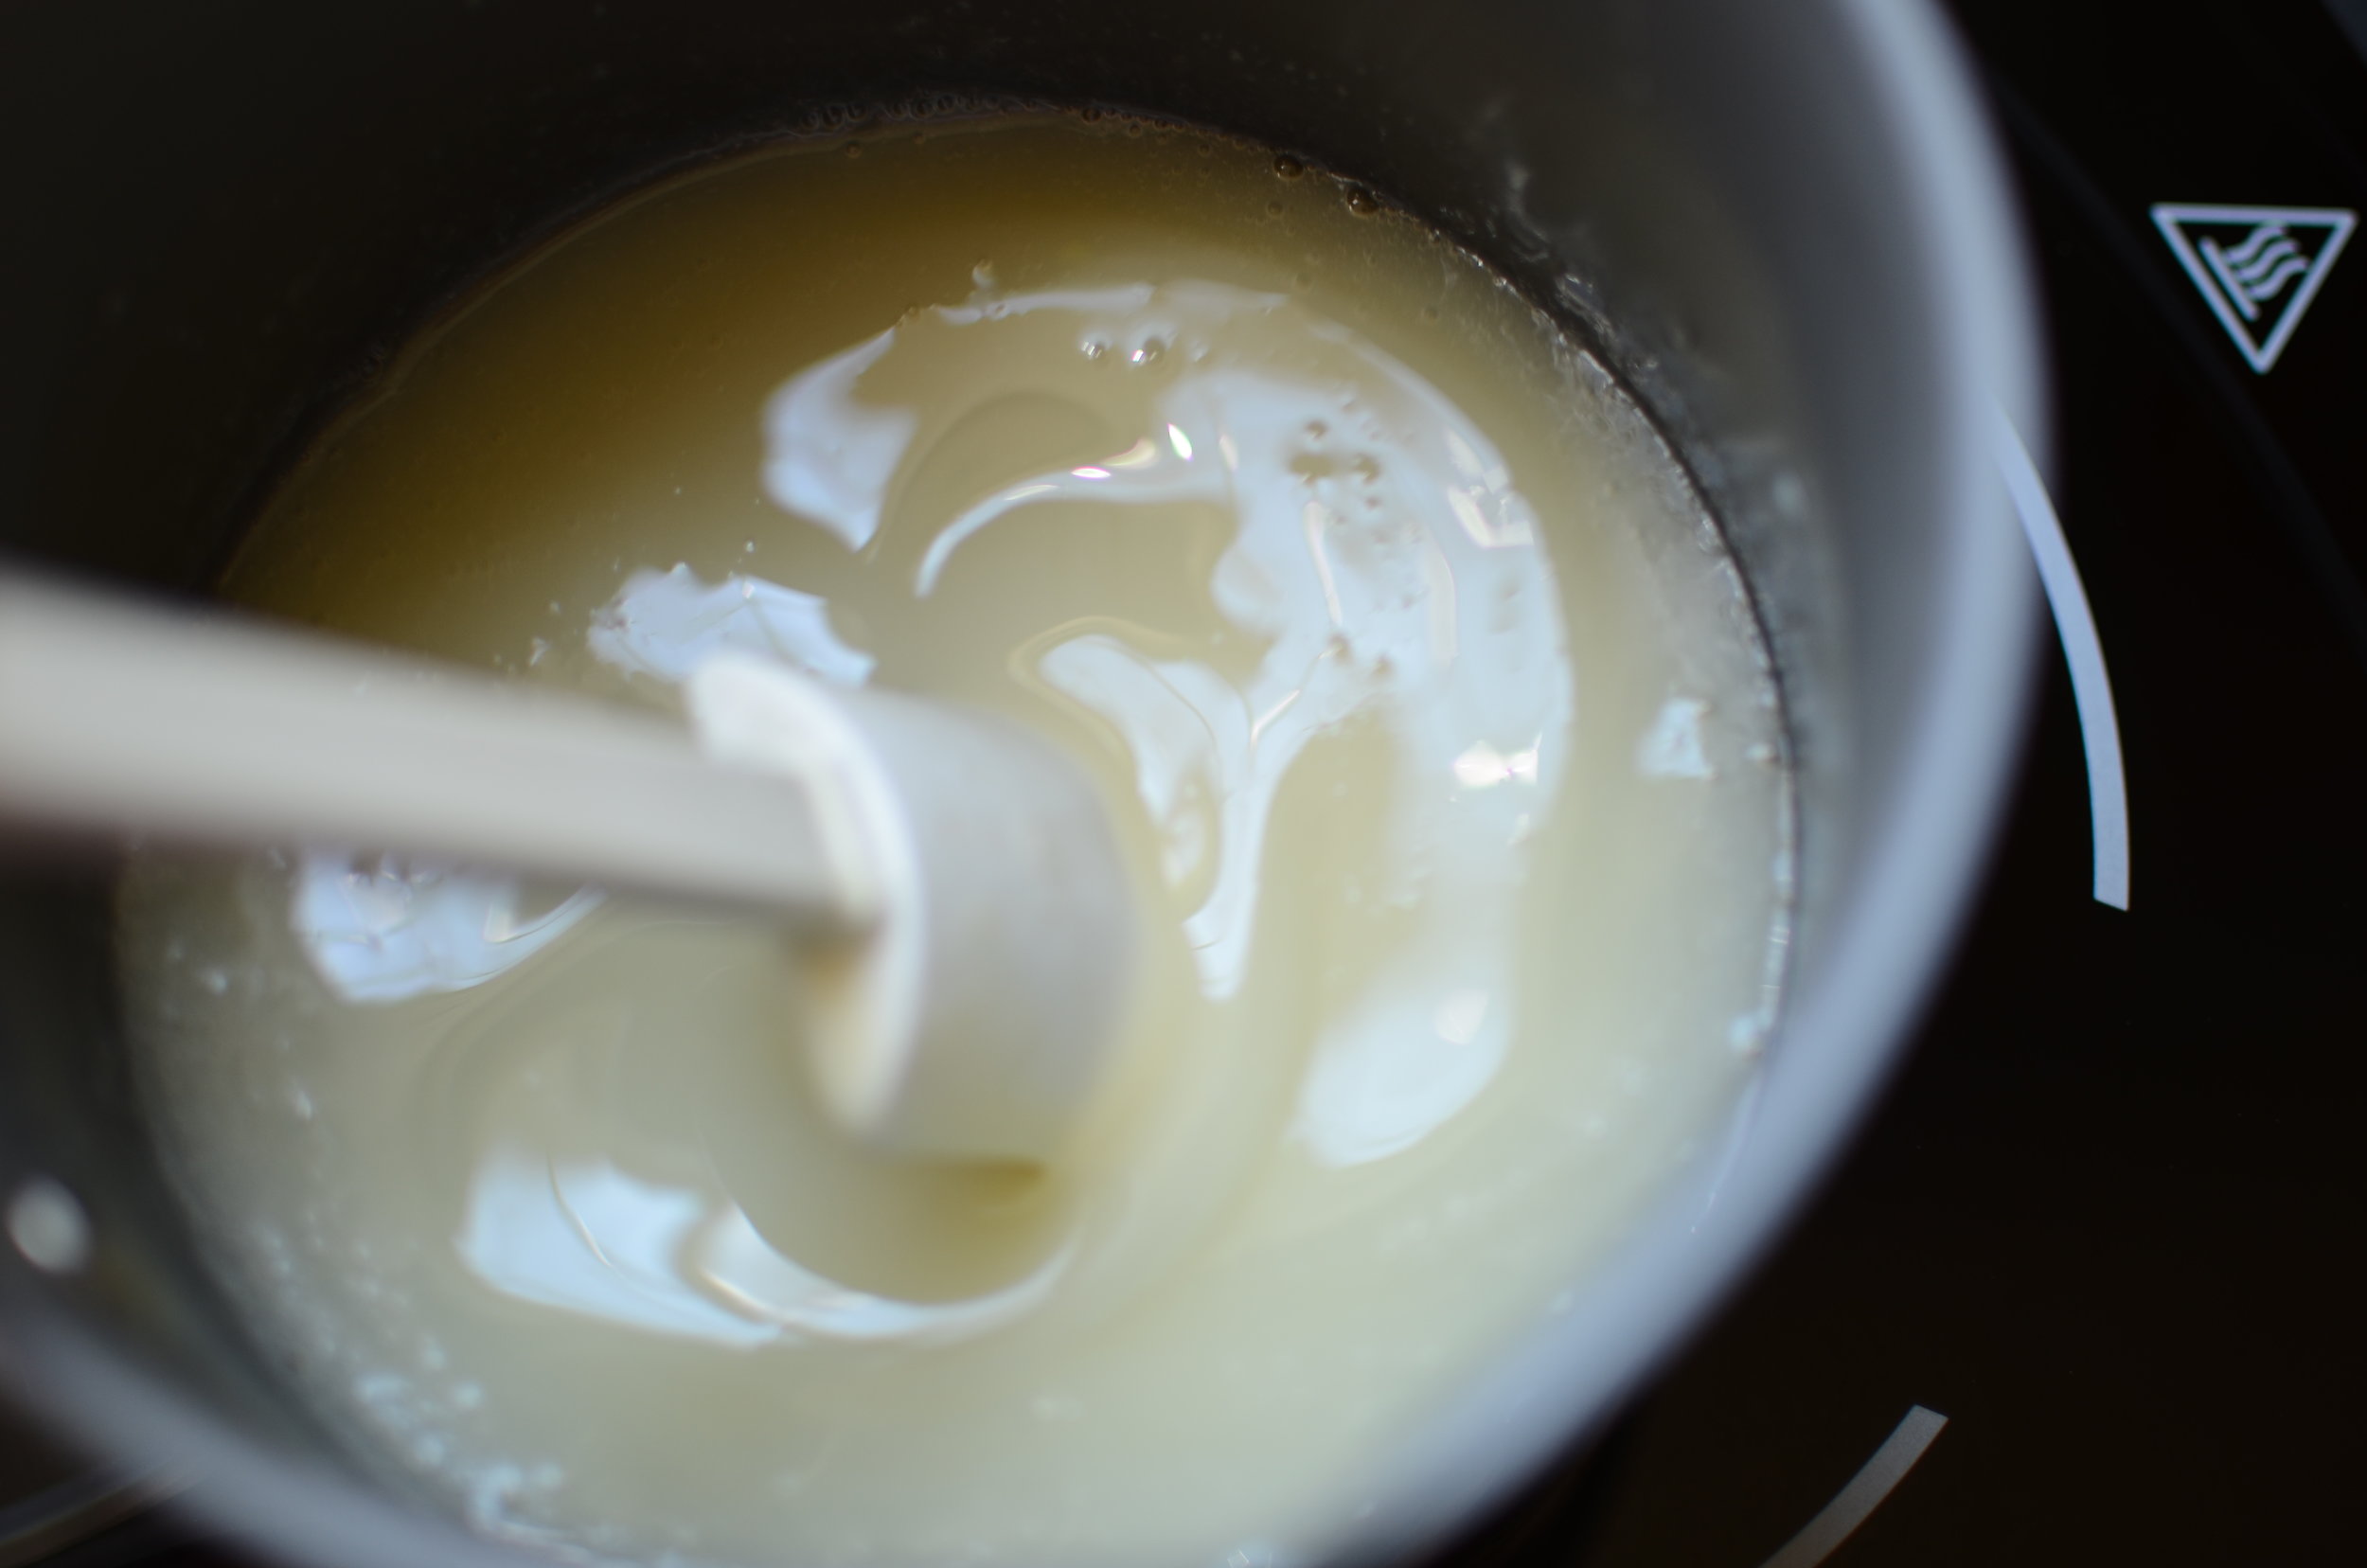
Stir to combine.

Pour the hot mixture over the chopped chocolate and let it rest for a couple of minutes.

Then whisk to combine.

Use an immersion blender to carefully blend the mixture for two full minutes...
Being careful not to incorporate much air (see short video clip).

Allow the mixture to cool to between 85-95F.

Use food coloring suitable for chocolate (I used this brand - the most important color being white.

In the photo above, you can see the glaze on the left has no white coloring added - it's kind of translucent and has a yellow tone which will affect other colors added. The glaze on the right has white coloring added, which turns the mixture opaque and bright white so any additional colors added will be true.

Divvy up the glaze and color as you like.

I think a mix of 3 or 4 colors gives the best results.

Customize colors to coordinate with sports teams, holidays, party themes, etc.
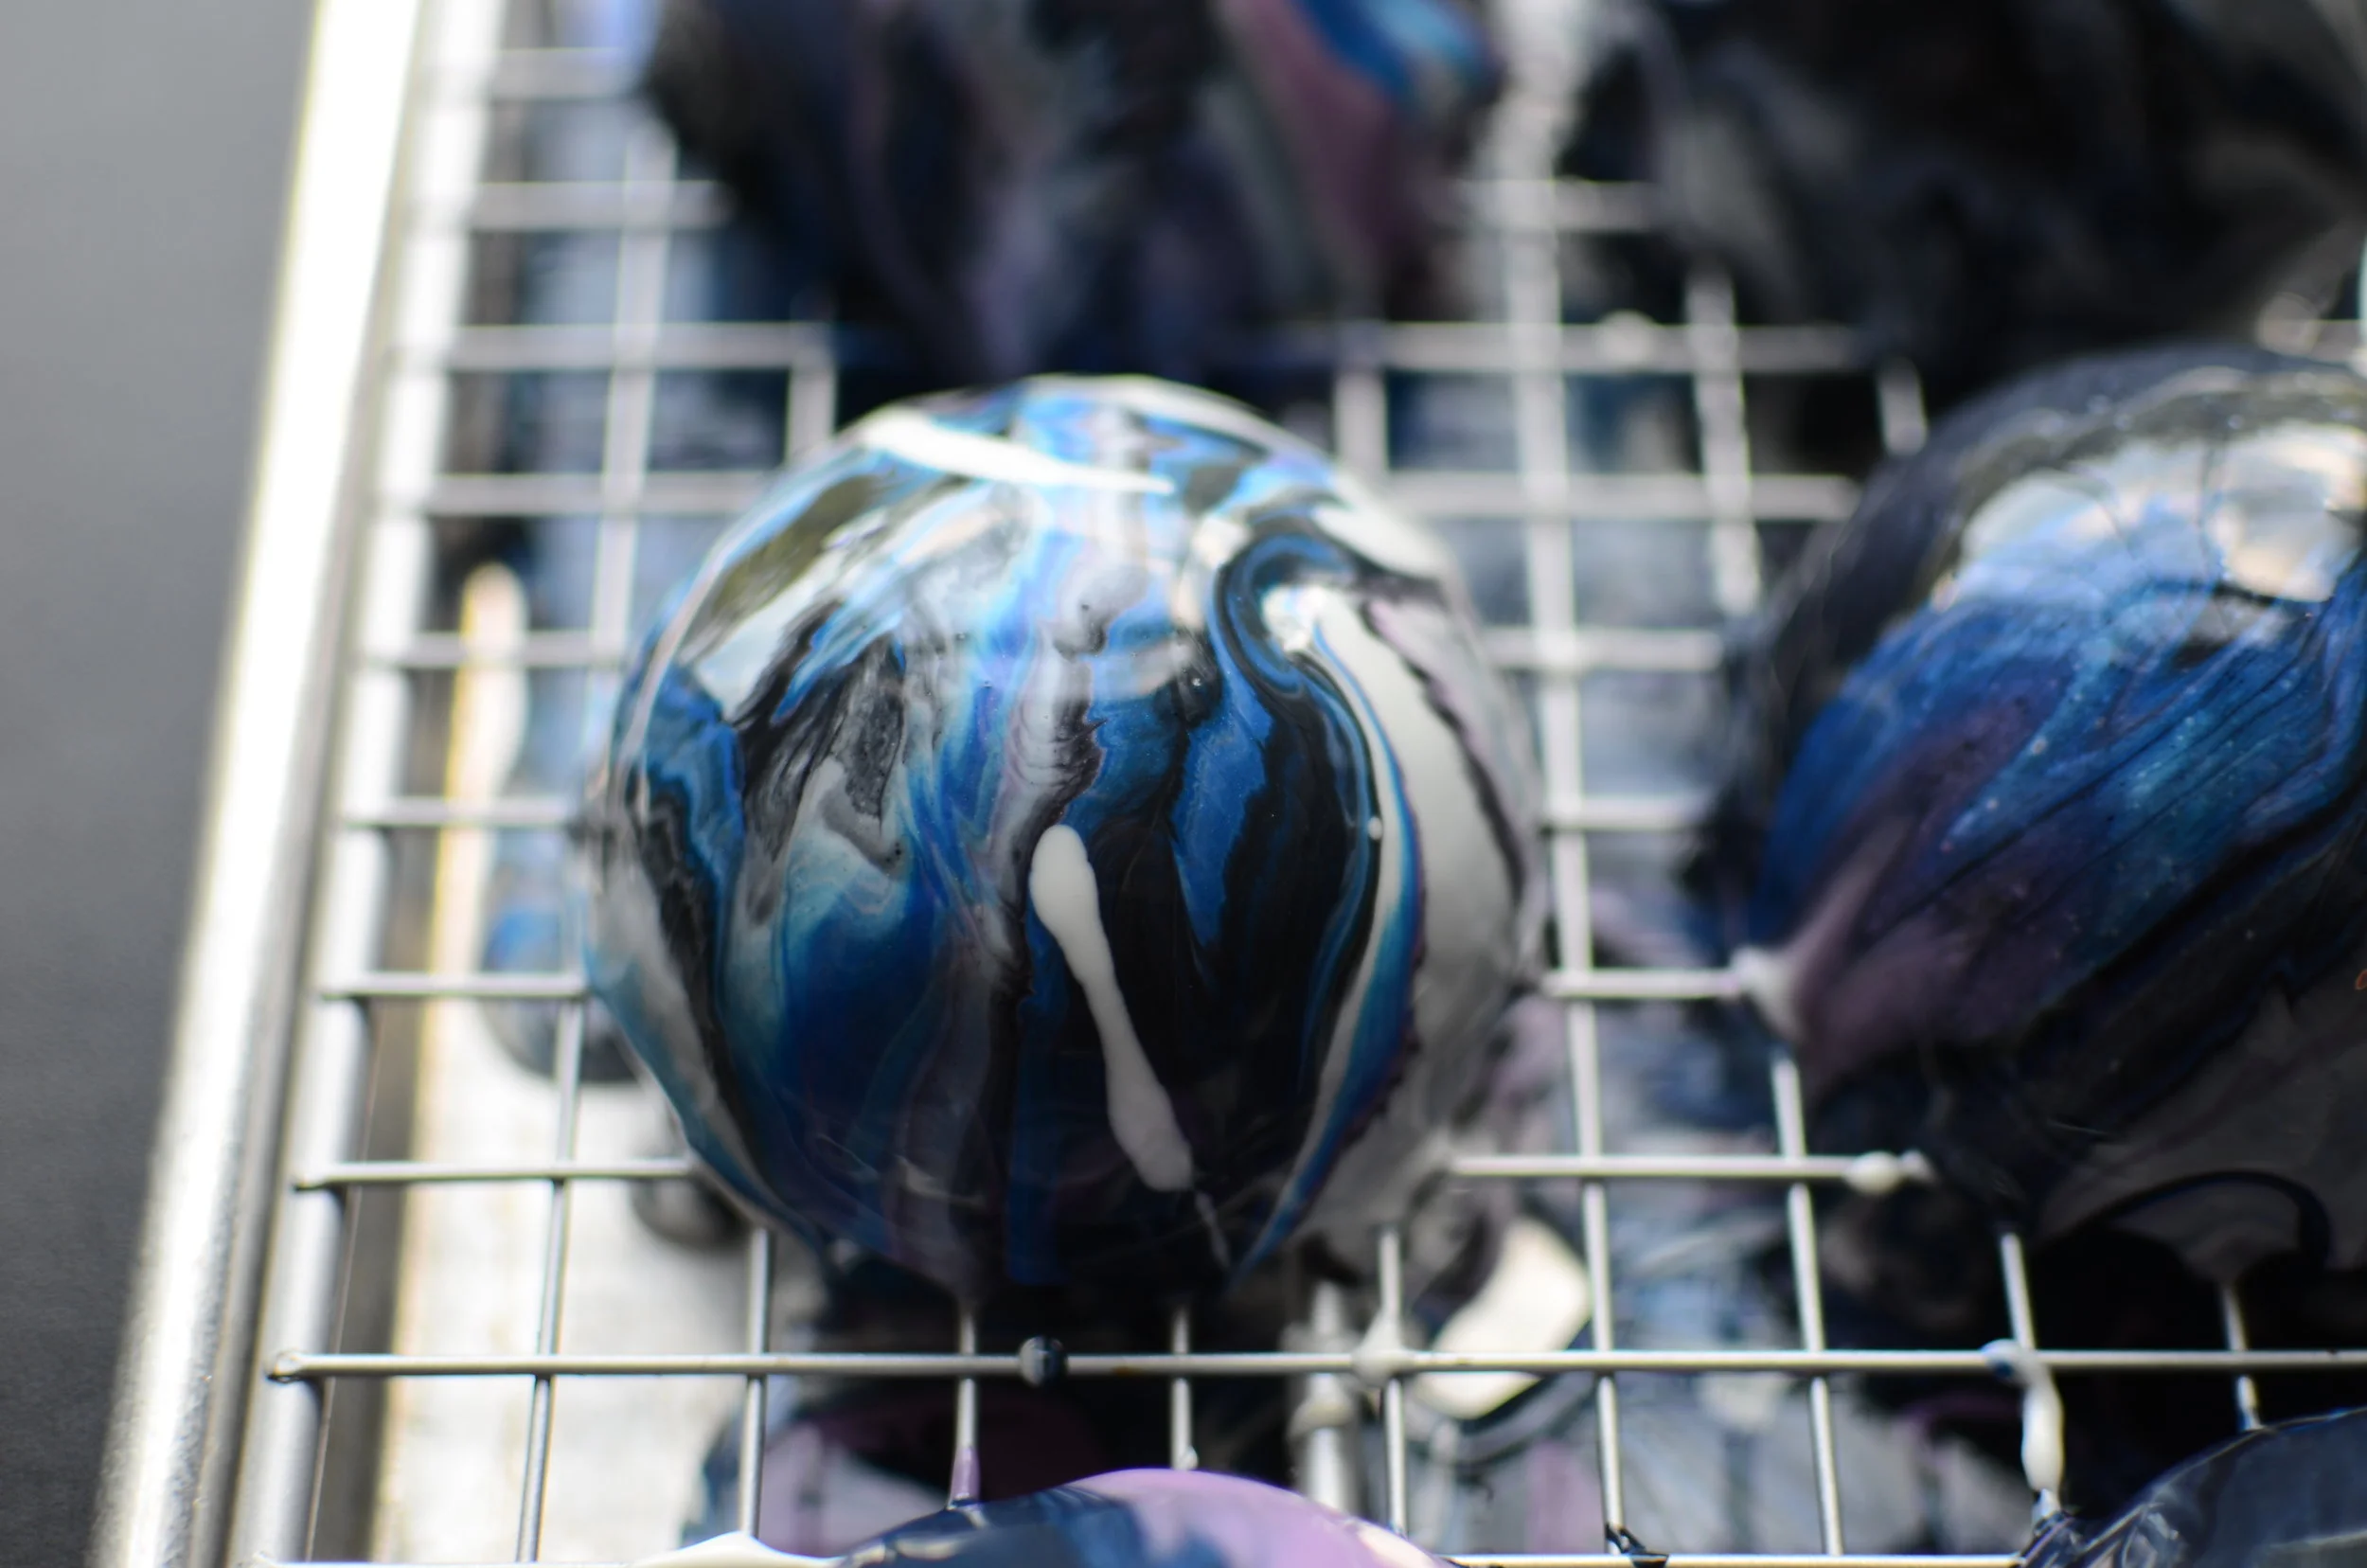
Have fun drizzling that glaze all over the frozen mousse cake(s). There's no right or wrong way to do it, just be sure to cover all exposed areas.

For an extra special finishing touch, sprinkle a little edible "disco dust" on the wet glaze. It will add a sparkly iridescence that looks amazing.

Oooo!

And here's a quick view of a large cake I covered with a pastel colored glazed - I love how the layers of chocolate cake, raspberries, and white and regular chocolate mousse look together. Chill frozen mousse cake in refrigerator until it thaws enough that it can be cut easily. Serve very thin slices - this cake is very rich. Enjoy!
Items used and/or needed to make this recipe:
(affiliate links)
entremet mold https://amzn.to/3EW8RNC
9-inch silicone springform https://amzn.to/3susPYu
half sphere mold https://amzn.to/3mrcBjT
baker's joy https://amzn.to/3LnBa95
parchment rounds https://amzn.to/41HKfBT
insulated baking strips https://amzn.to/3LnBxjZ
ateco heating core https://amzn.to/33ay7ju
high quality white chocolate https://amzn.to/3IOguqu
high quality chocolate https://amzn.to/3uQDKPp
half sheet pan https://amzn.to/34HN38V
silpat liner https://amzn.to/3oBns8V
adjustable cake ring https://amzn.to/3Lkfj2s
long icing spatula https://amzn.to/3J4wXFw
acetate sheets https://amzn.to/3JdA5Pj
large disposable pastry bags https://amzn.to/3gzLpZK
digital thermometer https://amzn.to/3GDVYpn
white gel color https://amzn.to/3JwQcdz
gel colors https://amzn.to/3Zgl5IW
edible disco dust https://amzn.to/3ZlbrF2
Note: For individual size servings, use half of the chocolate mousse and glaze ingredients, and omit the cake layer and white chocolate mousse.
Chocolate Cake Layer
makes one 8-inch cake layer
Ingredients
1/3 cup dutch-processed cocoa powder, sifted
2/3 cup boiling water
1 cup all purpose flour
3/4 teaspoon baking soda
3/4 teaspoon table salt
1 cup granulated sugar
8 tablespoons unsalted butter, melted
1 large egg
1 teaspoon pure vanilla extract
Directions
Preheat oven to 325F and place rack in center oven position.
Spray 8-inch cake pan with baking spray (such as Baker's Joy) and wrap pan with insulated baking strip.
In a small bowl, whisk together the cocoa powder and boiling water until no clumps remain; set aside.
In another small bowl, whisk together flour, baking soda, and salt; set aside.
In a large bowl, whisk together the sugar, butter, egg, and vanilla; add the contents from both of the previous bowls and mix well to combine.
Pour batter into prepared pan and bake in center of oven for 35-40 minutes or until a toothpick inserted in the middle comes out clean.
Remove from oven and cool for 5 minutes before turning cake out onto a rack to cool completely.
Chocolate Mousse
makes 6 cups
Ingredients
4 cup chopped semisweet chocolate (700 grams)
4 2/3 cups heavy cream, divided (2 2/3c, 2 c)
Directions
Place chocolate in a large mixing bowl.
Heat 2 2/3 cups heavy cream in the microwave or on the stovetop until boiling and pour over chocolate and rest for 2 minutes; gently whisk to combine fully and allow to cool for at least 10-15 minutes (or longer).
In a medium mixing bowl, beat remaining 2 cups heavy cream until soft peaks form; fold into chocolate mixture until no streaks of cream remain; pour into mold(s) and freeze.
White Chocolate Mousse
makes 3 cups
Ingredients
2 cup chopped white chocolate (350 grams)
2 cups heavy cream, divided (1 1/3c, 2/3 c)
Directions
Place chocolate in a large mixing bowl.
Heat 1 1/3 cups heavy cream in the microwave or on the stovetop until boiling and pour over chocolate and rest for 2 minutes; gently whisk to combine fully and allow to cool completely and thicken a bit, 2-3 hours.
In a medium mixing bowl, beat remaining 2/3 cups heavy cream until soft peaks form; fold into chocolate mixture until no streaks of cream remain; pour into mold(s) and freeze.
Galaxy Mirror Glaze
makes about 4 cups (enough to coat a 9-inch cake)
Ingredients
2 tablespoons unflavored granulated gelatin
1/2 cup water
1 cup light corn syrup
1 1/4 cup super fine sugar
1/2 cup water
2/3 cup sweetened condensed milk
1 3/4 cups chopped white chocolate (306 grams)
white gel food color
other gel food colors
Directions
In a small bowl, use a fork to combine gelatin and 1/2 cup water (be sure no dry clumps remain); set aside for 10 minutes to allow the gelatin to bloom (hydrate).
In a heavy-bottom saucepan over medium-high heat, combine corn syrup, sugar, and remaining 1/2 cup water; stirring until sugar dissolves; bring to 217F.
Remove saucepan from heat and add bloomed gelatin; stir until gelatin melts and no granules remain; add sweetened condensed milk and stir to combine.
Pour mixture over white chocolate and rest for several minutes; gently whisk until all the white chocolate melts and mixture is fully combined, being careful to not incorporate air bubbles.
Use a stick blender to blend for 1-2 minutes to make the mixture completely smooth (add gel food coloring if desired).
Allow glaze to cool to between 85 and 95F, then pour over frozen dessert. Leftover glaze can be refrigerated for several days - just reheat gently in the microwave, using 10-15 second intervals, stirring each time, until temp it reaches the proper pouring temperature.
Notes
mousse must be frozen solid before covering with glaze.
after glazing, place cake(s) in refrigerator to allow glaze to set and allow the frozen mousse to soften before serving.
if you're unsure if your food colors are compatible with chocolate, test color a small batch first (stir very well and make sure the glaze remains pourable - if it thickens or gets clumpy, try a different brand of coloring).
frozen mousse will release easily from silicone, but not metal so if you have a metal springform pan, line the bottom well with parchment and line the sides with food-grade acetate (like this).